Totally new to Linux, and want to give a try? Here are some of the Linux Distributions friendly to beginners.
Linux is a family of open-source operating systems based on Linux Kernel. As there are so many distributions available, I’ll list the top 8 that are easy to use for beginners.
NOTE: Ranking and opinions expressed here are solely my own! As an Ubuntu user for more than 15 years, I’m not new to Linux but may be new to those in the list. So this could be a Linux review via a beginner!
8. Solus
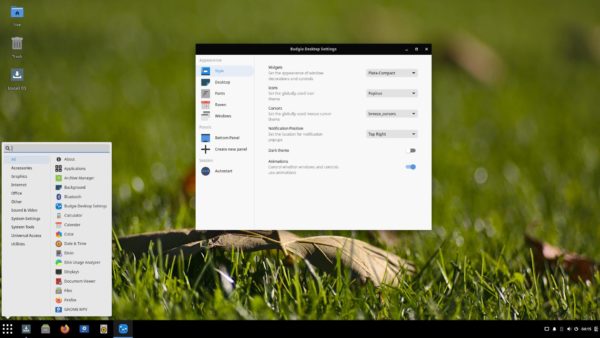
Solus, formerly known as Evolve OS, is an independently developed OS for 64-bit processor. The system provides 4 desktop editions: Budgie, GNOME, MATE (abandoned), XFCE, and KDE Plasma.
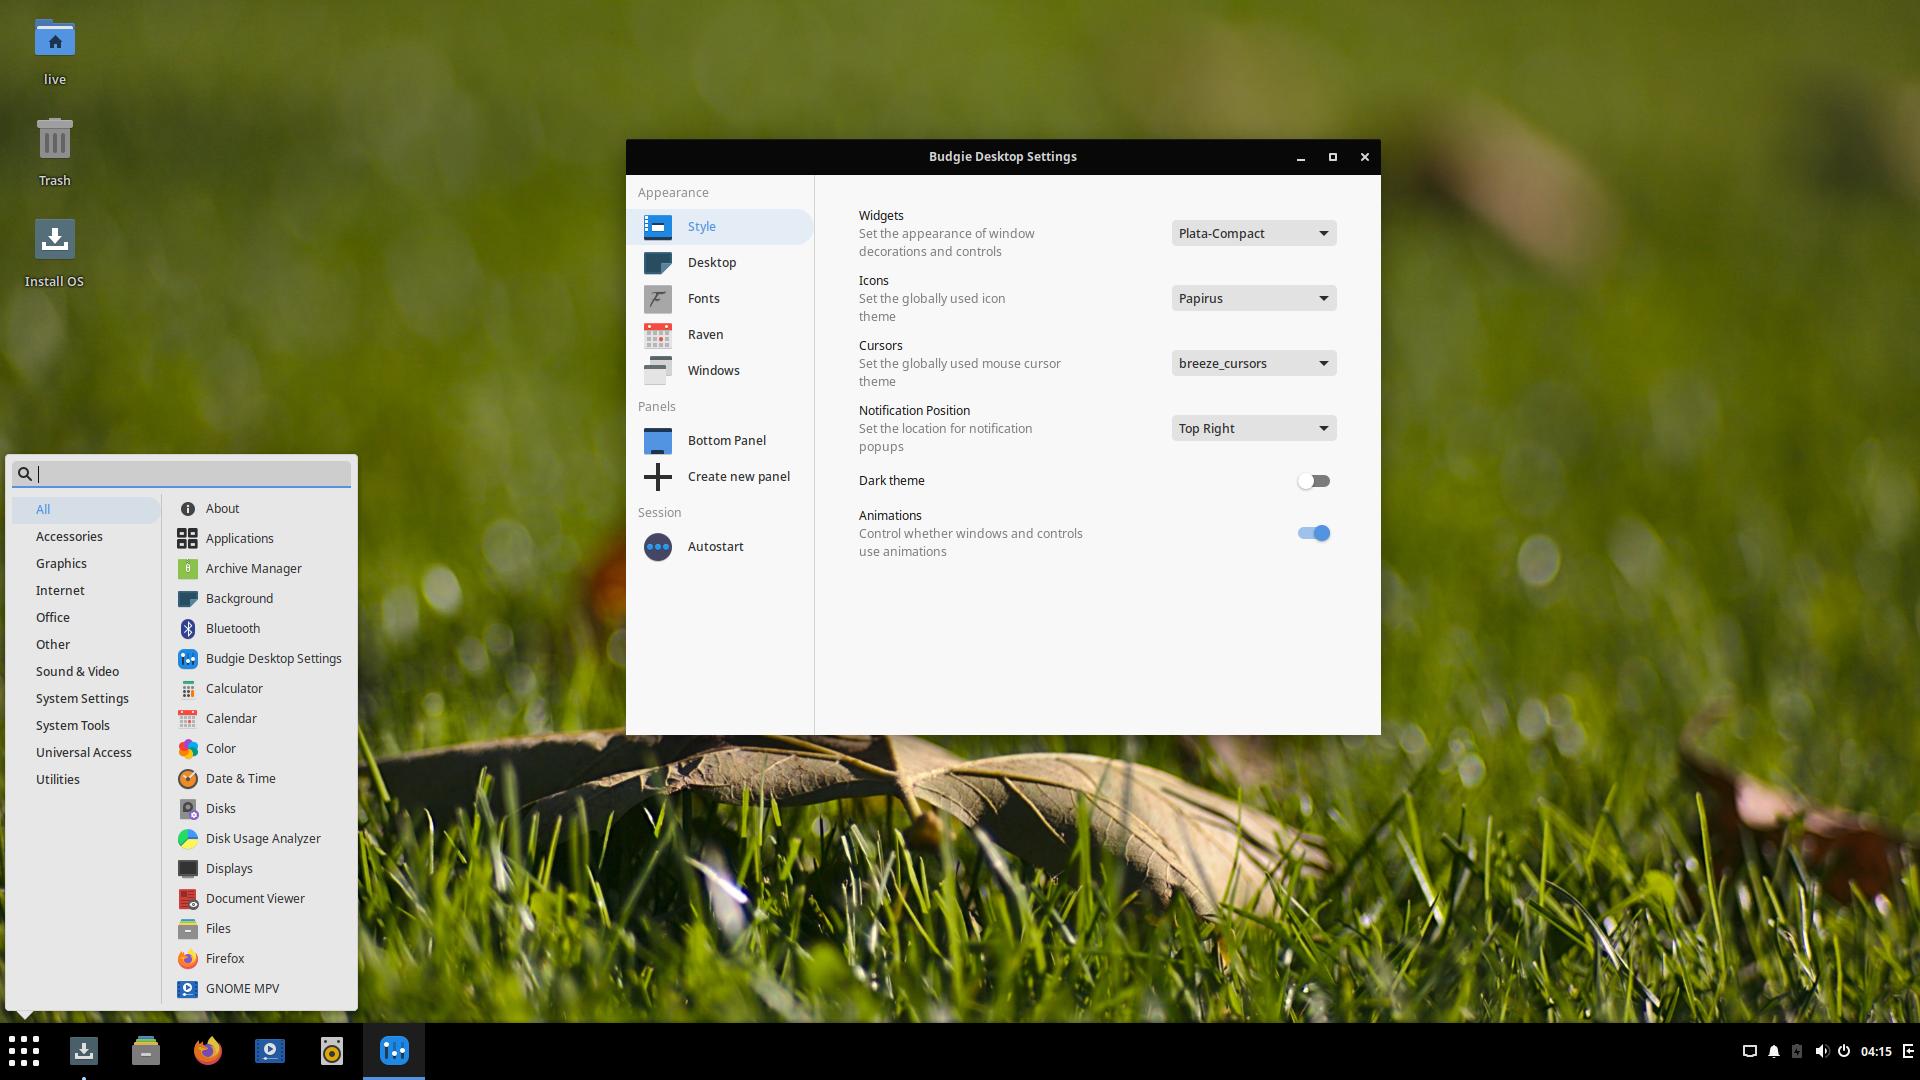
Its own Budgie Desktop provides the classic Windows look-like desktop appearance, along with settings utility to change themes, fonts, and manage panel items. And it also has a Gnome style ‘System Settings’ to configure many other settings.
Solus ships with a variety of software out of the box. Besides its own package repository, it also support Snap and Flatpak with more choices.
7. Pop!_OS
Pop!_OS is a free open-source Linux Distribution based on Ubuntu. It’s powered by American Linux computer manufacturer System76, for computers built by System76, but also free to download and install on other machines.
Pop!_OS features customized GNOME Desktop Environment named COSMIC. It comes with a few built-in themes for better desktop and window management. Without Snap, the system focuses on native Deb and Flatpak packages support out-of-the-box.
As well, it has out-of-the-box support for AMD and NVIDIA GPUs, provides default disk encryption, and the most recent release also have packages that allow for easy setup for TensorFlow machine learning and NVIDIA CUDA.
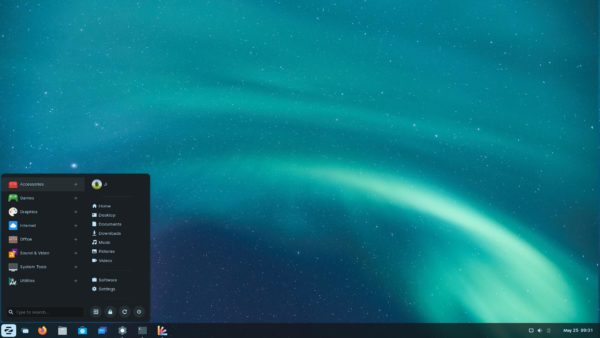
6. Zorin OS
Zorin OS is another Ubuntu based system designed especially for those new to Linux.
The system has 4 editions in the download page. While “Ultimate” need to play for downloading, the core, lite, and education editions are free.
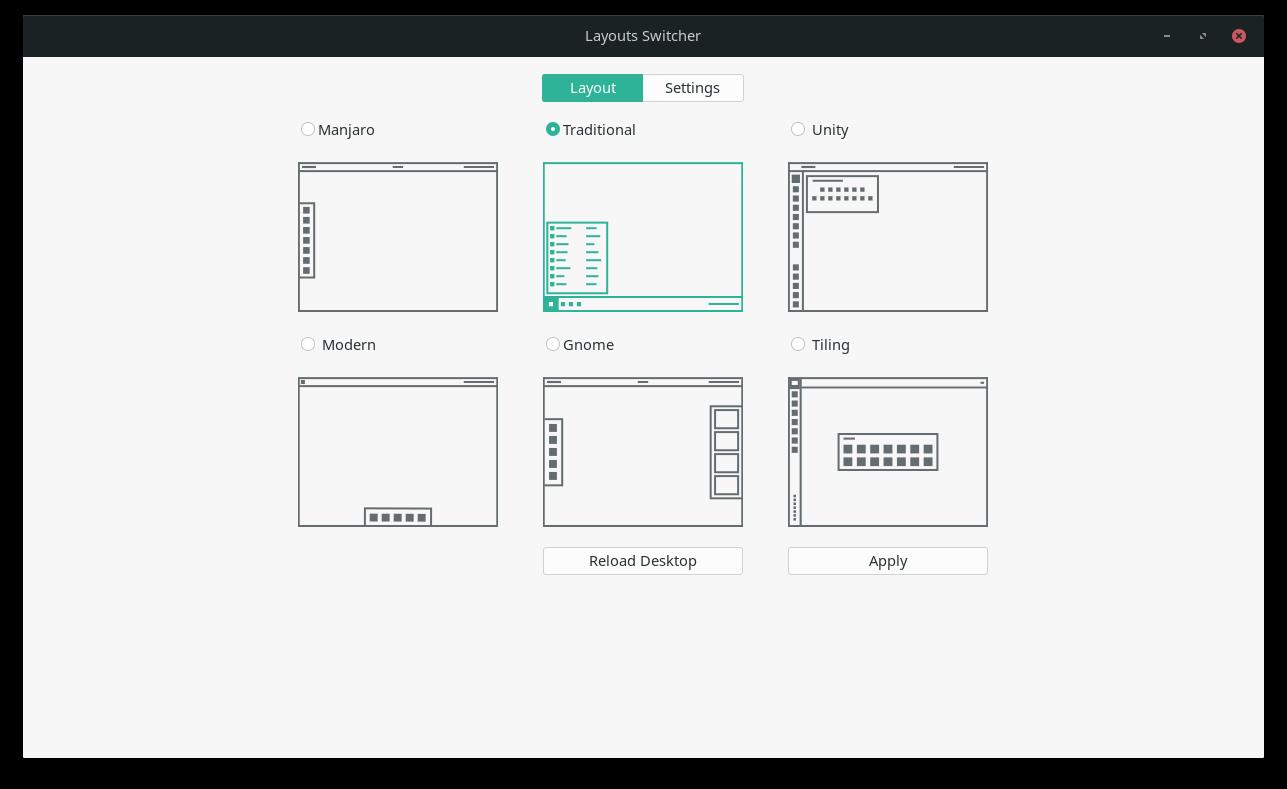
It features a customized GNOME desktop, aims to be the alternative to Windows and macOS. Zorin OS is clean and polished. And it has an appearance dialog to change the desktop layout with single click.
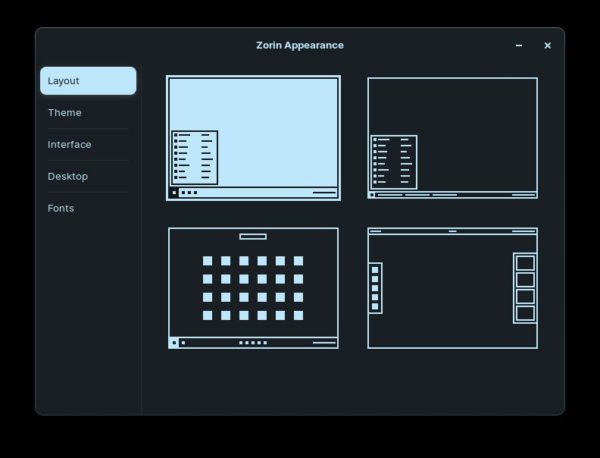
Thanks to Wine and PlayOnLinux, many Windows applications can be easily installed on Zorin OS via simply a few clicks.
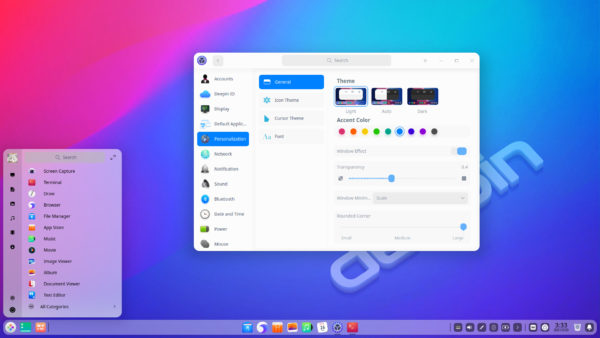
5. Deepin Linux
Deepin is a Debian based Linux distribution that focuses much of its attention on intuitive design.
Deepin is the most beautiful Linux system as far as I can see. It features Deepin Desktop Environments with its core applications.
Deepin Linux is developed by a company from China. It ships with its own WPS Office with full MS Office file support, as well as CodeWeavers’ CrossOver, the paid, commercialized version of Wine.
Installing Windows apps, e.g., WeChat, QQ, is quite easy in Deepin. It’s the best Linux OS for users from China.
4. Fedora
Fedora is a Linux distribution developed by the community-supported Fedora Project and owned by Red Hat, a subsidiary of IBM.
Same to Ubuntu, Fedora announces new releases every year in April and October. However, each release has only 9-month support. And Linus Torvalds, creator of Linux, uses Fedora as his main Linux Distro.
Due to the close relationship between Gnome and Fedora, Fedora Workstation (the desktop edition) is always the first to benefit from the latest Gnome Shell releases.
Fedora Workstation is bleeding edge. It’s always the first to get the new technologies, drivers and package updates. And the desktop appearance is easy to configure via System Settings, Gnome Tweaks, Dconf Editor, as well as Gnome Shell Extensions. However, installing proprietary drivers is not easy for beginners.
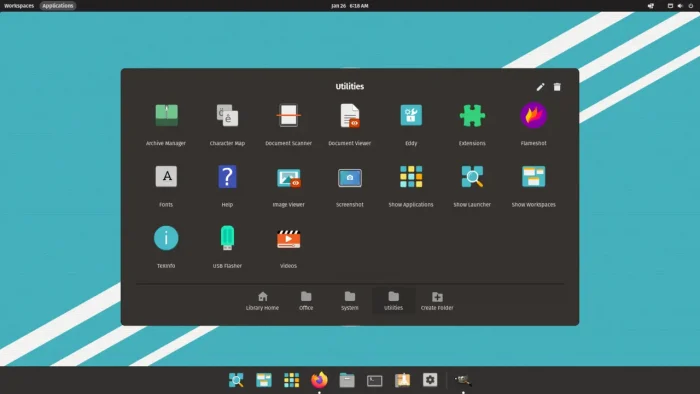
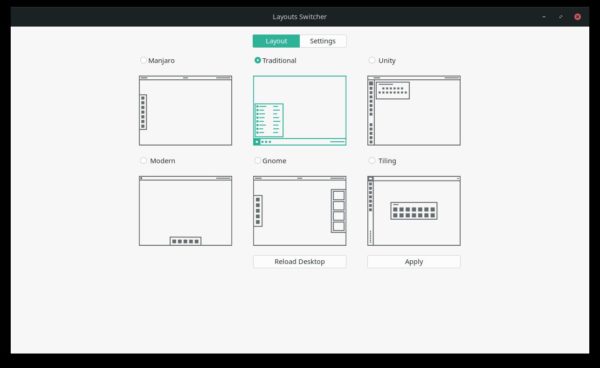
3. Manjaro
Manjaro is a Linux Distro based on Arch Linux. It focuses on user-friendliness and accessibility.
Different to other Linux, Arch Linux and Manjaro uses a “rolling release” system. Which means you don’t have to re-install or upgrade the whole system again and again.
It features three desktop editions with XFCE, KDE, and GNOME. The system looks modern and works out-of-the-box with a variety of pre-installed software.
The XFCE and KDE editions has the classic Windows like style layout. And Gnome defaults to top panel with left dock. It however has a settings dialog to the UI layout.
The package manager ‘pamac’ is great, it enables ability to get the latest software packages from either main repository, AUR (Arch User Repository), flathub, or snap store all in one. As well, it has built-in utilities to install the latest Kernels, and proprietary NVIDIA drivers.
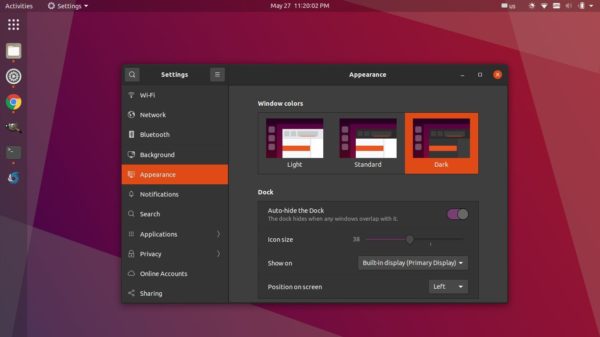
2. Ubuntu:
Ubuntu is the top popular Linux Distribution ranked by Google Trends. Not only for the Desktop, but also popular as Linux Server and for clouding computing.
Like Fedora, Ubuntu announces new releases every 6 months. Versions released in April of even-year (e.g., 16.04, 18.04, 20.04) are LTS with 5-year support. All others has only 9-month support.
Ubuntu is based on Debian, and uses GNOME as the default Desktop Environment. The Desktop is not perfect out of the box, the Software Center sucks, media codec is not pre-installed, clicking app icon on dock does not minimize the opened window, and more and more.
However, there are tons of tutorials and answers on the web shows you how to tweak Ubuntu. And you can ask on https://askubuntu.com/.
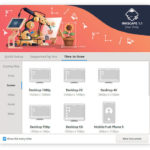
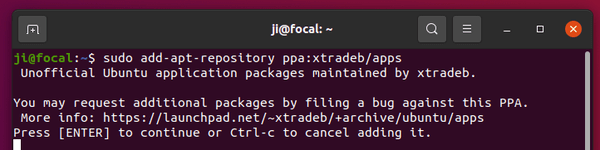
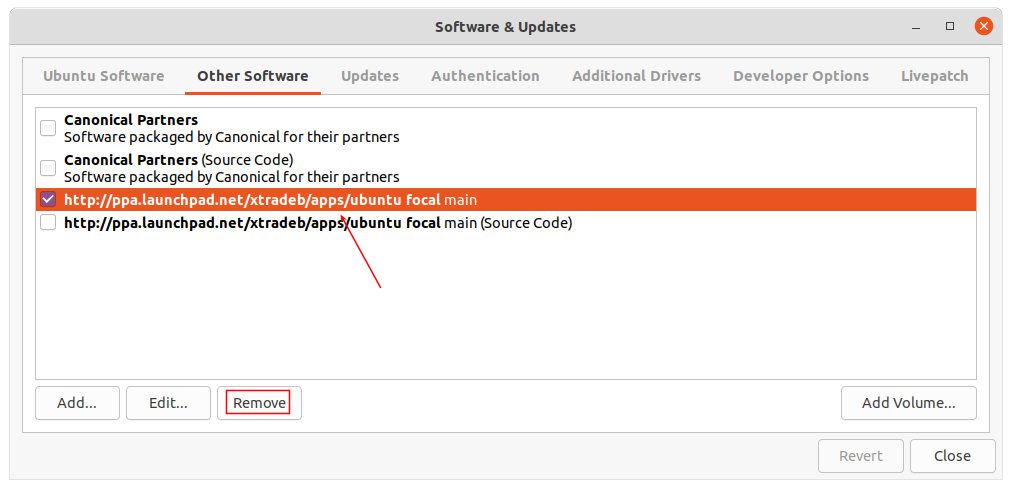
Ubuntu contains a wide range of software packages. Though the packages in default repositories are always old, many software developers (e.g., LibreOffice, Inkscape) and third-party maintainers maintain PPAs (Personal Package Archive) with most recent packages for Ubuntu users. And Flatpak and Snap is also available for choice.
Ubuntu is not the best for those totally new to Linux, but it has the largest community base actively participates and provides support to its users.
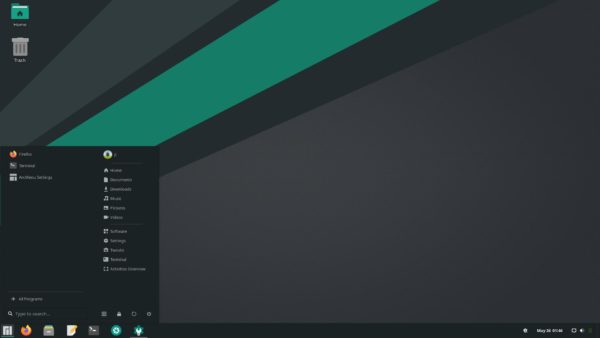
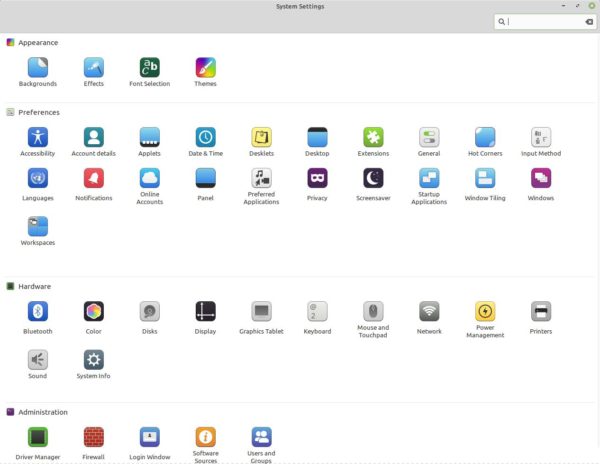
1. Linux Mint
Linux Mint is the most friendly Linux system for beginners in my own opinion.
It is based on Ubuntu LTS, and feature three desktop editions: Cinnamon, MATE, and Xfce. Linux Mint includes a variety of pre-installed software and it’s ready to use out-of-the-box.
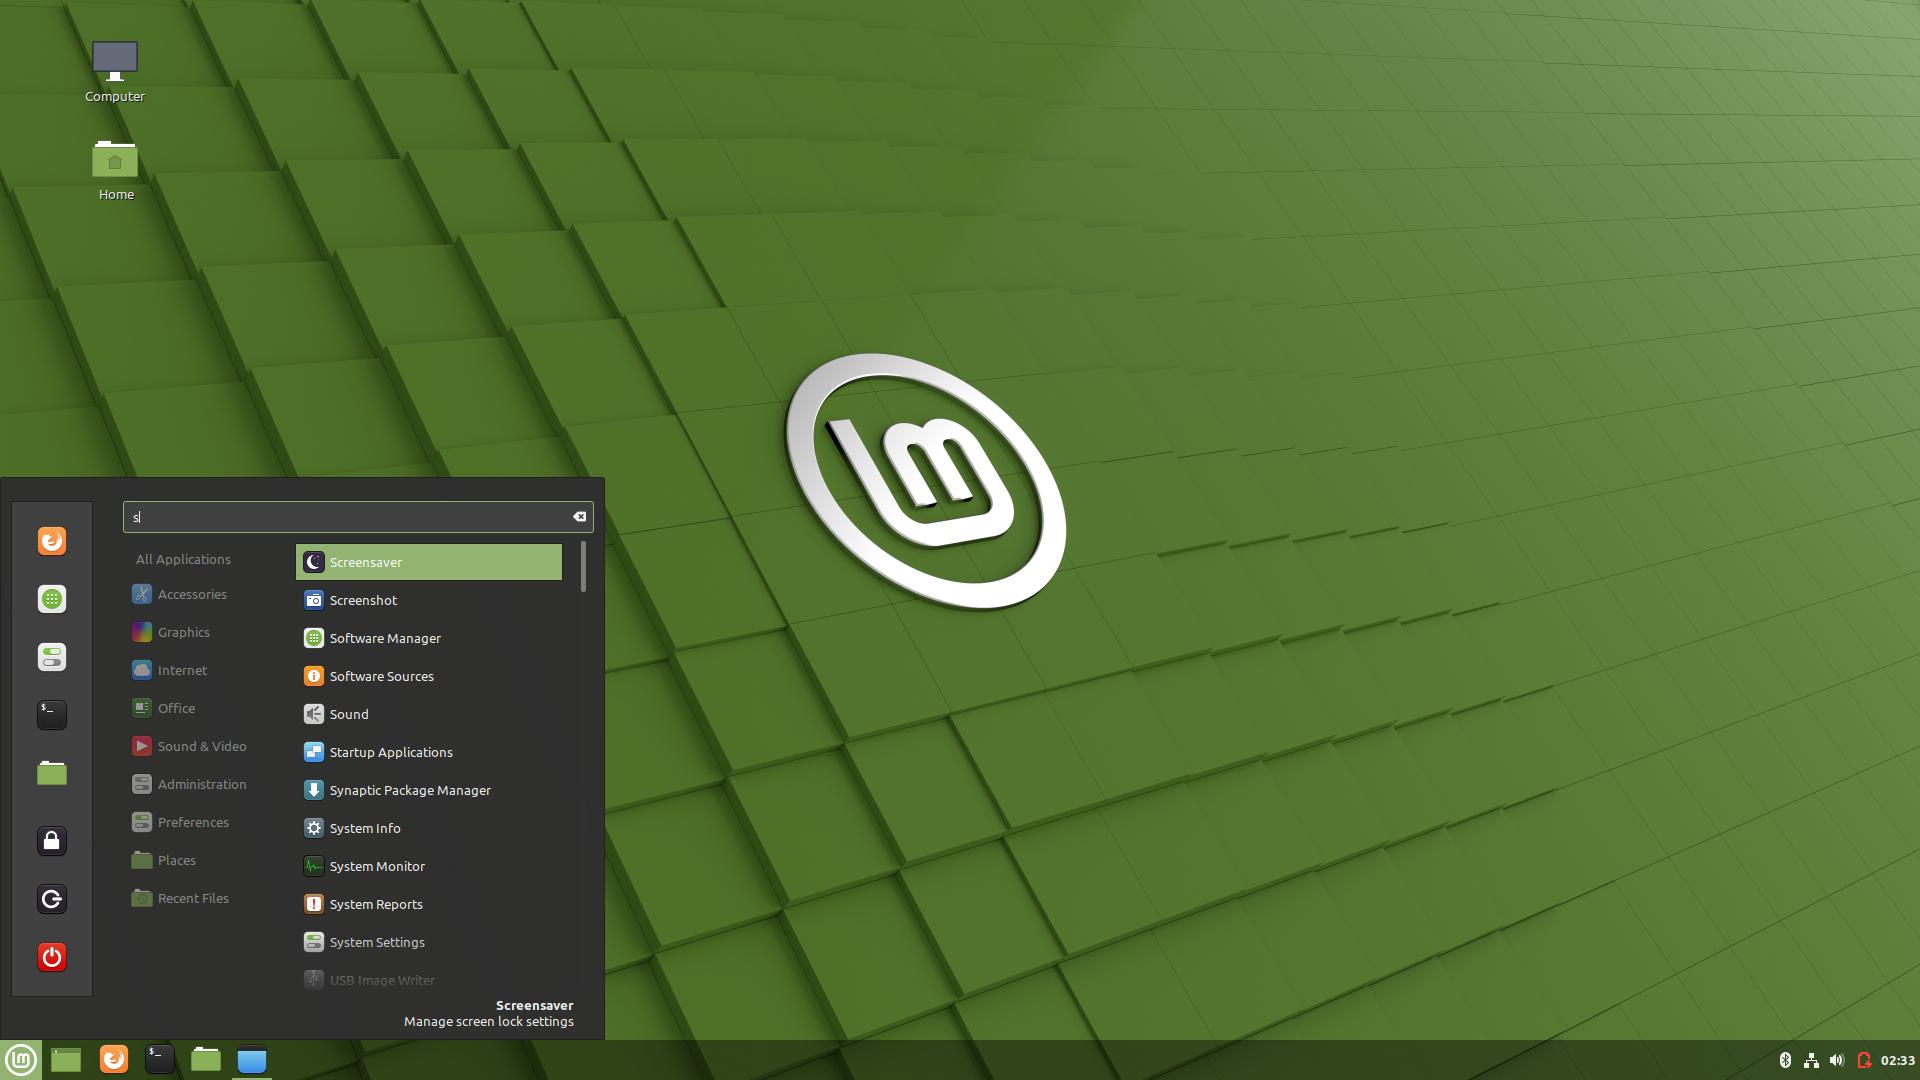
All the settings for desktop users are easy to access via all-in-one ‘System Settings‘ tool, including desktop appearances, account, privacy, display, power management, printers, driver, firewall, and more.
Along with Ubuntu package base, Linux Mint also has its own package repository. Apps are easy to install either via Synaptic or System package manager. Kernels are easy to install via its update manager. PPAs and apt repositories are easy to manage via its ‘Software Sources’ utility. Thanks to Ubuntu, the latest NVIDIA drivers are also easy to apply.
As a fast growing Linux Distribution, Linux Mint is a stable, safe, reliable, and extremely easy to use.

At Last
Since there are so many Linux Distributions, I can’t try all of them one by one. Feel free to leave comment if you found a better one.


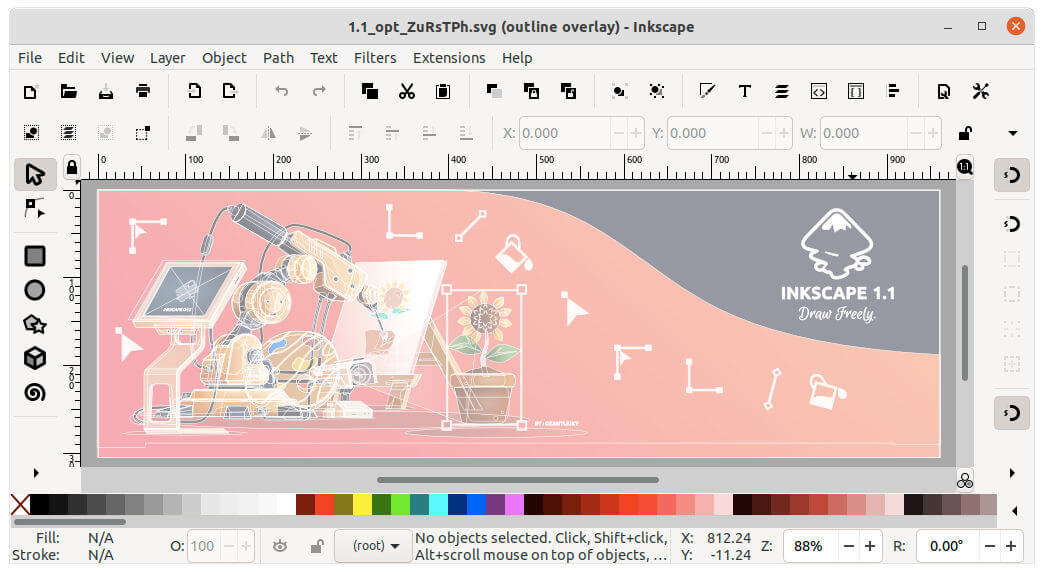
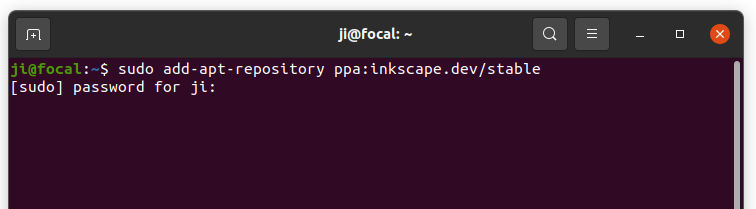
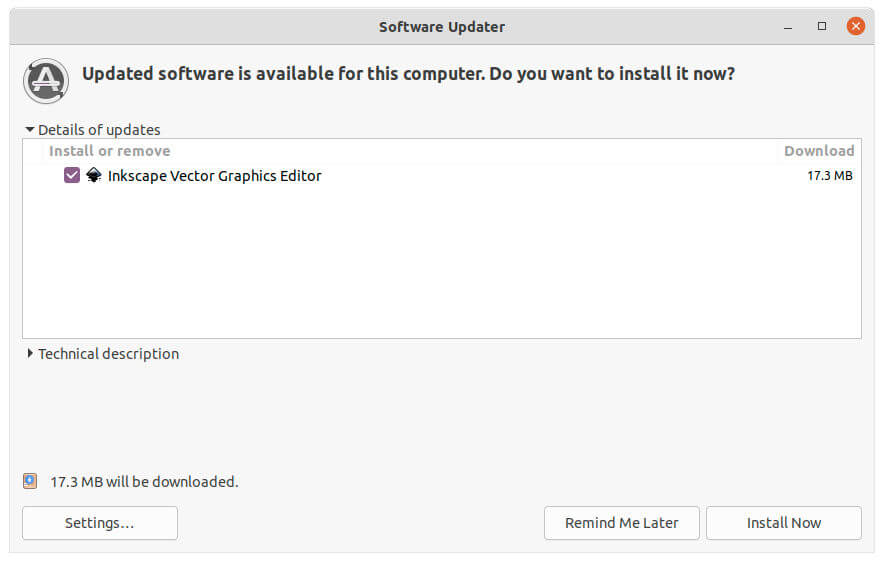
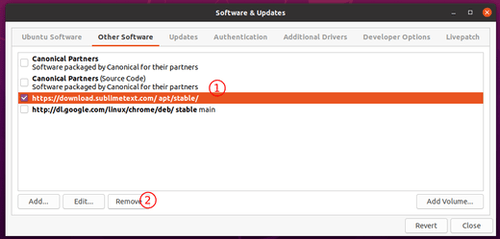
 Inkscape, free open-source vector graphics editor, release new major version 1.1 a few days ago. Here’s how to install it in Ubuntu 20.04, Ubuntu 21.04, Linux Mint 20.x.