![]()
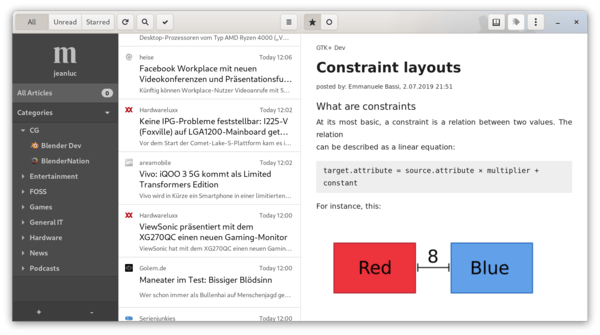
NewFlash, spiritual successor to FeedReader, is a modern feed reader designed for the GNOME desktop.
NewsFlash is a program designed to complement an already existing web-based RSS reader account. It combines all the advantages of web based services like syncing across all your devices with everything you expect from a modern desktop program: Desktop notifications, fast search and filtering, tagging, handy keyboard shortcuts and having access to all your articles as long as you like.
NewFlash so far support for:
- Miniflux
- feedly
- local RSS
- fever
- feedbin
How to Install NewFlash Feed Reader:
The software officially is available as flatpak in Flathub repository for most Linux desktops.
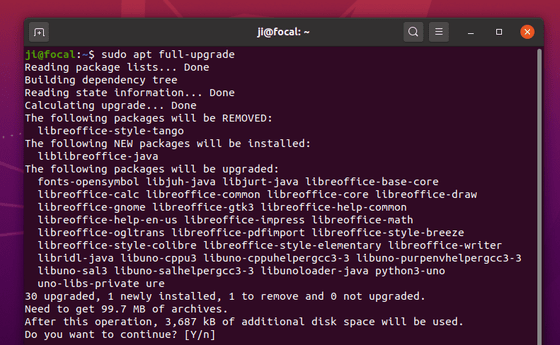
Ubuntu 18.04 and higher can install it by running following commands one by one:
1.) Open terminal and run command to install flatpak framework in Ubuntu:
sudo apt install flatpak

2.) Add the flathub repository which hosts the flatpak package:
flatpak remote-add --if-not-exists flathub https://flathub.org/repo/flathub.flatpakrepo

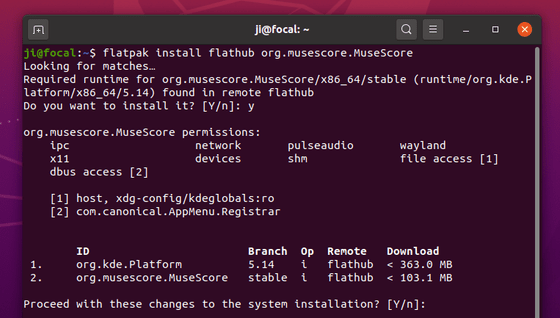
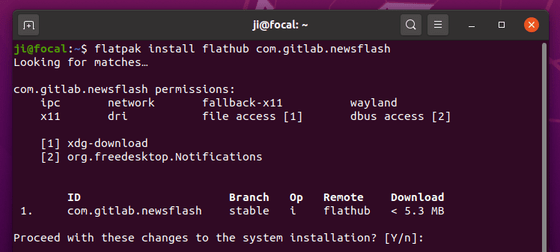
3.) Finally install NewFlash via command:
flatpak install flathub com.gitlab.newsflash
When a new release is out, you can update the package by running command:
flatpak update com.gitlab.newsflash
(Optional) To remove the feed reader, run command:
flatpak uninstall com.gitlab.newsflash