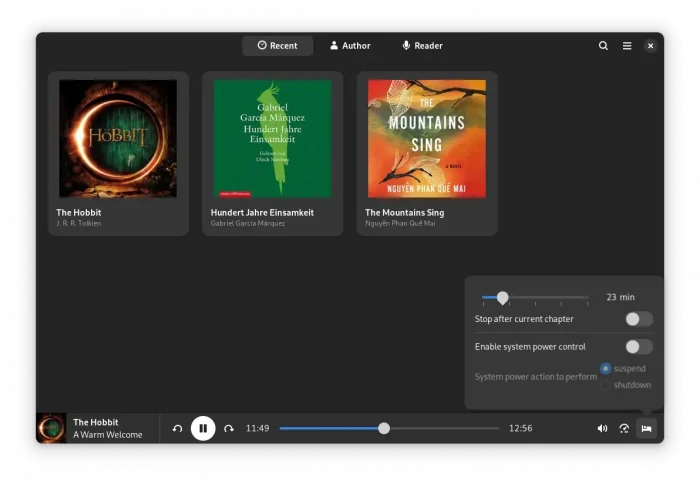
Cozy is an open-source audio book player with a modern user interface. It’s written in Python programming language. Since version 1.3.0, the app is ported to GTK+ 4 and LibAdwaita for its user interface, and works in Linux and Mac OS.
Cozy automatically scans media library and imports your audiobooks in one directory. You can also drag and drop and audiobook into the app window to import it.
As a GTK app, it’s well integrated in Ubuntu, Fedora, and other Linux with Gnome Desktop. And dark mode is available to work at night. With libhandy library, it has an adaptive user interface that works well in different screen sizes, e.g., on PC, laptop, and mobile.
audio-book player features:
- Sort audio books by author, reader & name
- Remembers playback position
- Sleep timer
- Playback speed control
- Offline Mode
- Support for DRM free mp3, m4a (aac, ALAC, …), flac, ogg, wav files
- Mpris integration (Media keys & playback info for desktop environment)
Option 1: How to Install Cozy in Ubuntu via Official PPA:
Cozy has an official Ubuntu PPA that so far contains packages for Ubuntu 22.04, Ubuntu 23.10, and Ubuntu 24.04.
NOTE: Due to this bug, copy has package conflict to Gnome Extension Manger app. If you want to install both apps in your system, use the Flatpak package (See Option 2) instead!
Though Ubuntu 20.04 is not supported due to outdated libraries, it still can be installed via little modification.
1. Add Cozy PPA
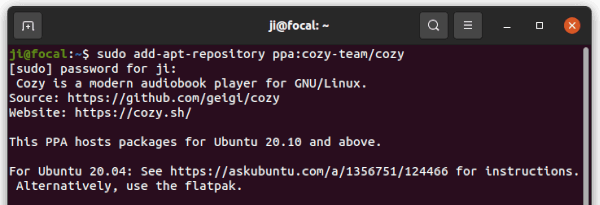
Firstly press Ctrl+Alt+T on keyboard or search for and open ‘terminal’ from start menu. When it opens, run command to add the PPA repository:
sudo add-apt-repository ppa:cozy-team/cozy
Type user password, no asterisk feedback, when it asks and hit Enter to continue.
2. Install dependencies and modify PPA for Ubuntu 20.04 ONLY!
For Ubuntu 20.04 and Linux Mint 20, you can either tweak PPA and install mismatched dependency libraries manually, or install Flatpak package (see next step) instead.
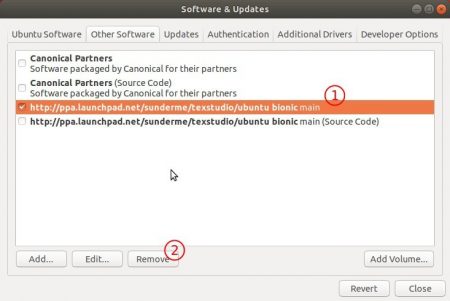
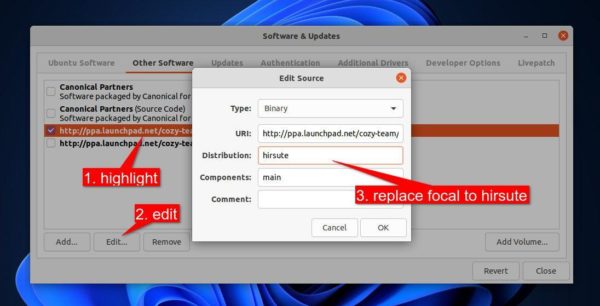
a.) Open “Software & Updates” utility, and navigate to “Other Software” tab. There choose and edit the Cozy PPA repository, and change value focal to hirsute for Distribution so it will install the package for Ubuntu 21.04 Hirsute instead.
b.) Open terminal (Ctrl+Alt+T) and run commands to download & install updated python3-peewee and python3-mutagen libraries.
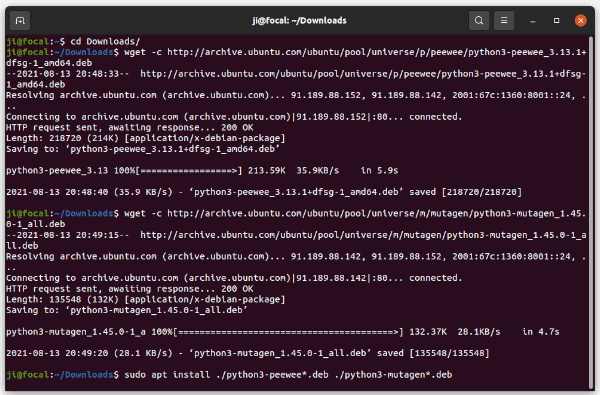
- Navigate to the Downloads folder via cd command:
cd ~/Downloads
- Download python3-peewee via wget network downloader:
wget -c http://archive.ubuntu.com/ubuntu/pool/universe/p/peewee/python3-peewee_3.13.1+dfsg-1_amd64.deb
- And download python3-mutagen via command:
wget -c http://archive.ubuntu.com/ubuntu/pool/universe/m/mutagen/python3-mutagen_1.45.0-1_all.deb
- Finally install both packages via:
sudo apt install ./python3-peewee*.deb ./python3-mutagen*.deb
NOTE: since the command download & install 64-bit packages for Desktop PC/Laptop. For mobile or other devices, you can grab them by searching the package name in packages.ubuntu.com.
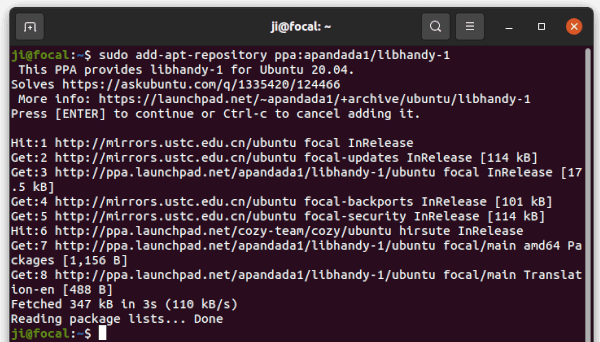
c.) Add PPA for Libhandy-1 library.
Ubuntu 20.04 also lacks libhandy-1 library, which can be installed from another PPA via the maintainer. Open terminal and run command to add the PPA:
sudo add-apt-repository ppa:apandada1/libhandy-1
You don’t have to run a individual command to install the library, because the next apt command will automatically install it as a dependency package.
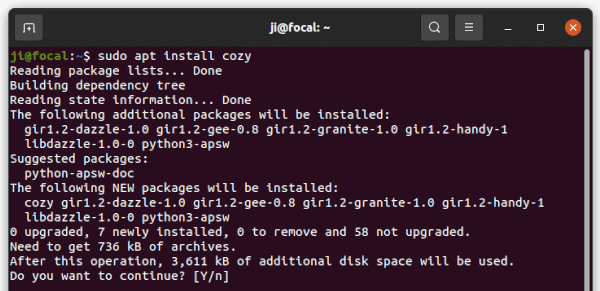
3. Install Cozy via apt command.
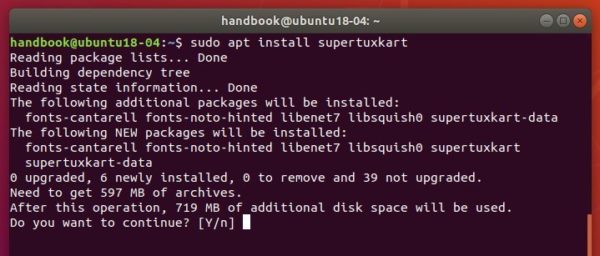
Finally, run command in terminal to install Cozy audiobook player:
sudo apt install cozy
Option 2: How to Install Cozy in Ubuntu 18.04 & Higher via Flatpak:
Cozy audio book player is available as Flatpak package which runs in sandbox. It’s an universal package format that installs on most Linux distributions.
Open terminal either via Ctrl+Alt+T keyboard shortcut or by searching for ‘terminal’ from application menu. When it opens, run following commands one by one.
1. Copy and paste the command and run to install flatpak framework:
sudo apt-get install flatpak

2. Add flathub, the official repository hosts most Flatpak packages:
flatpak remote-add --if-not-exists flathub https://flathub.org/repo/flathub.flatpakrepo

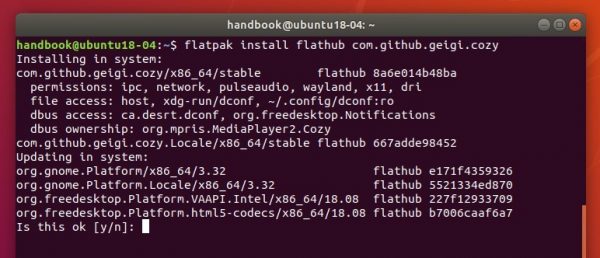
4. Finally install Cozy by running command:
flatpak install flathub com.github.geigi.cozy
Once installed, launch the software either from application menu and enjoy!
Uninstall Cozy:
To remove the Flatpak package, run command in terminal:
flatpak uninstall --delete-data com.github.geigi.cozy
For Cozy installed via Ubuntu PPA, remove it via command:
sudo apt remove --autoremove cozy
NOTE: the command may also remove libhandy-1 as well as Gnome Tweaks. Don’t worry, just install Gnome Tweaks back and it will re-depends on libhandy 0.x in Ubuntu 20.04.
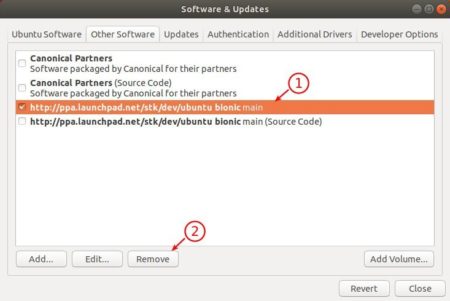
To remove the Ubuntu PPAs, either open “Software & Updates” and go to “Other Software” tab, or run command:
sudo add-apt-repository --remove ppa:apandada1/libhandy-1
sudo add-apt-repository --remove ppa:cozy-team/cozy