Archives For November 30, 1999

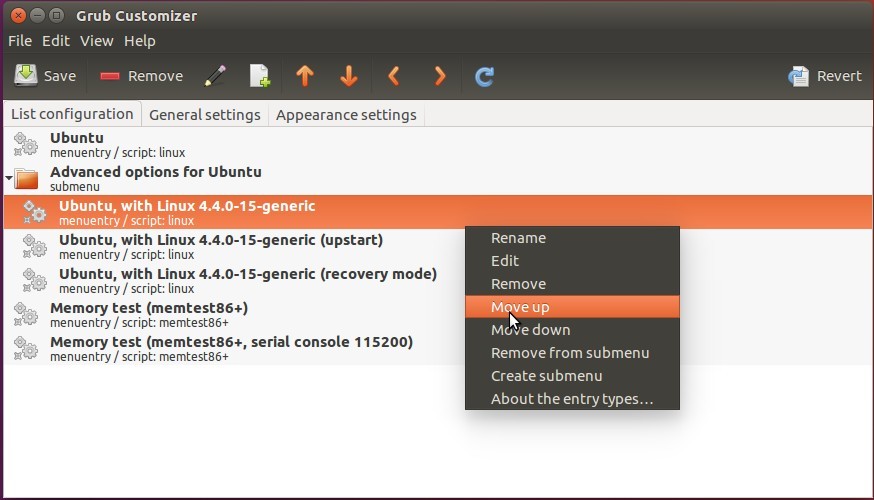
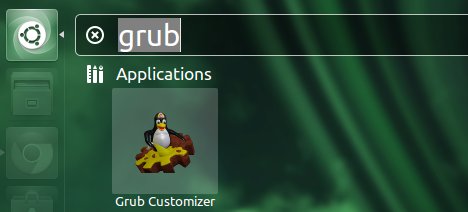
Grub Customizer, the graphical tool for configuring Grub boot-loader, got a new release a few days ago. The PPA adds support for Ubuntu 18.10 Cosmic Cuttlefish.

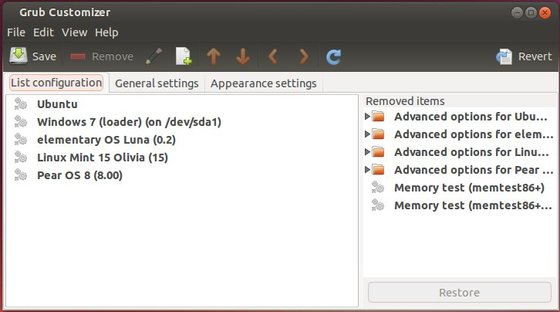
Grub Customizer is a simple tool that features:

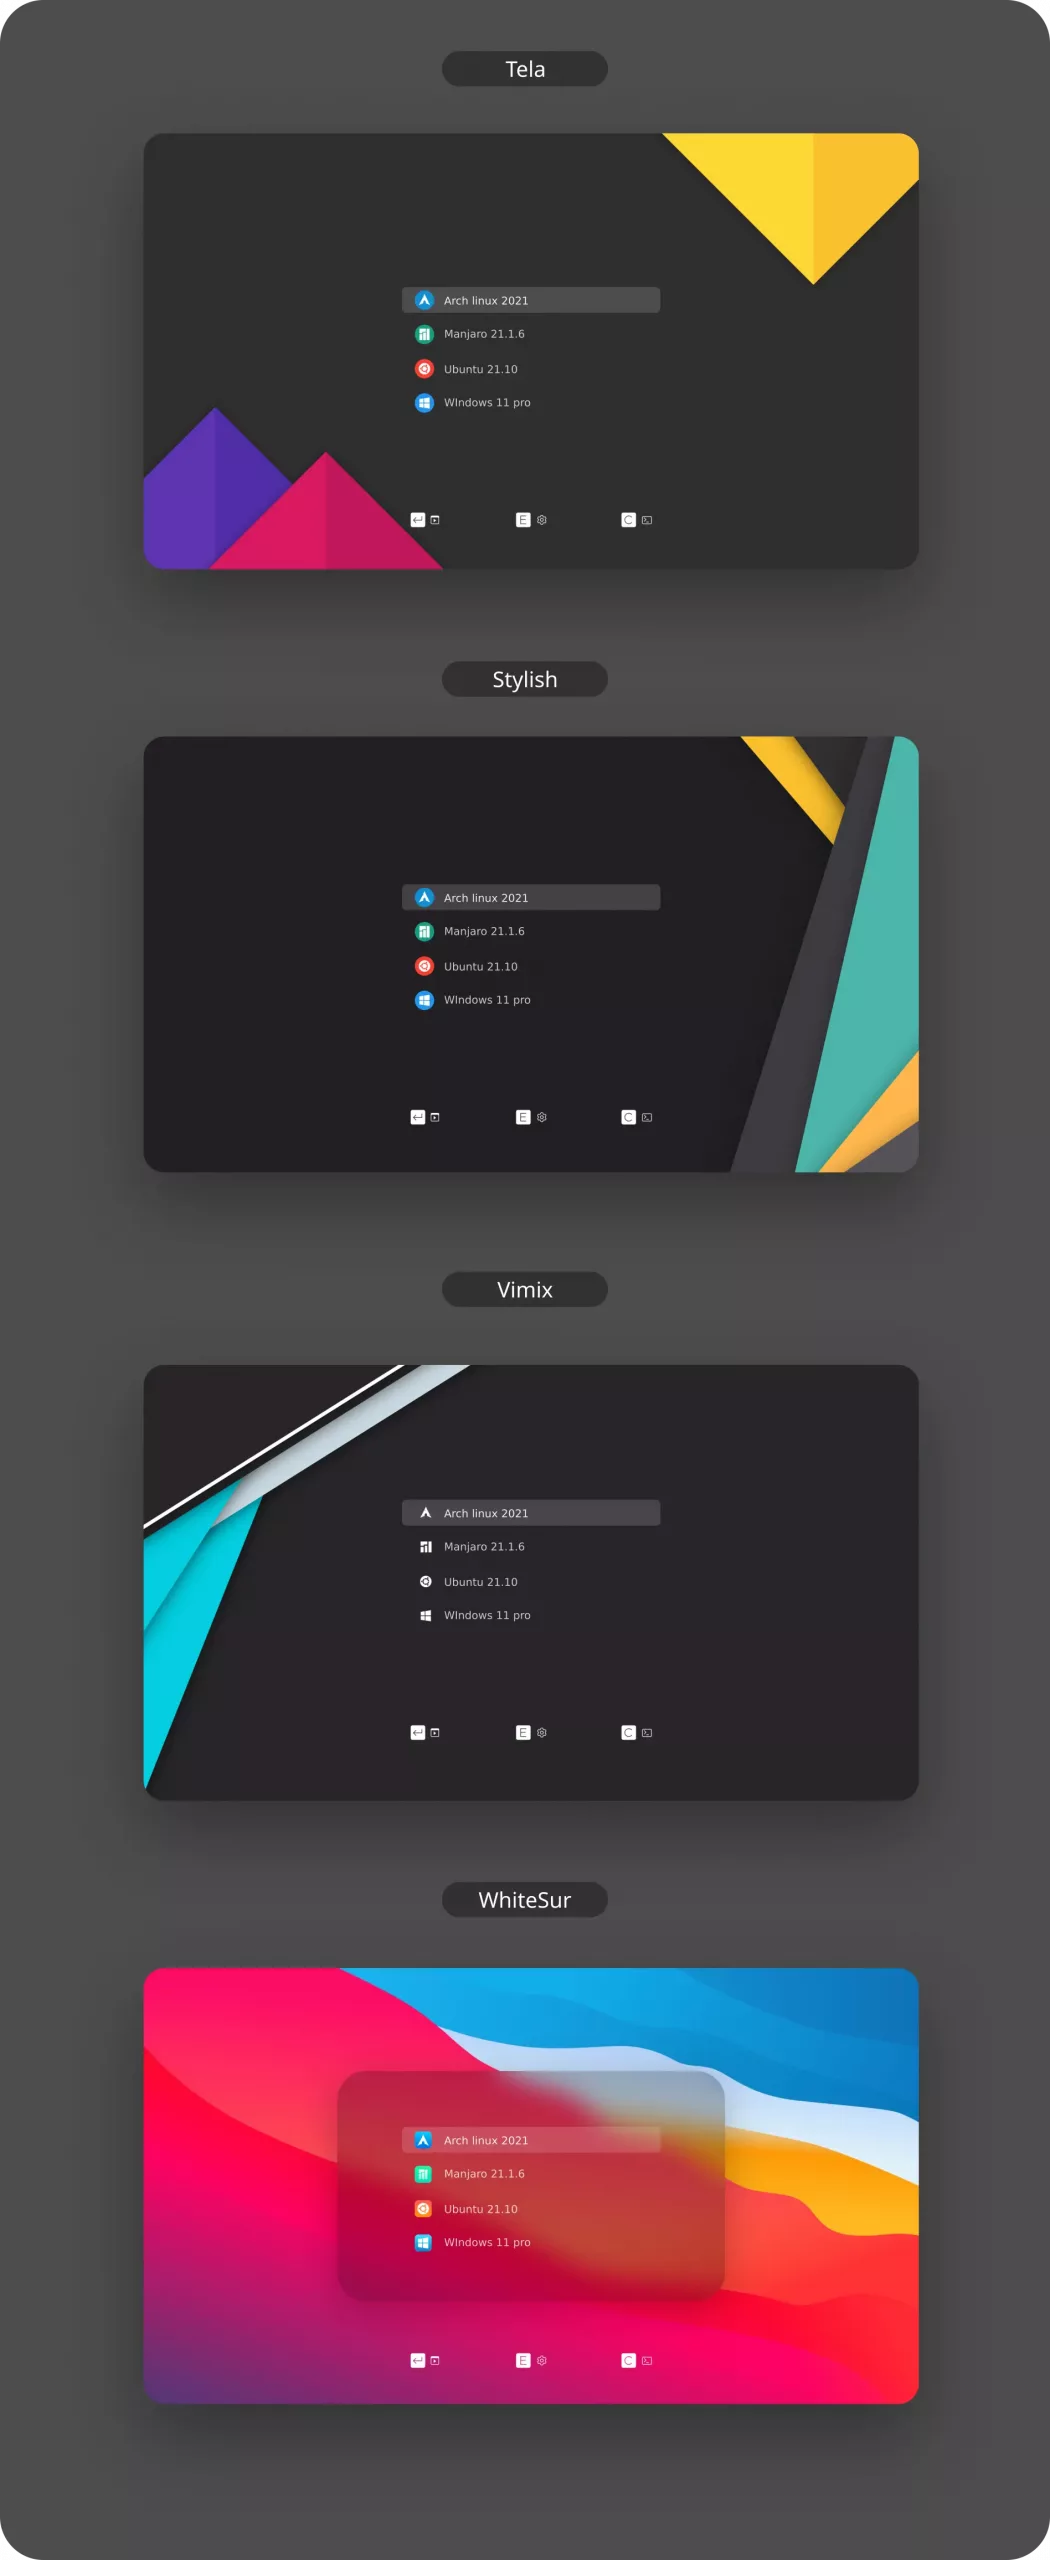
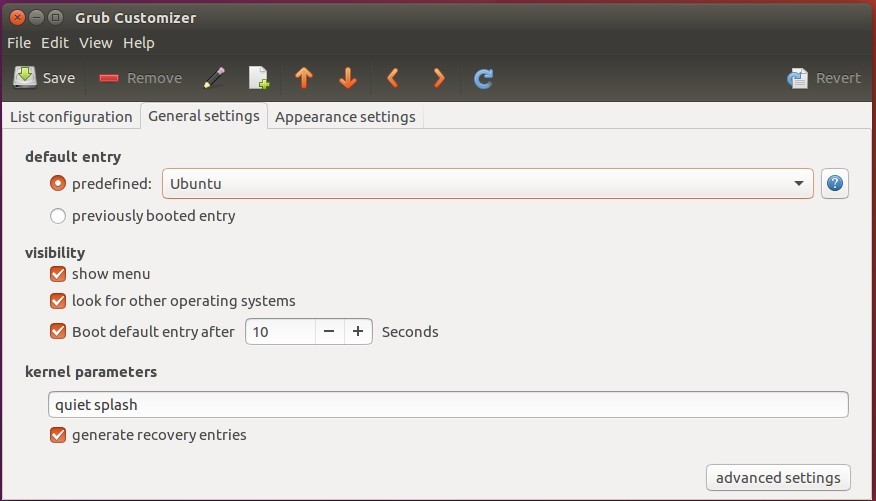
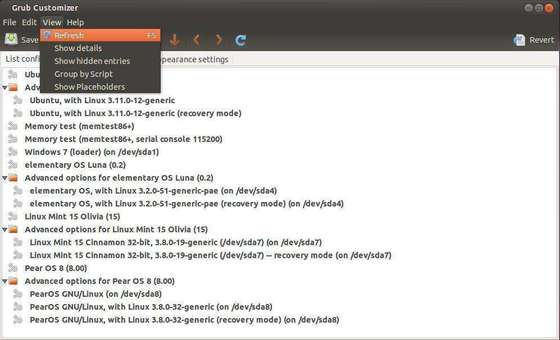
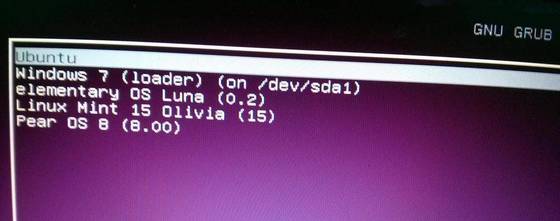
  • add, remove, edit boot-loader menu entries.
  • Set default OS entry, kernel parameters, etc.
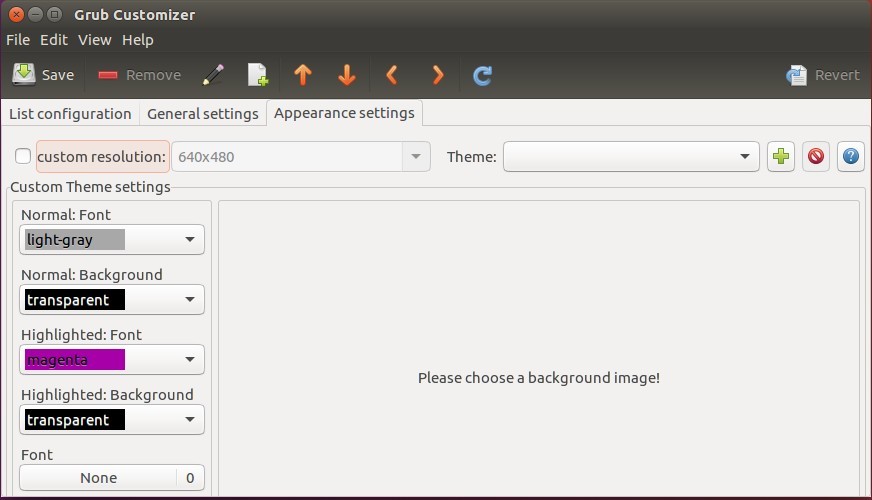
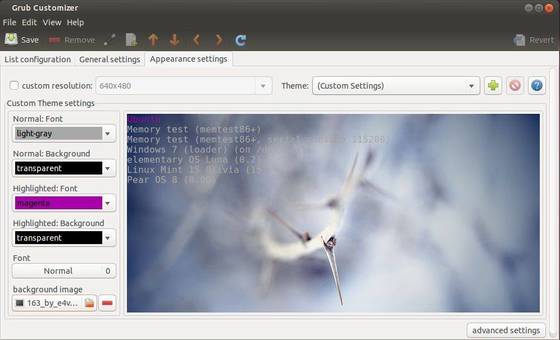
  • Change background image, text font, resolution, etc.
  • Reinstallation of the bootloader to Windows MBR

The most recent 5.1.0 release features:

  • New app icon
  • command option -v to display version info.
  • Traslation updates and some internal changes

How to Install Grub Customizer 5.1.0 in Ubuntu:

For Ubuntu 18.10, and current 3 Ubuntu LTS releases (14.04, 16.04, 18.04), install the new release packages via following steps:

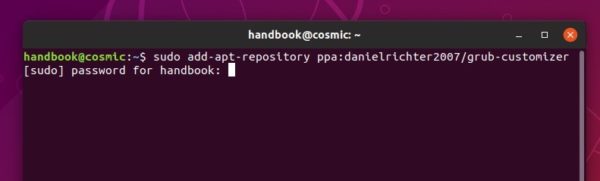
1. Open terminal either from App Launcher or via Ctrl+Alt+T keyboard shortcut. When it opens, paste below command and run to add the official PPA:

sudo add-apt-repository ppa:danielrichter2007/grub-customizer

Type user password (no asterisks feedback due to security reason) when it asks and hit Enter to continue.

2. Then update package lists and install the software:

sudo apt-get update

sudo apt-get install grub-customizer

You can skip sudo apt-get update in Ubuntu 18.04 and higher, since step 1 adding PPA do it automatically.

Once installed, launch it from application menu and enjoy!

Uninstall:

To remove the software, run command in terminal:

sudo apt-get remove --autoremove grub-customizer

And open Software & Updates and navigate to Other Software tab to remove third party PPA repositories.

Boring with the default Grub2 boot loader appearance? Besides switching to Burg boot-loader, you can change the look and feel via the Vimix-grub-theme.

The theme is designed by vinceliuice, the man behind Vimix GTK theme. To try it out, follow the steps below one by one:

1. First, either download the theme package from Github project page, or use the direct link below:

2. Then, go to your Downloads folder. Extract the tarball, and right-click on new generated folder and select “Open in Terminal”.

3. In the pop-up terminal window, run command to install the theme:

sudo ./install.sh --theme vimix

For choice, you can install a few other themes by replacing vimix with tela, stylish, or whitesur. And/or add more options, such as:

  • --screen 2k (or 4k, ultrawide, ultrawide2k) to specify screen resolution. Skip this for 1080p.
  • --icon white (or whitesur) for the icon color. Skip for colorful.

In addition:

For those who want to change the background image or change theme later, simply install Grub-Customizer, launch the software and do:

  1. navigate to Appearance settings tab.
  2. highlight the theme file “background.png”
  3. click ‘Load file’ selection box and choose your image (must be .png)
  4. finally click Save button in Grub Customizer.

Also remove useless Grub menu entries via the first tab in Grub-Customizer if you have multiple Linux Kernels.

Uninstall:

To restore Grub boot menu screen, re-do step 2 to open the theme source folder in terminal, and run command:

sudo ./install.sh --remove vimix

Also replace vimix according which theme you installed.

Grub Customizer, a graphical configuration tool for Grub and BURG boot-loader, has recently reached the 5.0.x series with Ubuntu 16.04 support and a few fixes.

Grub Customizer provides a graphical interface to make it easy to:

  • create, move, remove, edit Grub menu entries
  • set default OS
  • show or hide Grub menu and change the time delay.
  • change background image, resolution, fonts, etc.
  • install Grub boot-loader to Windows’ MBR, and more.

Grub Customizer, edit menu entries

Grub Customizer General Settings

grub customizer theme settings

How to Install Grub-Customizer in Ubuntu 16.04:

This open-source application is available in the developer’s PPA repository for all current Ubuntu releases and their derivatives.

Install Grub Customizer and receive future updates via Software Updater:

1. Open terminal from App Launcher or via Ctrl+Alt+T keys. When it opens, paste below command to add PPA:

sudo add-apt-repository ppa:danielrichter2007/grub-customizer

Type in password (no visual feedback when typing password) when it asks and hit Enter to continue.

2. Then update package lists and install the software:

sudo apt-get update

sudo apt-get install grub-customizer

Get Grub-Customizer installer directly from PPA packages page:

For those who don’t want to add PPA, grab the .deb package for your system and click install via Software Center.

Grub Customizer PPA Package Page

(Optional) To remove Grub Customizer, use Synaptic Package Manager or run command in terminal:

sudo apt-get remove grub-customizer

Grub Customizer is a graphical tool for managing the Grub boot entries in Ubuntu Linux.

With it, you can set the default OS, add/remove boot entries, change boot order, set an background image, and more.

This simple tutorial is going to show you how to install the Grub Customizer in Ubuntu 14.04 Trusty Tahr from the developer’s PPA.

To get started:

press Ctrl+Alt+T on keyboard to open the terminal. When it opens, paste the commands below and run one by one:

sudo add-apt-repository ppa:danielrichter2007/grub-customizer

sudo apt-get update

sudo apt-get install grub-customizer

Once done, you’re able to open this tool from the Unity Dash or application menu. Enjoy!

Don’t use the “Memory Test”, “Recovery Mode”, “Advanced Options” entries in your Grub bootloader? Well, you may remove them to make your Grub Menu clean.

It’s hard to do this thing by editing the config files. Fortunately, there’s a simple graphical tool that helps you manage Grub2 on Ubuntu and its derivatives.

To install the tool – grub customizer – press Ctrl+Alt+T on keyboard to open terminal. When it opens, run below commands one by one:

sudo add-apt-repository ppa:danielrichter2007/grub-customizer

sudo apt-get update

sudo apt-get install grub-customizer

Once installed, open it from Dash or Menu and you’re able to edit the entries simply by a few mouse clicks.

Click Save button and you’ll see the changes at next boot!

Enjoy!


Grub Customizer, graphical grub2 (Ubuntu’s default bootloader) settings manager now is at version 4.0. It has been a long time since the last version was released in September 2012.

Grub Customizer 4.0 gets a better user interface and adds a Revert button to undo the changes. See the changelog:

  • hiding placeholders by default (too confusing for most people, can be re-enabled at “view” -> “show placeholders”)
  • view options
  • improved trash view (sidebar instead of separate window)
  • GTKmm 3.0 (a backport to gtkmm-2.4 exists for older distributions)
  • Theming (of grub)
  • improved appearance settings
  • script replacement detection (no more duplicates when grub scripts are replaced by an update of grub)
  • backup creation on first run (allows simple restoring of the default config)
  • more help texts
  • fallback on systems without grub-mkdevicemap/device.map (better compatibility)

Screenshots:

How to Install Grub Customizer:

The PPA is ready for Ubuntu 14.04, Ubuntu 13.10, Ubuntu 13.04, Ubuntu 12.04, Ubuntu 12.10, Linux Mint, Pear OS, Elementary OS 8 and other derivatives.

To get started installing the tool, press Ctrl+Alt+T on keyboard to open terminal. When it opens, add the PPA via:

sudo add-apt-repository -y ppa:danielrichter2007/grub-customizer

Update package lists:

sudo apt-get update

Install the tool:

sudo apt-get install grub-customizer

The Grub Customizer PPA now is available for Ubuntu 13.10 Saucy Salamander and its derivatives.

As you may know, Grub Customizer is a graphical interface to configure the GRUB2/BURG settings and menu entries. It allows to move, remove, rename and edit the bootloader menu entries, set the default operating system, reinstallation of the bootloader to MBR, etc.

Install Grub Customizer:

Press Ctrl+Alt+T on your keyboard to open terminal. When it opens, run below command to add the PPA:

sudo add-apt-repository ppa:danielrichter2007/grub-customizer

Then update package lists and install grub-customizer:

sudo apt-get update; sudo apt-get install grub-customizer

Once installed, open it from Unity Dash and enjoy!