


Shutter, the popular Linux screenshot tool, is finally removed from the final release of Ubuntu 18.10 repository.
For those who want to install Shutter in Ubuntu 18.10. This unofficial PPA offers the latest packages that include:
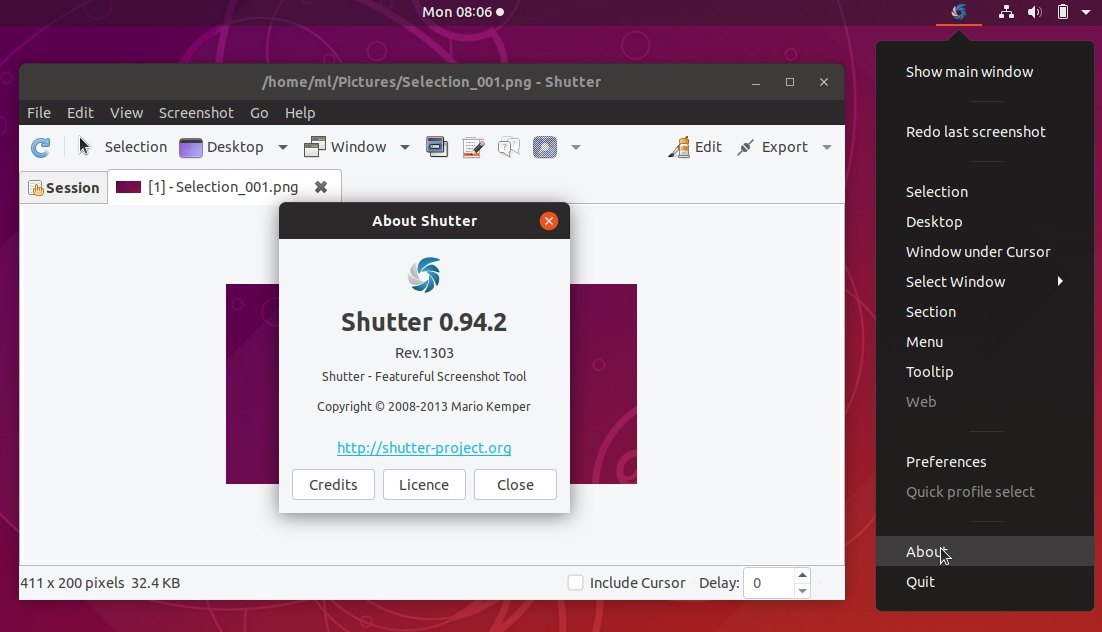
- Shutter 0.94.2 released a month ago with Gyazo uploads and some bug-fixes.
- libgoo-canvas-perl and its dependencies to make ‘Edit’ option work.
- libgtk2-appindicator-perl for system tray app indicator working.
Install Shutter in Ubuntu 18.10:
1. Open terminal either via Ctrl+Alt+T keyboard shortcut or by searching for ‘terminal’ from application menu. When it opens, run command:
sudo add-apt-repository ppa:ubuntuhandbook1/shutter
Type your user password (no asterisks feedback) when it prompts and hit Enter to add the PPA.


2. Then install shutter via command:
sudo apt install --install-recommends shutter
--install-recommends is required for application indicator. And you can add --install-suggests flag in the command for more functions.
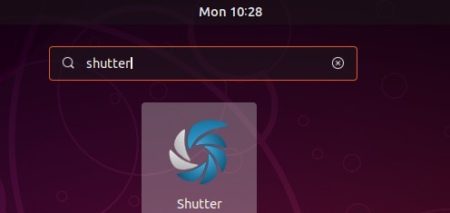
Once installed, open shutter from software launcher and enjoy!

Uninstall:
To remove shutter screenshot tool, run command in terminal:
sudo apt remove --autoremove shutter
And go to Software & Updates -> Other Software to remove third-party PPA repositories.


A big thanks for your efforts. Shutter is still a necessary piece of my daily workflow.
Cheers !
1904 please