![]()

Linus Torvalds finally announced the release of Linux Kernel 4.18 yesterday afternoon. He wrote in lkml.org:
It was a very calm week, and arguably I could just have released on schedule last week, but we did have some minor updates. Mostly networking, but some vfs race fixes (mentioned in the rc8 announment
as “pending”) and a couple of driver fixes (scsi, networking, i2c). Some other minor random things (arm crypto fix, parisc memory ordering fix). Shortlog appended for the (few) details.Some of these I was almost ready to just delay to until the next merge window, but they were marked for stable anyway, so it would just have caused more backporting. The vfs fixes are for old races that are
really hard to hit (which is obviously why they are old and weren’t noticed earlier). Some of them _have_ been seen in real life, some of them probably need explicit help to ever trigger (ie artificial delays
just to show that “yes, this can actually happen in theory”).
Changes in kernel 4.18 include:
- Initial support for the Qualcomm Snapdragon 845 SoC.
- Various power management improvements to AMDGPU
- Initial NVIDIA GV100 Volta support within Nouveau DRM driver
- 32-bit ARM finally gets mitigated for Spectre V1/V2
- Various new sound chips support
- USB 3.2 and USB Type-C improvements.
- And many other changes.
How to Install Linux Kernel 4.18 in Ubuntu:
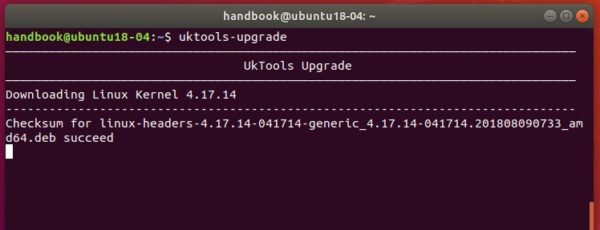
There a few tools, e.g., UKTools and Ukuu, make it easy to install the latest Kernel in Ubuntu.
You can also manually download the Kernel 4.18 Ubuntu binary packages at:
Depends on your OS type, download and install the packages in turns:
- linux-headers-4.18.0-xxxxxx_all.deb
- linux-headers-4.18.0-xxx-generic(/lowlatency)_xxx_amd64(/i386).deb
- linux-modules-4.18.0-xxx-generic(/lowlatency)_xxx_amd64(/i386).deb
- linux-image-xxx-4.18.0-xxx-generic(/lowlatency)_xxx_amd64(/i386).deb
Select generic for common system, and lowlatency for a low latency system (e.g. for recording audio), amd64 for 64bit system, i386 for 32bit system, or armhf, arm64, etc for other OS types.
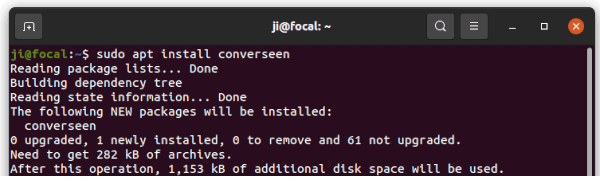
Also you can download and install the kernel binaries via terminal commands:
For 64-bit OS:
cd /tmp/

wget -c http://kernel.ubuntu.com/~kernel-ppa/mainline/v4.18/linux-headers-4.18.0-041800_4.18.0-041800.201808122131_all.deb

wget -c http://kernel.ubuntu.com/~kernel-ppa/mainline/v4.18/linux-headers-4.18.0-041800-generic_4.18.0-041800.201808122131_amd64.deb

wget -c http://kernel.ubuntu.com/~kernel-ppa/mainline/v4.18/linux-image-unsigned-4.18.0-041800-generic_4.18.0-041800.201808122131_amd64.deb

wget -c http://kernel.ubuntu.com/~kernel-ppa/mainline/v4.18/linux-modules-4.18.0-041800-generic_4.18.0-041800.201808122131_amd64.deb

sudo dpkg -i *.deb
for 32-bit OS:
cd /tmp/

wget -c http://kernel.ubuntu.com/~kernel-ppa/mainline/v4.18/linux-headers-4.18.0-041800_4.18.0-041800.201808122131_all.deb

wget -c http://kernel.ubuntu.com/~kernel-ppa/mainline/v4.18/linux-headers-4.18.0-041800-generic_4.18.0-041800.201808122131_i386.deb

wget -c http://kernel.ubuntu.com/~kernel-ppa/mainline/v4.18/linux-image-4.18.0-041800-generic_4.18.0-041800.201808122131_i386.deb

wget -c http://kernel.ubuntu.com/~kernel-ppa/mainline/v4.18/linux-modules-4.18.0-041800-generic_4.18.0-041800.201808122131_i386.deb

sudo dpkg -i *.deb
Once installed, restart your computer and enjoy!
Uninstall Linux Kernel 4.17:
Restart your machine and select boot with the previous kernel in boot menu ‘Grub2 -> Advanced Option for Ubuntu’. Then run command to remove Linux Kernel 4.18.0:
sudo dpkg --purge linux-image-4.18.0-041800-generic linux-image-unsigned-4.18.0-041800-generic