Ubuntu 17.10 Artful Aardvark reached end of life on July 19 2018. It was announced last night:
“This is a follow-up to the End of Life warning sent earlier this month to confirm that as of today (July 19, 2018), Ubuntu 17.10 is no longer supported. No more package updates will be accepted to 17.10, and it will be archived to old-releases.ubuntu.com in the coming weeks.
The original End of Life warning follows, with upgrade instructions:
Ubuntu announced its 17.10 (Artful Aardvark) release almost 9 months ago, on October 19, 2017. As a non-LTS release, 17.10 has a 9-month support cycle and, as such, the support period is now nearing its
end and Ubuntu 17.10 will reach end of life on Thursday, July 19th.
At that time, Ubuntu Security Notices will no longer include information or updated packages for Ubuntu 17.10.“
Users of Ubuntu 17.10 are recommended to upgrade to Ubuntu 18.04 LTS. Before following the official documentation, you need to first make backups, uninstall proprietary drivers, purge third-party PPAs.
And it’s always a good choice to do a fresh install of Ubuntu 18.04 LTS.
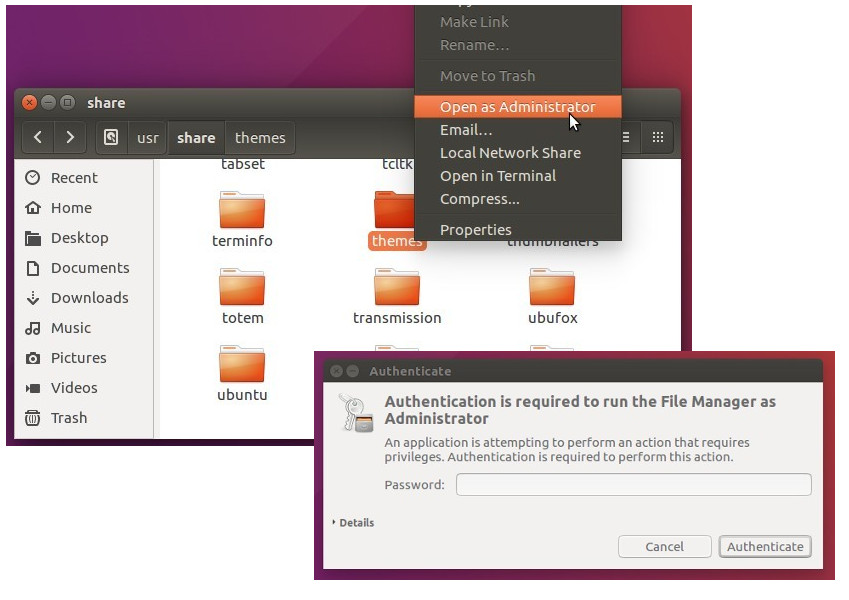
It’s been a long time last time I wrote about how to enable “Open as root” or “Open as Administrator” in Nautilus’ context menu.
A Nautilus extension called Nautilus Admin has been created for a period of time. It’s a simply Python script that adds some administrative actions to the right-click menu:
Open as Administrator: opens a folder in a new Nautilus window running with administrator (root) privileges.
Edit as Administrator: opens a file in a Gedit window running with administrator (root) privileges.
To install the Nautilus extension:
The extension is available for all current Ubuntu releases: Ubuntu 14.04, Ubuntu 16.04, Ubuntu 17.10, and Ubuntu 18.04.
1. Simply open “Terminal” either via Ctrl+Alt+T or from app launcher. Then run command:
sudo apt-get install nautilus-admin
Input your password (no visual feedback while typing) when it prompts and hit Enter.
2. Then restart Nautilus via command:
nautilus -q
That’s it. Open nautilus file browser again and enjoy with new context menu options!
This simple tutorial shows how to enable ‘minimize on click’, minimize running app window when clicking on its icon on the left dock panel.
All the opened app icons are docked on the left panel in Ubuntu GNOME desktop. Unlike Windows, it however does not minimize focused app when you click its icon on the dock. And, neither “System Setting” nor “Gnome Tweaks” has option to enable this action.
Since the Ubuntu dock is handled by the dash-to-dock extension, it does have the option to enable the feature. All current Ubuntu releases, including Ubuntu 18.04, Ubuntu 20.04, Ubuntu 22.04, and Ubuntu 24.04, can enable this feature via following steps.
Single command to enable ‘Minimize on click’:
The dash-to-dock Gnome extension in Ubuntu is called ‘Ubuntu Dock’. As the built-in extension, it does not provide settings page in ‘Gnome Extensions’ app. However, users may run single command to change its options one by one.
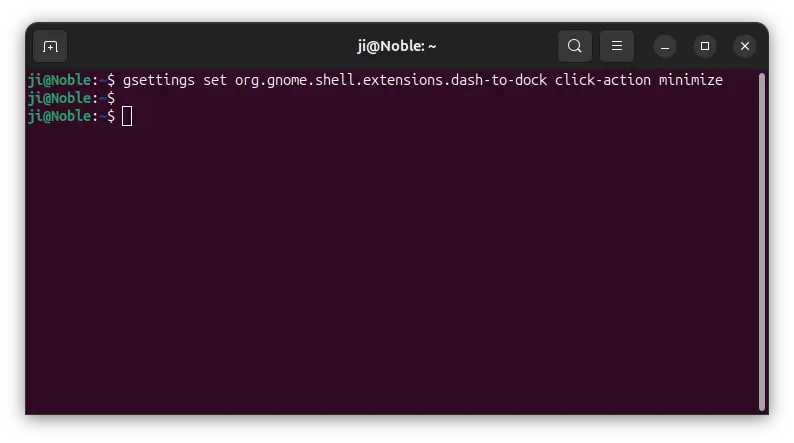
Firstly, either search for and open terminal from ‘Activities’ overview or press Ctrl+Alt+T key combination on keyboard. When terminal opens, run command:
gsettings set org.gnome.shell.extensions.dash-to-dock click-action minimize
After that, click on dock icon to open or focus an app, and click again to see effect!
Enable ‘Minimize on click’ via Extension Manager (Graphical Tool):
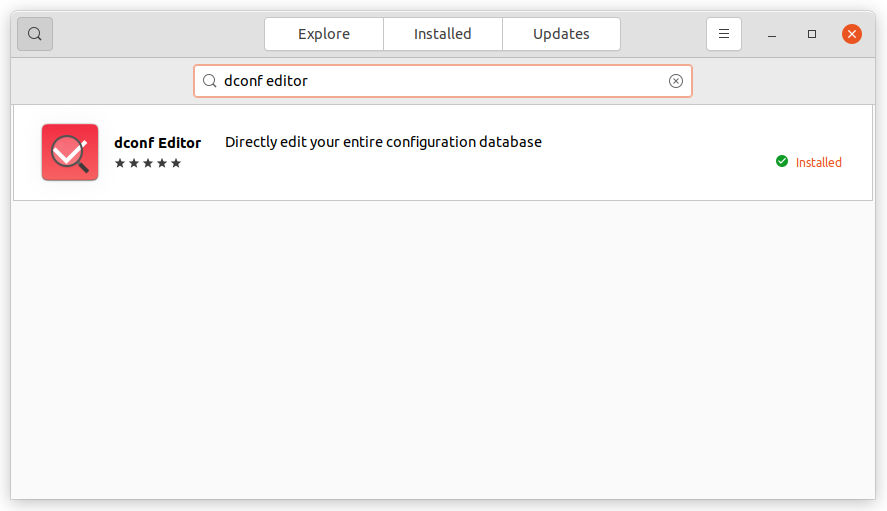
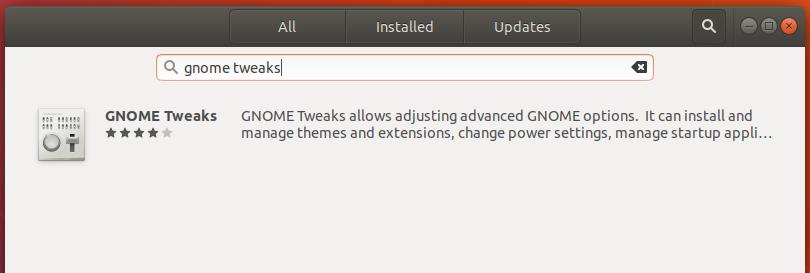
In Ubuntu 24.04, user can first launch App Center, then search for and install the Extension Manager tool.
Install Extension Manager in Ubuntu Software/App Center
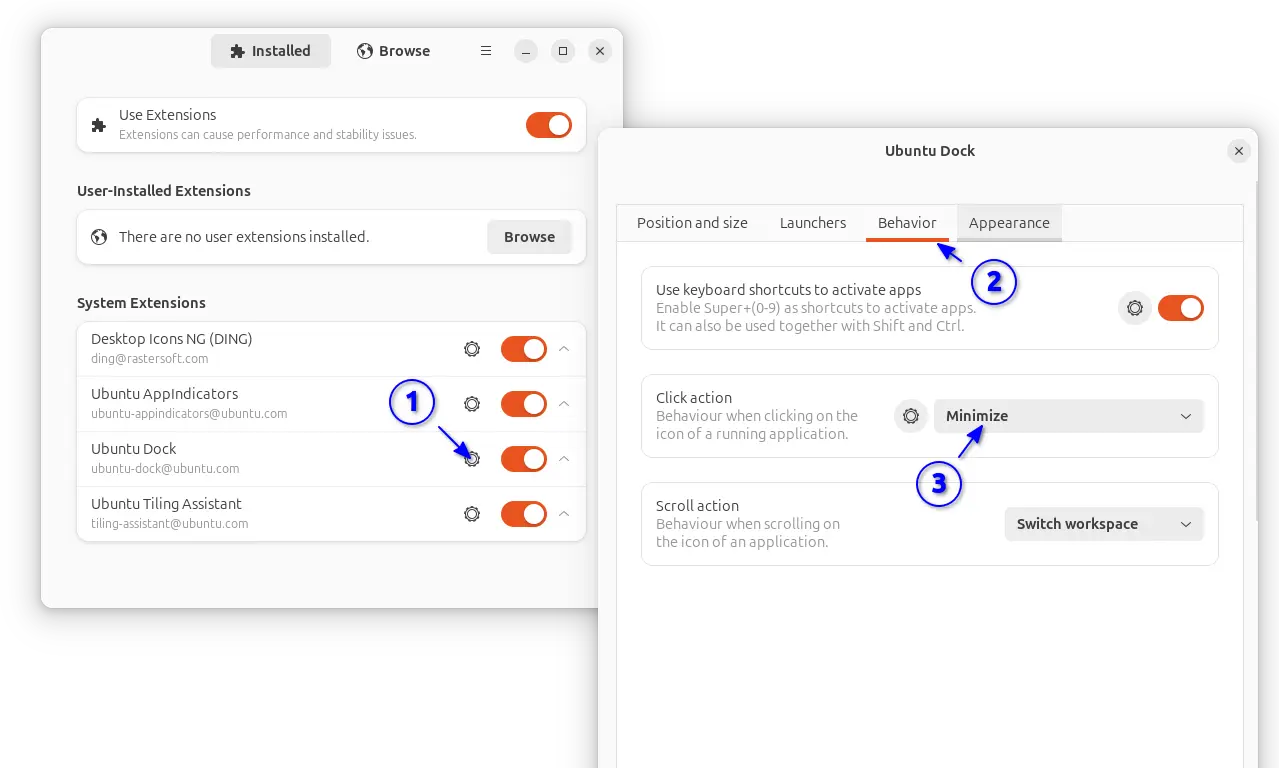
Then, launch “Extension Manager” and click the setting icon for “Ubuntu Dock” extension to open its preferences dialog.
In next pop-up dialog, you’ll see lots of options to configure the left dock panel. There, navigate to “Behavior” tab and set “Click action” to minimize, will do the trick enabling click app icon to minimize its window.
Enable ‘Minimize on click’ via Dconf Editor (Graphical Tool):
For those hate Linux command, the advanced “Dconf Editor” configuration tool is present to do the trick.
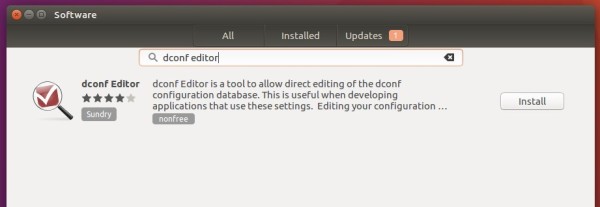
1.) Firstly, search for and install ‘dconf editor’ via Ubuntu Software if you don’t have it.
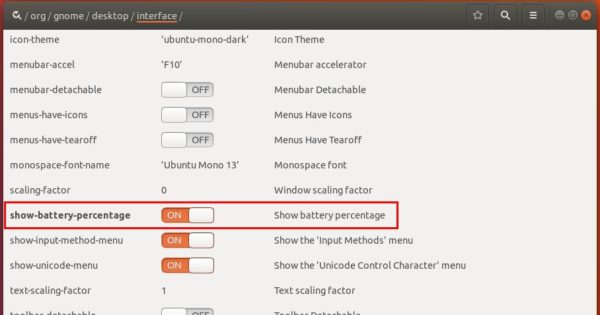
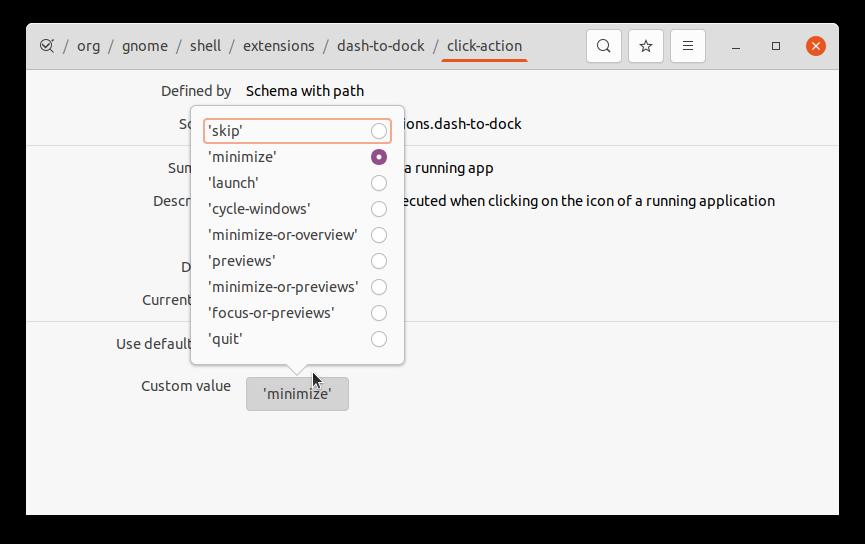
2.) Next, search for and open the tool from the upper-left Activities overview, and then navigate to org -> gnome -> shell -> extensions -> dash-to-dock.
Then scroll down and find out settings for ‘click-action’, and do:
click the line to go into its configuration page.
turn off the default value switch.
select ‘minimize’ as Custom value.
You may also set the value to ‘minimize-or-overview’, which will go to overview screen if more than one windows of the same app are opened; or ‘minimize-or-previews’ that opens thumbnail preview if multiple app instances exist.
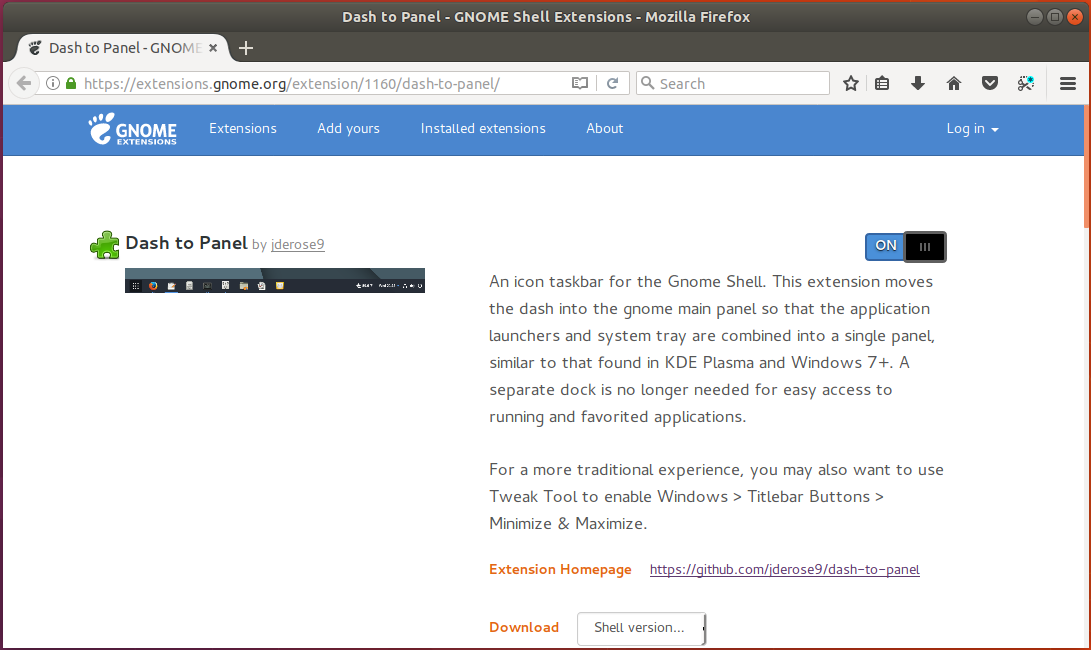
This quick tutorial is going to show beginners how to install and manage Gnome Shell Extensions in Ubuntu 17.10 while it uses Gnome Shell as default desktop environment.
Gnome Shell Extensions are small pieces of code written by third party developers. If you are familiar with Chrome Extensions or Firefox Addons, GNOME Shell extensions are similar to them.
How to Install Gnome Shell Extensions
Gnome maintains a website, extensions.gnome.org, for users to install or upgrade extensions. All extensions there are carefully reviewed for malicious behavior before they are made available for download.
To be able to install Gnome Shell Extensions in Ubuntu 17.10, do following steps:
Ubuntu 17.10 Artful Aardvark will be released soon today. Here’s how you can upgrade from the Ubuntu 17.04 desktop.
Ubuntu 17.10 replaces Unity with Gnome Shell as its default desktop environment. It’s powered by 4.13 Kernel and runs Gnome on Wayland by default. Xorg is also available for choice.
A fresh install of Ubuntu 17.10 is recommended. But for those who want to upgrade from Ubuntu 17.04, do:
1. First is always backup your important data, bookmarks, and other user documents.
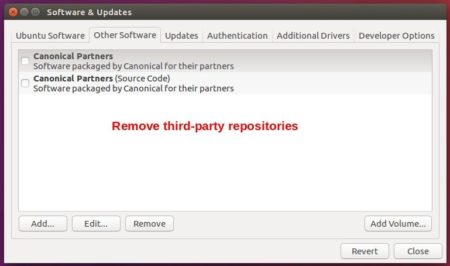
2. Launch Software & Updates utility from application launcher,
in first tab, choose “Download from” Main server
in Other Software tab, remove/disable all third-party repositories.
in Additional Drivers tab, choose an open-source driver if a proprietary one is in use.
3. Remove other desktop environments (KDE, Cinnamon, etc). Upgrading desktop packages may take a few more minutes in the upgrading process.
4. Make you system up-to-date by running command in terminal (Ctrl+Alt+T):
sudo apt update && sudo apt upgrade
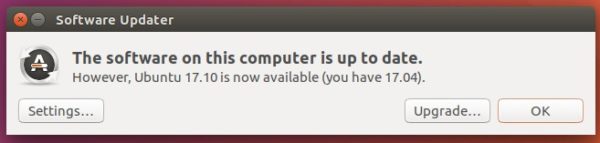
5. Finally launch Software Updater to get the upgrade option. Or run following command (-d is required before it’s officially announced):
sudo update-manager -d
Click the Upgrade button and confirm in the next release note dialog to start the upgrading wizard.
Note: while the upgrading process, you need a few clicks to confirm installing or removing some packages.
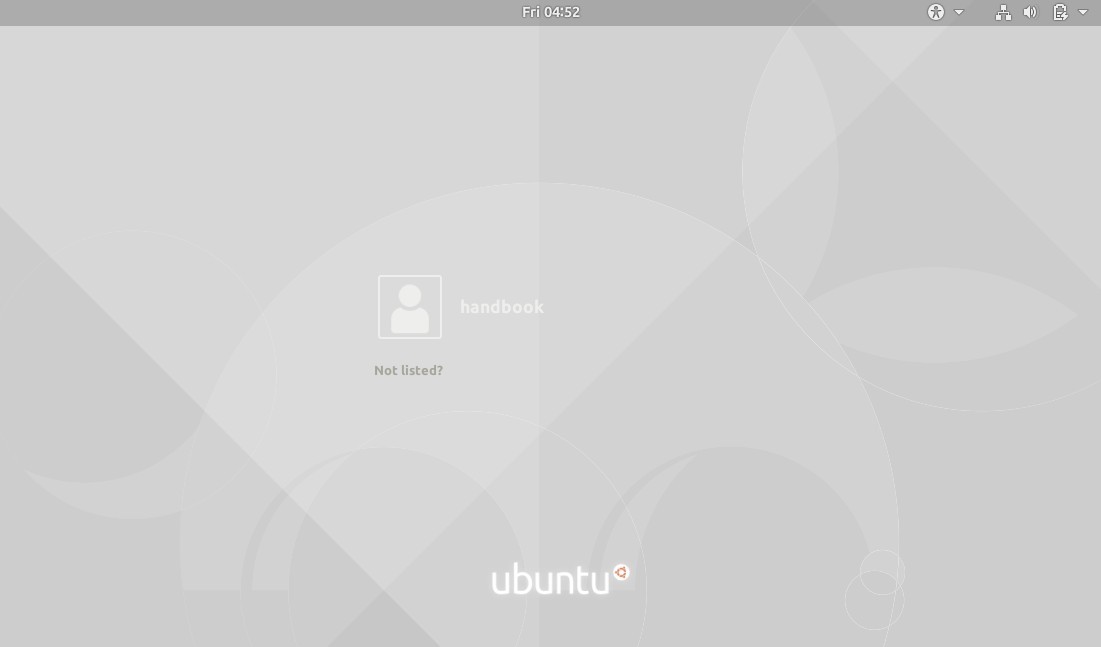
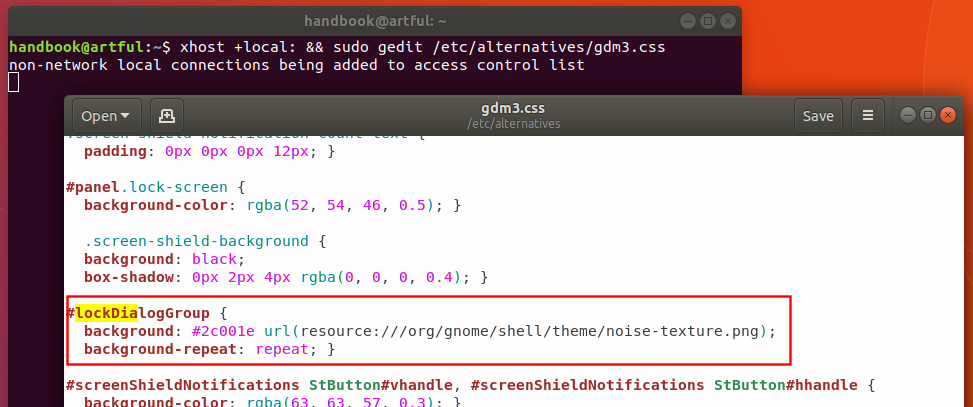
Boring with the default purple login screen background in Ubuntu 18.04? Well, here’s how to make a change by hacking the css file.
UPDATE 2024: This tutorial is outdated and only work for old Ubuntu 18.04!! For most recent Ubuntu versions, see this tutorial instead!
Ubuntu since 17.10 switches to Gnome 3 Desktop and GDM display manager. Although there are options to change desktop wallpaper and lock screen background (it’s actually screen saver with date & time displayed), the login screen is always purple.
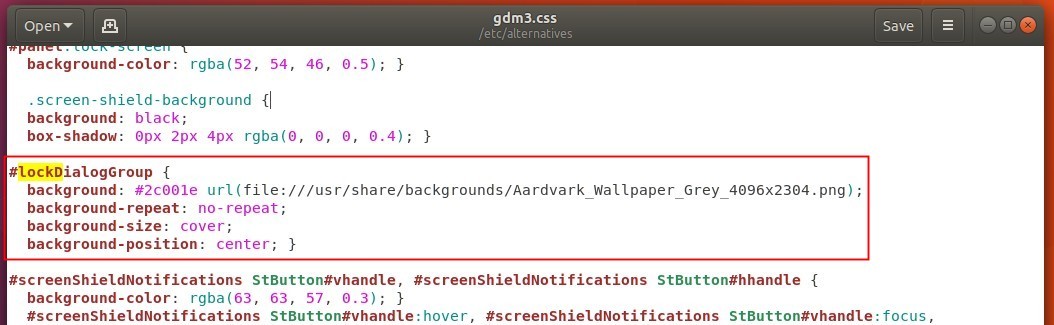
In the picture above, I’ve changed the login background to the image “Aardvark_Wallpaper_Grey_4096x2304.png” locate in /usr/share/backgrounds.
1. Move your favorite image to /usr/share/backgrounds:
It’s better to move the image you want to set as login background to system pictures folder: /usr/share/backgrounds.
To do so, open terminal via Ctrl+Alt+T, then either run command:
Replace Aardvark_Wallpaper_Grey_4096x2304.png with your picture file name.
Finally save the file and restart your computer to apply changes.
NOTE: these changes may be overwritten in case of an system update with GDM packages. Please let me know if you find a good way to change the GDM3 login background in Ubuntu 17.10.
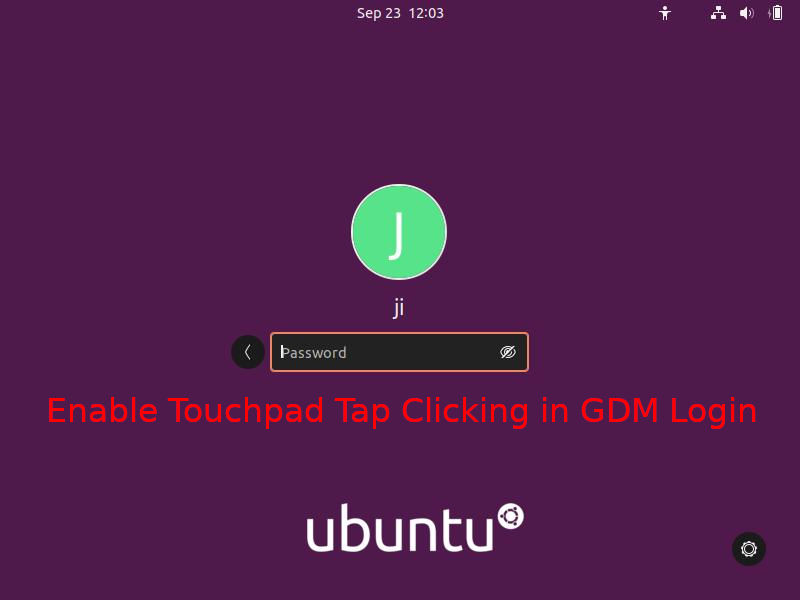
For notebook or PC with a touchpad, you’ll find that tap clicking function does not work in the GNOME login screen out-of-the-box, either in Ubuntu or other Linux.
You may hit Enter on keyboard to login after typing password. It will however more convenient if tap to click works when trying to select another user, session, or upper right corner menu. And here’s how to enable this function in Ubuntu 22.04 and Ubuntu 20.04.
UPDATE: There’s now graphical GDM-Settings configuration tool, can do the job as easy as few mouse clicks.
Enable Tap Clicking in GDM Login Screen.
Both the System Settings and ‘Dconf Editor’ configuration tool have option to toggle ‘Tap to Click’ in Ubuntu. However, none works for the login screen due to permission issue. You need the gdm system user privilege to do the setting.
1.) Firstly, open terminal by either searching from the overview screen or pressing Ctrl+Alt+T on keyboard.
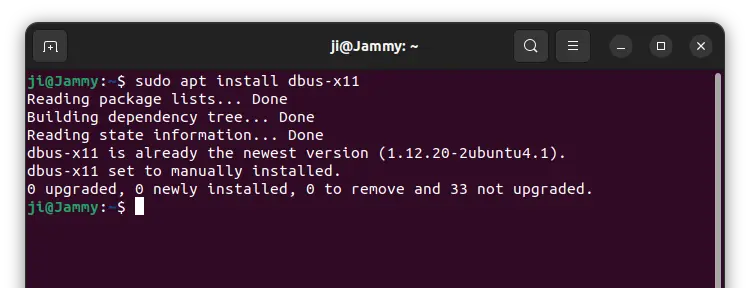
2.) For Ubuntu 22.04, you have to first install the dbus-x11 package for dbus-launch command:
sudo apt install dbus-x11
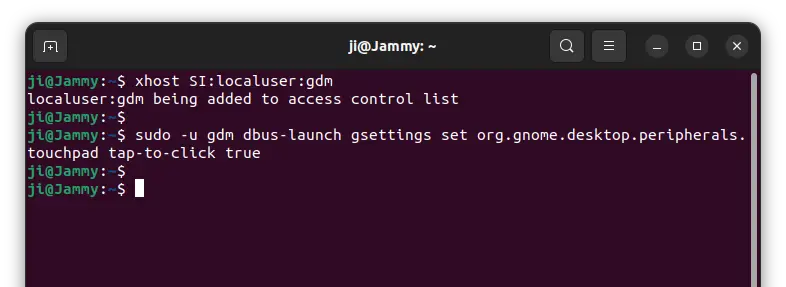
3.) When terminal opens, run command to add user gdm to the control list:
xhost SI:localuser:gdm
It will indicate that ‘localuser:gdm being added to access control list’.
4.) Finally run gsettings command to enable ‘tap to click’ using gdm user privilege:
sudo -u gdm gsettings set org.gnome.desktop.peripherals.touchpad tap-to-click true
For Ubuntu 22.04, add dbus-launch flag in command, so it will be:
sudo -u gdm dbus-launch gsettings set org.gnome.desktop.peripherals.touchpad tap-to-click true
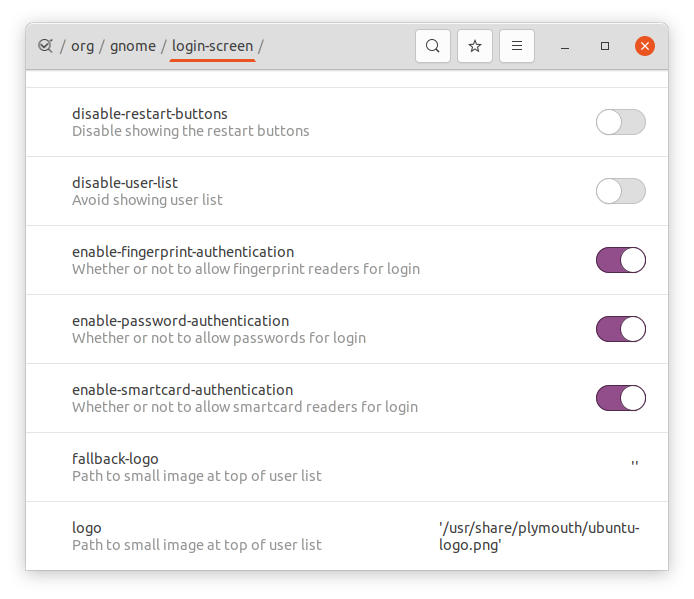
If you want to do more settings about the GNOME login screen, you may first install “Dconf Editor” and launch the tool via gdm system user. To do so, paste the command below into terminal and hit run:
When it opens, navigate to “org/gnome/login-screen“. There you may toggle settings for disable user list, enable fingerprint, smartcard authentications, and more.
The first Beta of Ubuntu 17.10 Artful Aardvark was announced last night. The beta features images for Kubuntu, Lubuntu, Ubuntu Budgie, Ubuntu Kylin, Ubuntu MATE, Ubuntu Studio and Xubuntu.
“The first beta of the Artful Aardvark (to become 17.10) has now been released!
This milestone features images for Kubuntu, Lubuntu, Ubuntu Budgie, Ubuntu Kylin, Ubuntu MATE, Ubuntu Studio and Xubuntu.
Pre-releases of the Artful Aardvark are *not* encouraged for anyone needing a stable system or anyone who is not comfortable running into occasional, even frequent breakage. They are, however, recommended for Ubuntu flavor developers and those who want to help in testing, reporting, and fixing bugs as we work towards getting this release ready.
…“
Ubuntu 17.10 Beta 1 features:
Plasma desktop 5.10.5 in Kubuntu 17.10.
Change from ifupdown to netplan for networking in Lubuntu 17.10 Beta1
Budgie Desktop 10.4, replace GNOME Photos with gThumb, Nautilus 3.24 support etc. in Ubuntu Budgie
Ubuntu MATE 17.10: Different panel layouts to mimic Unity 7, macOS, Windows interface.
Ubuntu MATE 17.10: Complete Super key support, improvements to Global Menu, Heads-Up Display, and more.
According to the release schedule, there will be a final beta on September 28th, Final Freeze (Release candidate) on October 12th, and Ubuntu 17.10 will be finally released on October 19th.
The second alpha release of Ubuntu 17.10 Artful Aardvark now is available for download. Ubuntu 17.10 Alpha 2 features images for Kubuntu, Lubuntu, Ubuntu Budgie, Ubuntu Kylin, and Ubuntu MATE.
Ubuntu 17.10 is still based on Kernel 4.11, which is used in Ubuntu 17.04, however there are a lot of internal updates, such as Python 3 support as default, GNOME’s GDM as default login manager instead of LightDM, and hardware-accelerated video playback.
Download Ubuntu 17.10:
NOTE the pre-release images are not recommended for anyone who need a stable system. However, they are recommended for developers or users who want to test by finding, reporting, and/or fixing bugs, or people want to see how the current snapshot of Ubuntu 17.10 will look and behave.