![]()
Transmission, the default BitTorrent client, reached the 2.94 release a few days ago. Now you can install it in Ubuntu 16.04, Ubuntu 17.10, Ubuntu 18.04 easily via PPA.
Transmission 2.94 is a bug-fix release with following changes:
- Fix building against LibreSSL
- Fix building against mbedTLS
- Fix torrents ETA calculation
- Fix cross-compilation issues caused by miniupnpc configuration test
- Fix bad downloaded percentage in DetailsDialog for Qt client
- Fix tracker error XSS in inspector for web client
- Fix torrent name HTML-escaping in trackers inspector tab for web client.
![]()
How to Upgrade Transmission in Ubuntu:
Transmission has a stable PPA that so far maintains the latest packages for Ubuntu 16.04, Ubuntu 17.10, and Ubuntu 18.04.
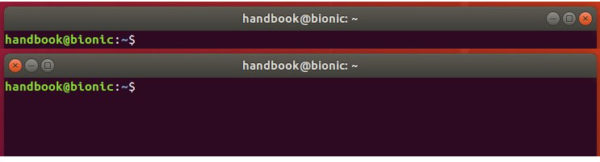
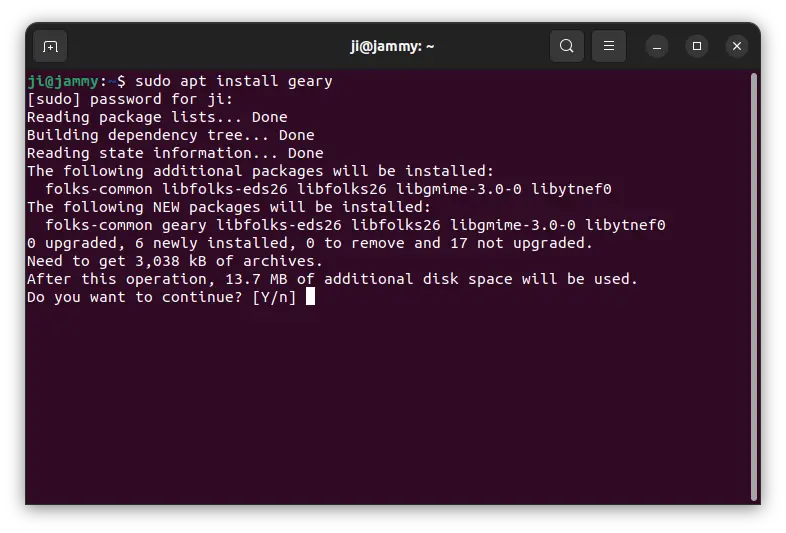
1. Open terminal either via Ctrl+Alt+T or by searching for ‘terminal’ from app launcher. When it opens, run command to add the PPA:
sudo add-apt-repository ppa:transmissionbt/ppa
Input your password (no visual feedback while typing) when it prompts and hit Enter to continue.
![]()
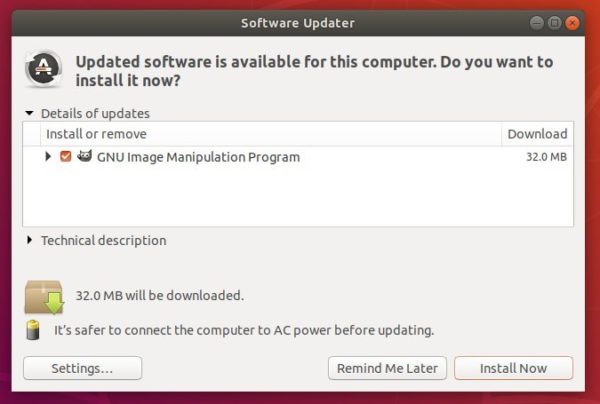
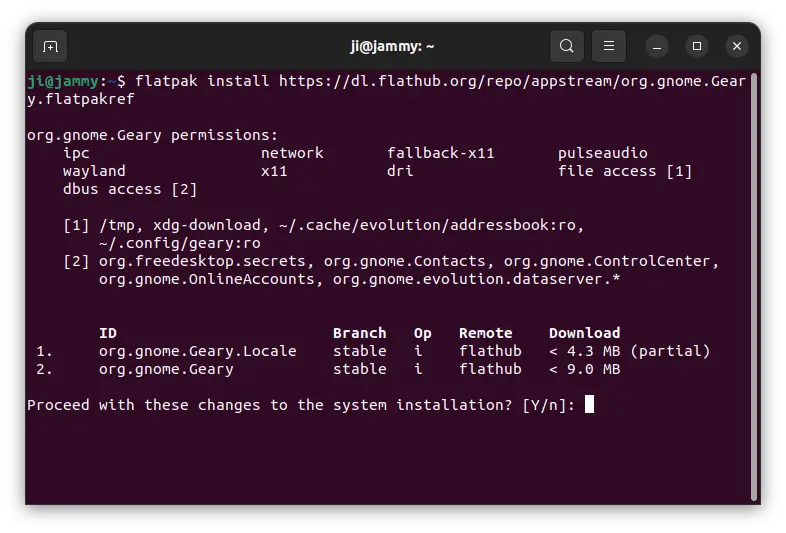
2. Then launch Software Updater (update manager) and install updates for Transmission to upgrade the software:
![]()
How to Restore:
To restore to the default transmission installed by default, run command to purge the PPA as well as downgrade the software:
sudo apt-get install ppa-purge && sudo ppa-purge ppa:transmissionbt/ppa