![]()
Need to use your Linux laptop, desktop PC, or mobile screen as a second monitor for another Linux device? Here’s an application that can do the job easily.
As you may know, GNOME since v41 added support Remote Desktop (RDP) protocol support with ability to create virtual monitors. And, I’ve written about how to manually create virtual monitor in Ubuntu to share with others.
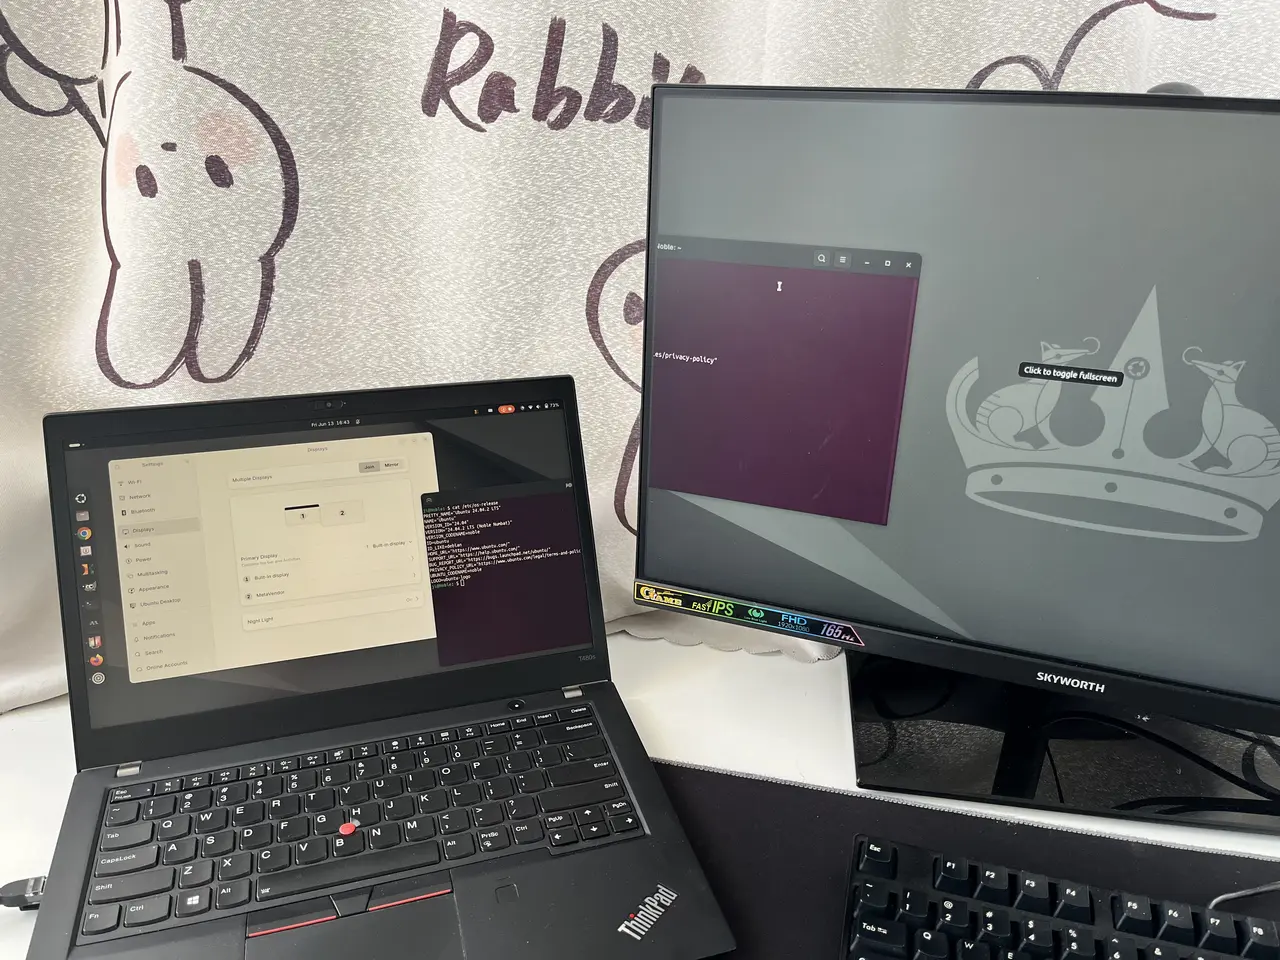
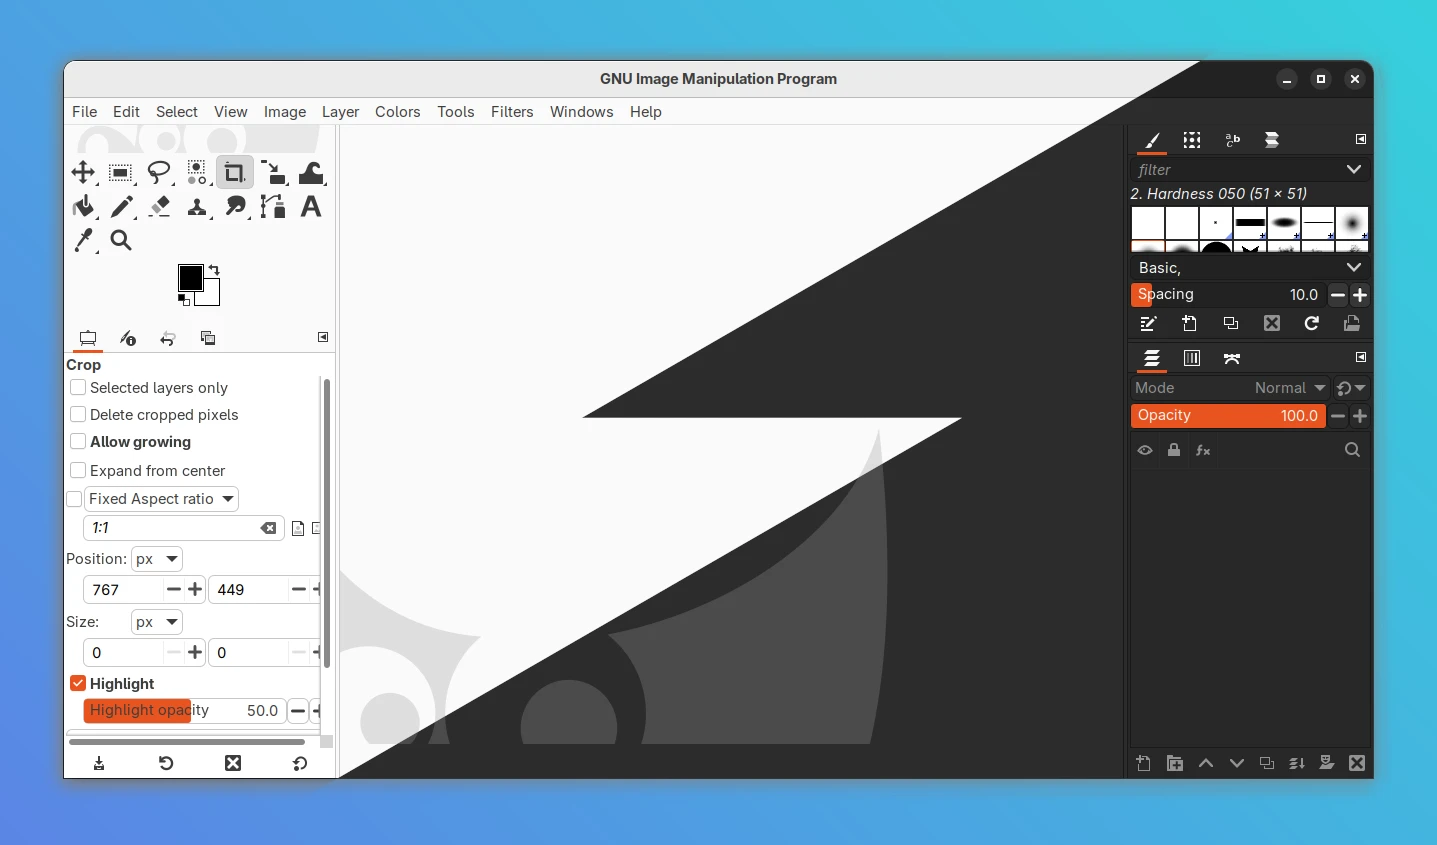
My Laptop is using Desktop PC screen as a second monitor