![]()
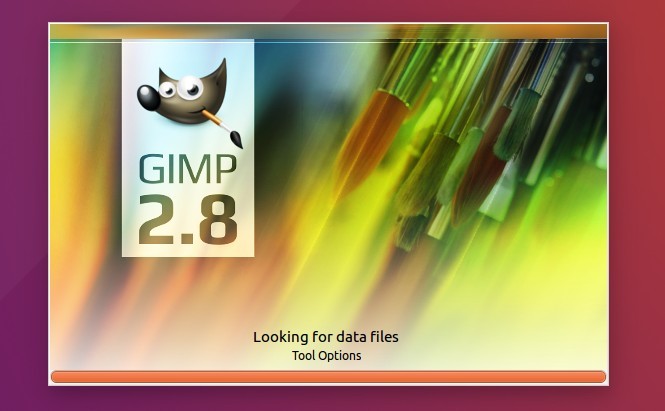
GIMP image editor 2.8.20 stable was released one week ago. Now it’s finally available in PPA repository for Ubuntu 16.10, Ubuntu 16.04, Ubuntu 14.04, Ubuntu 12.04, and their derivatives.
GIMP 2.8.20 fixed the weird initial user interface language selection on mac OS. For Windows, an annoying oscillating switching between different input devices has been fixed.
- Avoid D-Bus error message when built without D-Bus support
- fix OS X min required conditional in gimpimagewindow.c
- Saving to existing .xcf.bz and .xcf.gz files didn’t truncate them and could lead to unnecessarily large files
- Text layer created by gimp-text-fontname doesn’t respect border when resized
- Flow on Paint Dynamics editor dialog: the ‘y’ axis is indicating ‘Rate’ instead ‘Flow’
- Vertical ruler shows artifacts if the status bar isn’t showing
- Tablet stylus misbehaves when crossing the edge of a dock in multi-window-mode
- Disable the new “automatic window tabbing” feature introduced on mac OS Sierra
- Improve the visiblity of slider handles with dark themes
- Make it harder to switch to renaming if selecting already selected items in resource lists
- make toggling to color picker mode of paint tools more robust
- call gimp_file_entry_set_filename() with filename encoding
How to Install GIMP 2.8.20 in Ubuntu / Linux Mint:
The new release has been made into the PPA repository, available for all current Ubuntu releases and derivatives.
1. To add the PPA, open terminal (Ctrl+Alt+T) and run command:
sudo add-apt-repository ppa:otto-kesselgulasch/gimp

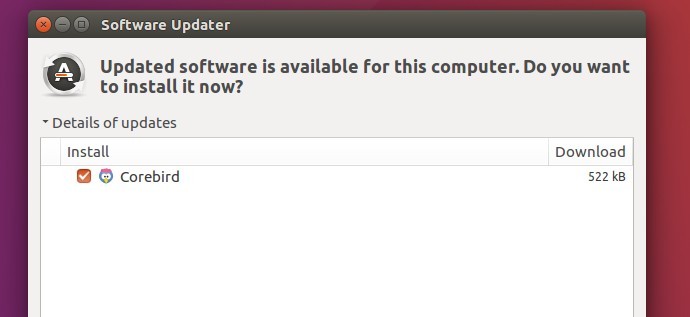
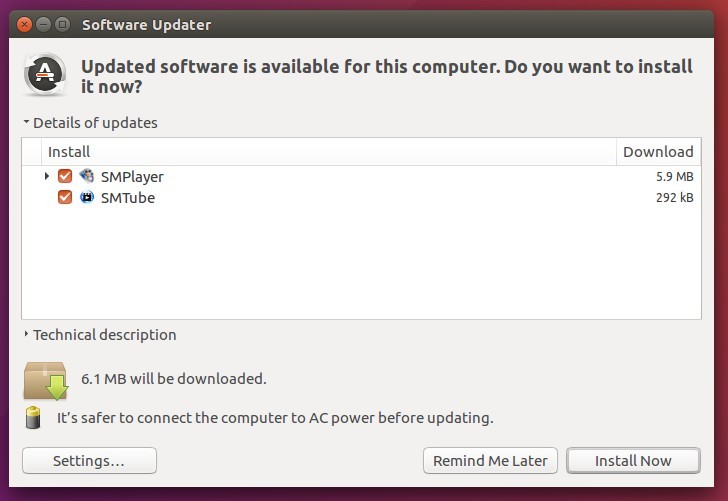
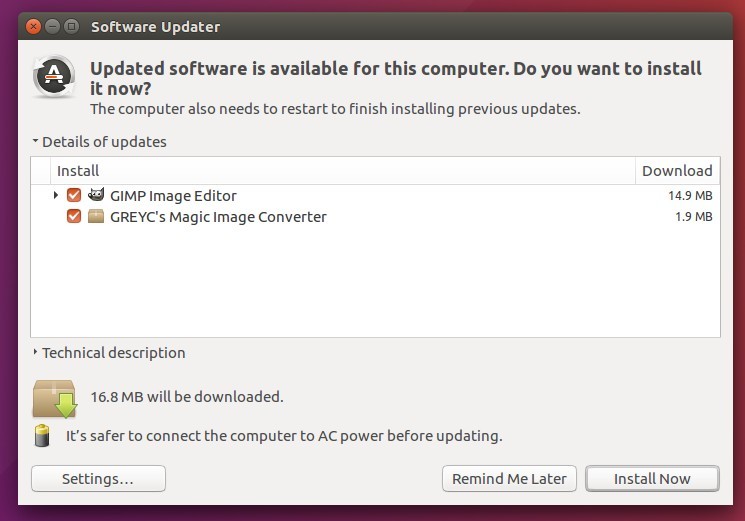
2. You can then upgrade the editor from a previous release via Software Updater utility:
Or install GIMP either via Synaptic Package Manager or command:
sudo apt-get update

sudo apt-get install gimp
Uninstall:
To restore GIMP to the stock versions available in Ubuntu main repositories, open terminal and purge the PPA via ppa-purge tool:
sudo apt-get ppa-purge && sudo ppa-purge ppa:otto-kesselgulasch/gimp