This is a beginners’ step by step guide that shows how to share a folder in Ubuntu 14.04 LTS over local network.
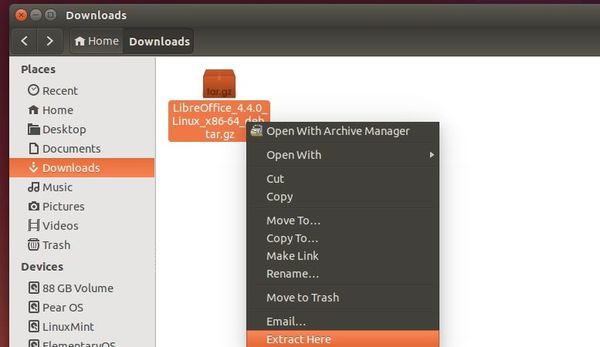
1. To get started, right-click on the folder you want to share and choose the “Local Network Share” option.
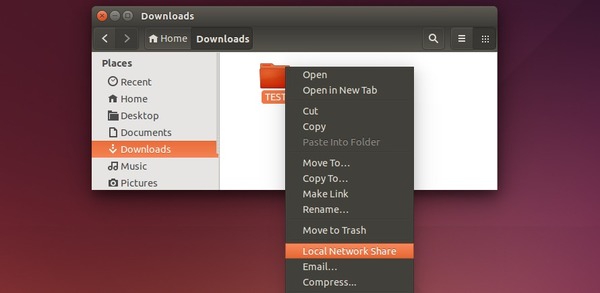
If you don’t see this option, search for and install nautilus-share in Ubuntu Software Center and restart Nautilus by running nautilus -q or just log out and back in.
2. When the ‘File Sharing’ dialog opens, click the box to enable ‘Share this folder’ option. Click the “Install service” button if it asks.
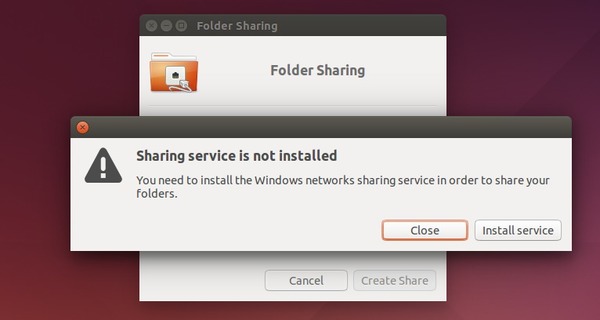
Once the installation process finish, log out and back in.
3. Re-do step 1 to open the ‘File Sharing’ dialog for any folder. Depends on your need, enable write permission and/or guess access.
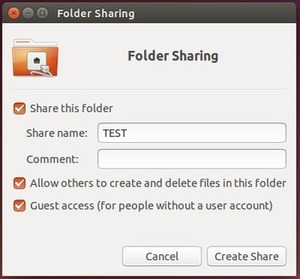
4. If you want client machines to access this share with a username and password, disable Guest access and do:
- Search for and install
system-config-sambain Ubuntu Software Center. - Start Samba (graphical tool) from the Dash or menu.
- Navigate to menu Preferences -> Samba Users
- Click ‘Add User’ in next window and then select your username, type in a Windows username and password.
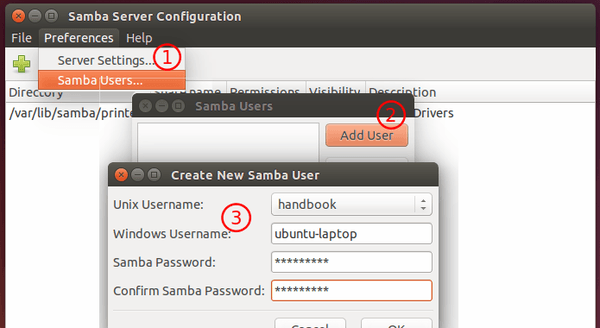
Finally you can access this folder in a local network machine using the username (either handbook or ubuntu-laptop in picture) and password.