![]()
MuPDF is a small, fast, and yet complete PDF viewer that supports PDF 1.7 with transparency, encryption, hyperlinks, annotations, searching and more. It also reads XPS and OpenXPS documents.
The renderer in MuPDF is tailored for high quality anti-aliased graphics. It renders text with metrics and spacing accurate to within fractions of a pixel for the highest fidelity in reproducing the look of a printed page on screen.
MuPDF is available in Ubuntu repositories by default, but Canonical does not provide updates for this software. While Ubuntu Software Center provides the 1.6 (or older) release, the latest MuPDF 1.7a was released in last month with below changes:
- Fixed bug that allocated too much memory when packing paths.
- Fixed EPUB font scaling bug.
- Fixed EPUB file type handling in viewers.
- Improved tolerance for broken and unsupported CSS.
- Added -z option to mutool clean.
Install MuPDF in Ubuntu:
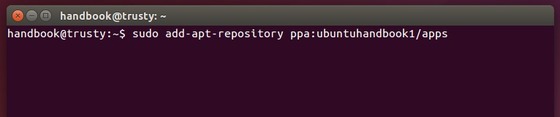
1. Open terminal from the Dash, Application Menu, or by pressing Ctrl+Alt+T on keyboard. When it opens, run command to add PPA:
sudo add-apt-repository ppa:ubuntuhandbook1/apps
2. After adding the PPA, open Software Updater to automatically check for updates
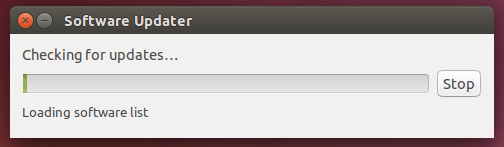
After checking for updates, you’ll see MuPDF in the list available for upgrade if you have a previous version installed.
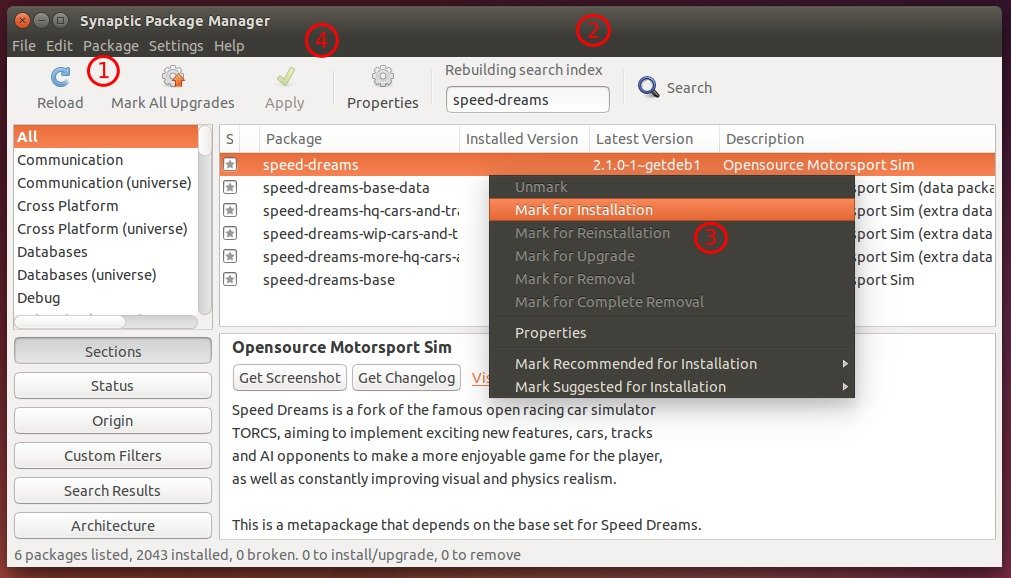
If you don’t have a previous release installed in your system, install it via Synaptic Package Manager or by running below command in terminal:
sudo apt-get install mupdf mupdf-tools
Once installed, open PDF/XPS files using MuPDF from their context (right-click) menu. For key bindings and other options, run man mupdf in terminal.
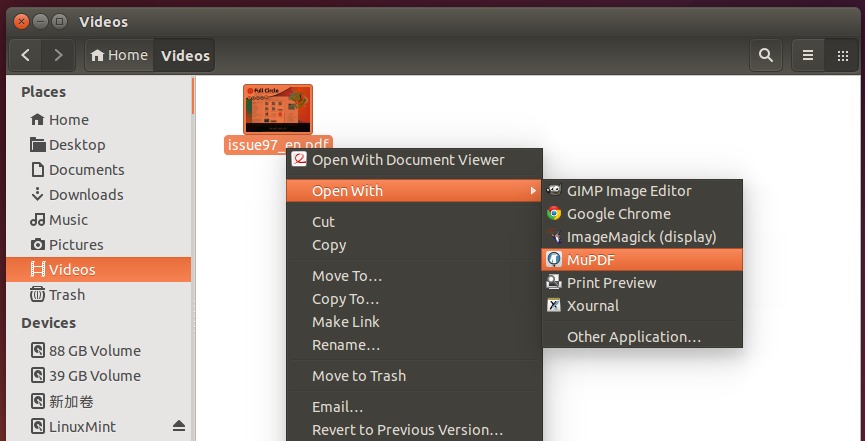
To set MuPDF as default viewer, go to PDF file’s context menu -> Properties -> Open With tab -> select the viewer from list and click Set as default button.