![]()
This quick tutorial shows you how to install the latest release of Quassel IRC client in Ubuntu 14.10, Ubuntu 14.04, Ubuntu 12.04 and derivatives via PPA.
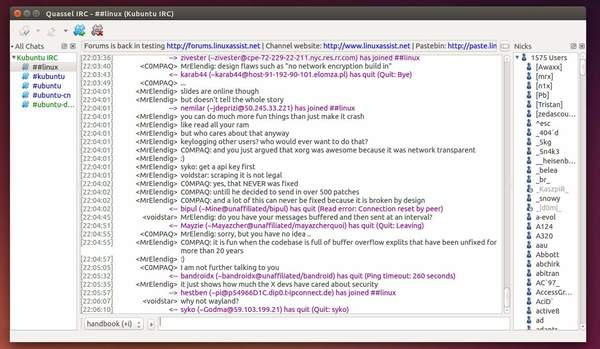
Quassel is a modern, cross-platform, distributed KDE / Qt IRC client. One (or multiple) client(s) can attach to and detach from a central core. It’s much like the popular combination of screen and a text-based IRC client such as WeeChat, but graphical.
While Ubuntu 14.04 Software Center provides Quassel 0.10, the latest release has recently reached 0.11. See what’s new:
changes in v0.10.1:
-
Fix buffer hotlist sorting
-
Split CTCP messages if they’re too long
-
Make database problems more obvious
-
Fix backlog loading for QuasselDroid
-
Properly save the toolbar state on Mac OSX
-
Fix a crash with KDE’s network detection
-
Various other fixes
changes in v0.11.0:
-
New build requirements: C++11 capable compiler (gcc 4.7+, clang 3.3+, MSVC 2013+), cmake 2.8.9+
-
Full support for Qt 5.2+ in addition to Qt 4.6+
-
Completely revamp the build system, making use of “new” CMake features
Install Quassel IRC Clien via PPA:
Thanks to Michael Marley, a PPA repository has been created with the latest stable builds of Quassel packages for Ubuntu 14.10, Ubuntu 14.04, Ubuntu 12.04 and derivatives.
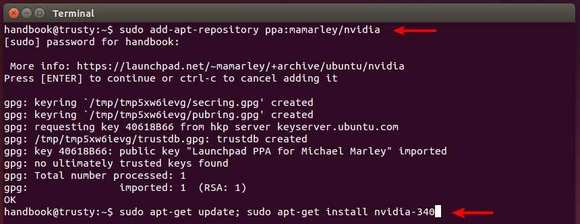
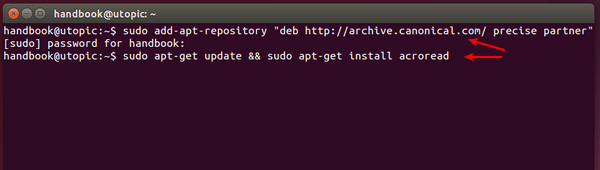
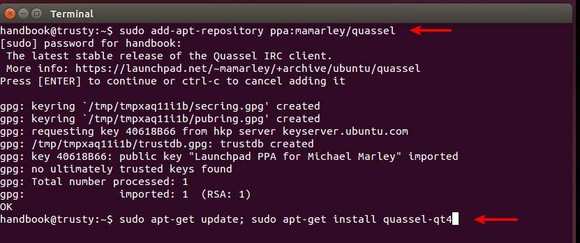
1. Press Ctrl+Alt+T on keyboard to open terminal. When it opens, run the command below to add the PPA:
sudo add-apt-repository ppa:mamarley/quassel
Type in your user password when it asks. Note that there is no visual feed back when you’re typing a password.
2. Then update and install the client:
For KDE build, run:
sudo apt-get update; sudo apt-get install quassel
For Qt build, run:
sudo apt-get update; sudo apt-get install quassel-qt4
Once installed, open the irc client from Unity dash or application menu and you can receive future updates by running regular update via Software Updater.