This tutorial will show you how to install and configure Samba, a free software that allows you to share files, printers and other common resources across a network, in Ubuntu 14.04 Trusty Tahr.
1. Install Samba and the graphical configuration tool:
Press Ctrl+Alt+T on keyboard to open the terminal. When it opens, paste the command below and hit run:
sudo apt-get install samba samba-common system-config-samba python-glade2 gksu
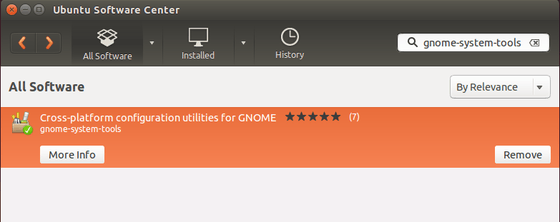
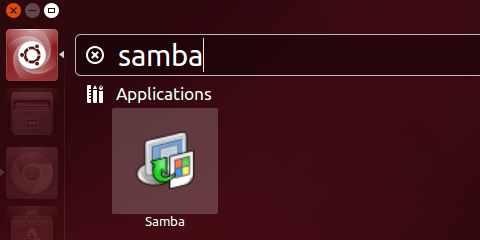
2. Open Unity Dash, search for and open the samba configuration tool:
3. When the tool opens, go to Preferences -> Server Settings.
Under Basic tab:
- Workgroup. Same to your Windows Workgroup name (case-sensitive). In Windows 7, right-click Computer icon and go to Properties, there you’ll see Windows Workgroup name.
- Description.This is the name of your computer as seen by Windows Users.
As it is not advisable to allow ‘Guests’ there should be no reason to change the ‘security’ settings tab unless you wish to do so.
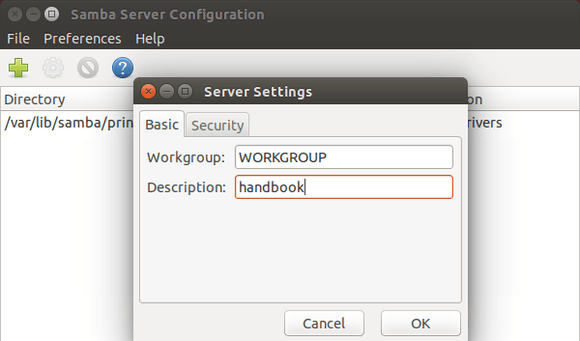
Finally click the OK button to save it.
(Optional) 4. Create a special user for network file sharing
Go to System Settings -> User Accounts -> Click unlock -> Click + (plus) icon -> Choose Standard account and type in names.
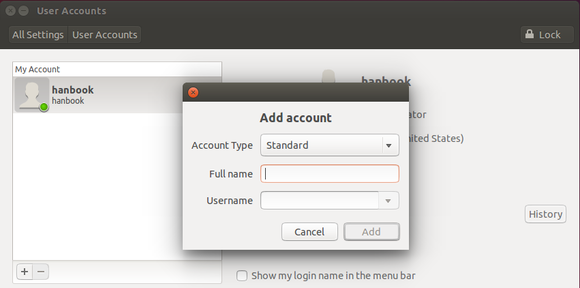
Remember to set a password to enable the new account.
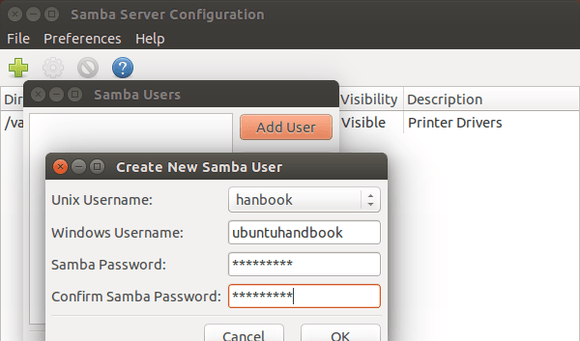
5. Next go to Preferences -> Samba Users. Click Add User:
- Unix Username: Select a user on this Ubuntu machine. You’ll access the shares from Windows machine with this user privilege. You can create a special user for file sharing by step 4
- Windows Username: When accessing from Windows machine, you’ll be asked to type this username and the password below.
- Samba password: When accessing from Windows machine, you’ll be asked to type the username above and this password.
- Confirm Samba password.
Finally, restart Samba service and done!
sudo restart smbd && sudo restart nmbd
To share a folder, click the green + (plus) button in Samba Server Configuration tool and you can then easily set the directory, name, read/write permissions and access users.
Tips: If you set the Unix Username to current login user in step 5, you can easily share a folder by “Local Network Share” option in its context menu.