GIMP image editor announced the third release candidate for the next major 3.0 series yesterday, with dozens of bug-fixes, requests, and translation updates.
The new release fixed crash and stability issues when working on Wayland. The new GIMP running with most recent GTK 3.24.48 fixed freeze with certain actions on KDE/Wayland, and crash when dragging layers and text glitches in certain widgets with Right-To-Left languages.
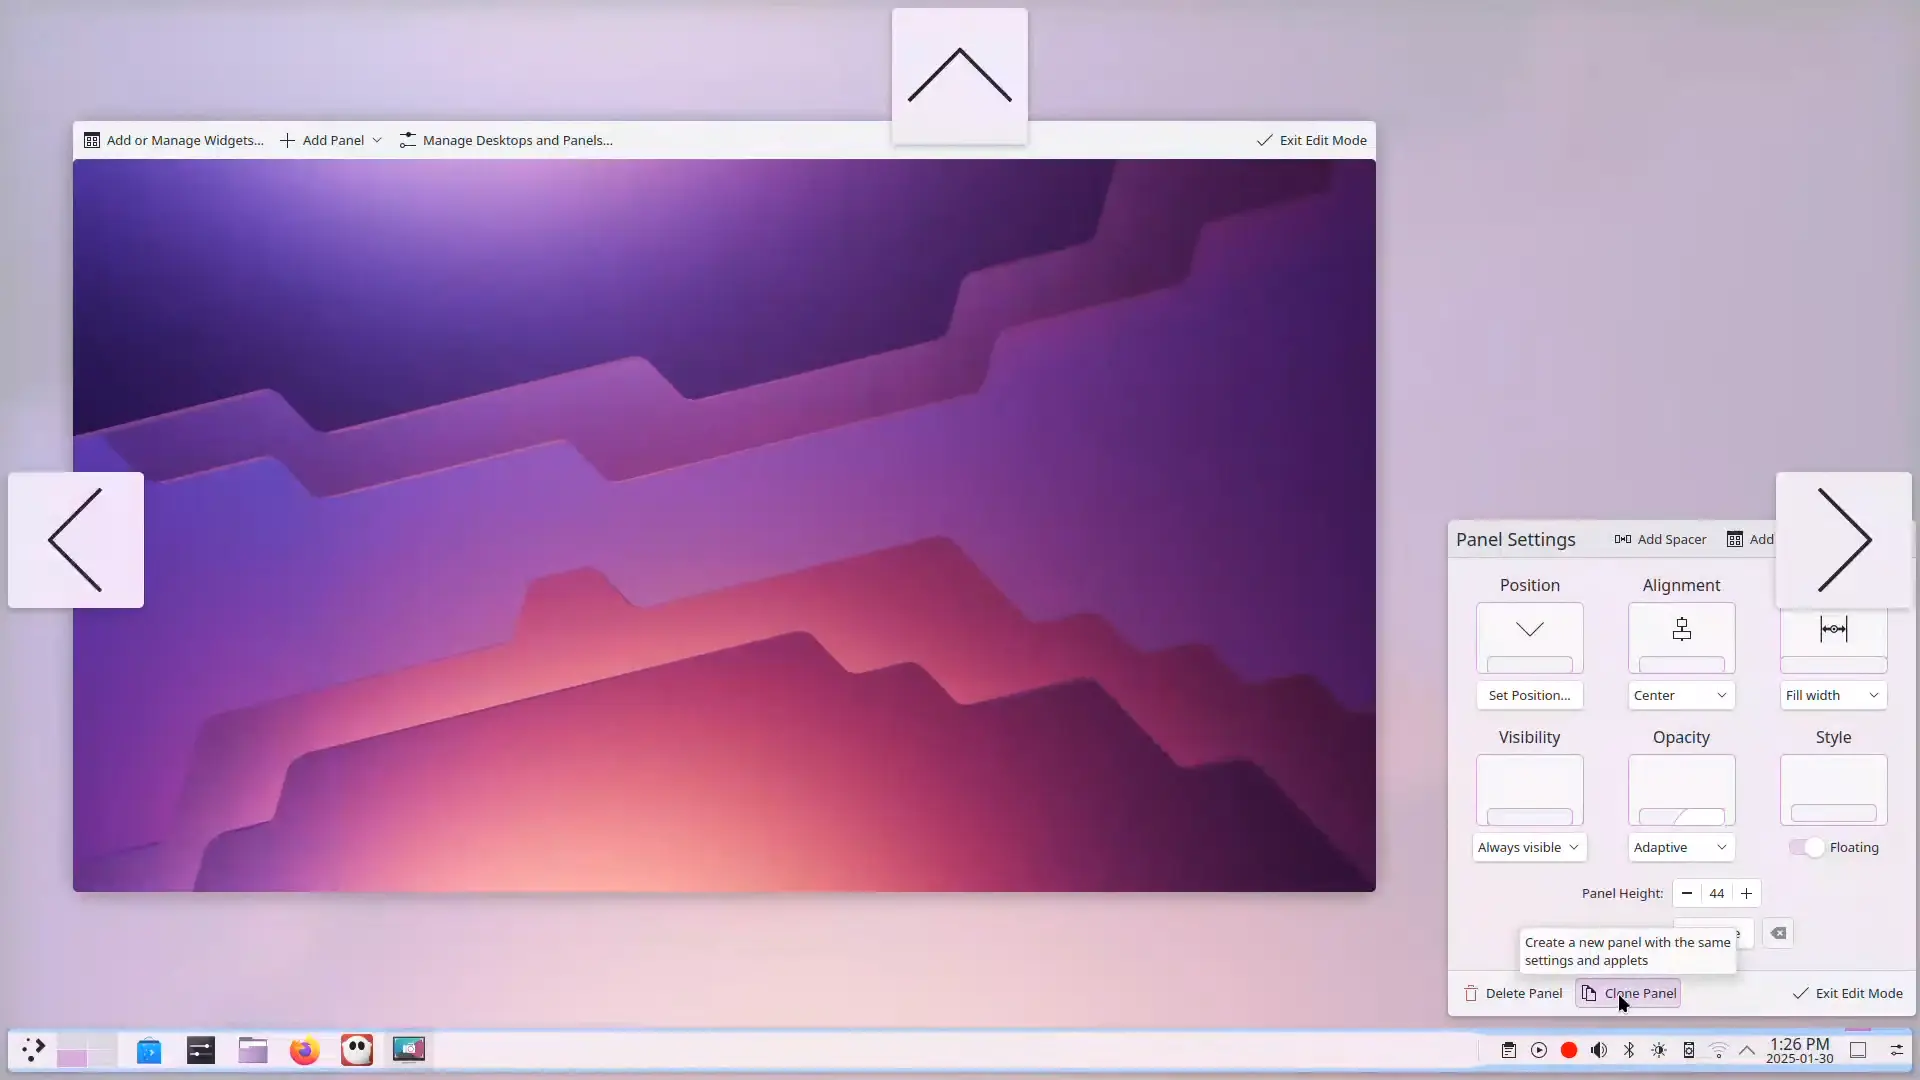
KDE Plasma announced new major 6.3 release today. See what’s new in the release of this popular Linux Desktop Environment.
First, the new Plasma 6.3 introduced “Clone Panel” option in panel configuration dialog, allowing to quickly make a copy of current panel with same settings and applets, and place in one of other 3 screen edges.
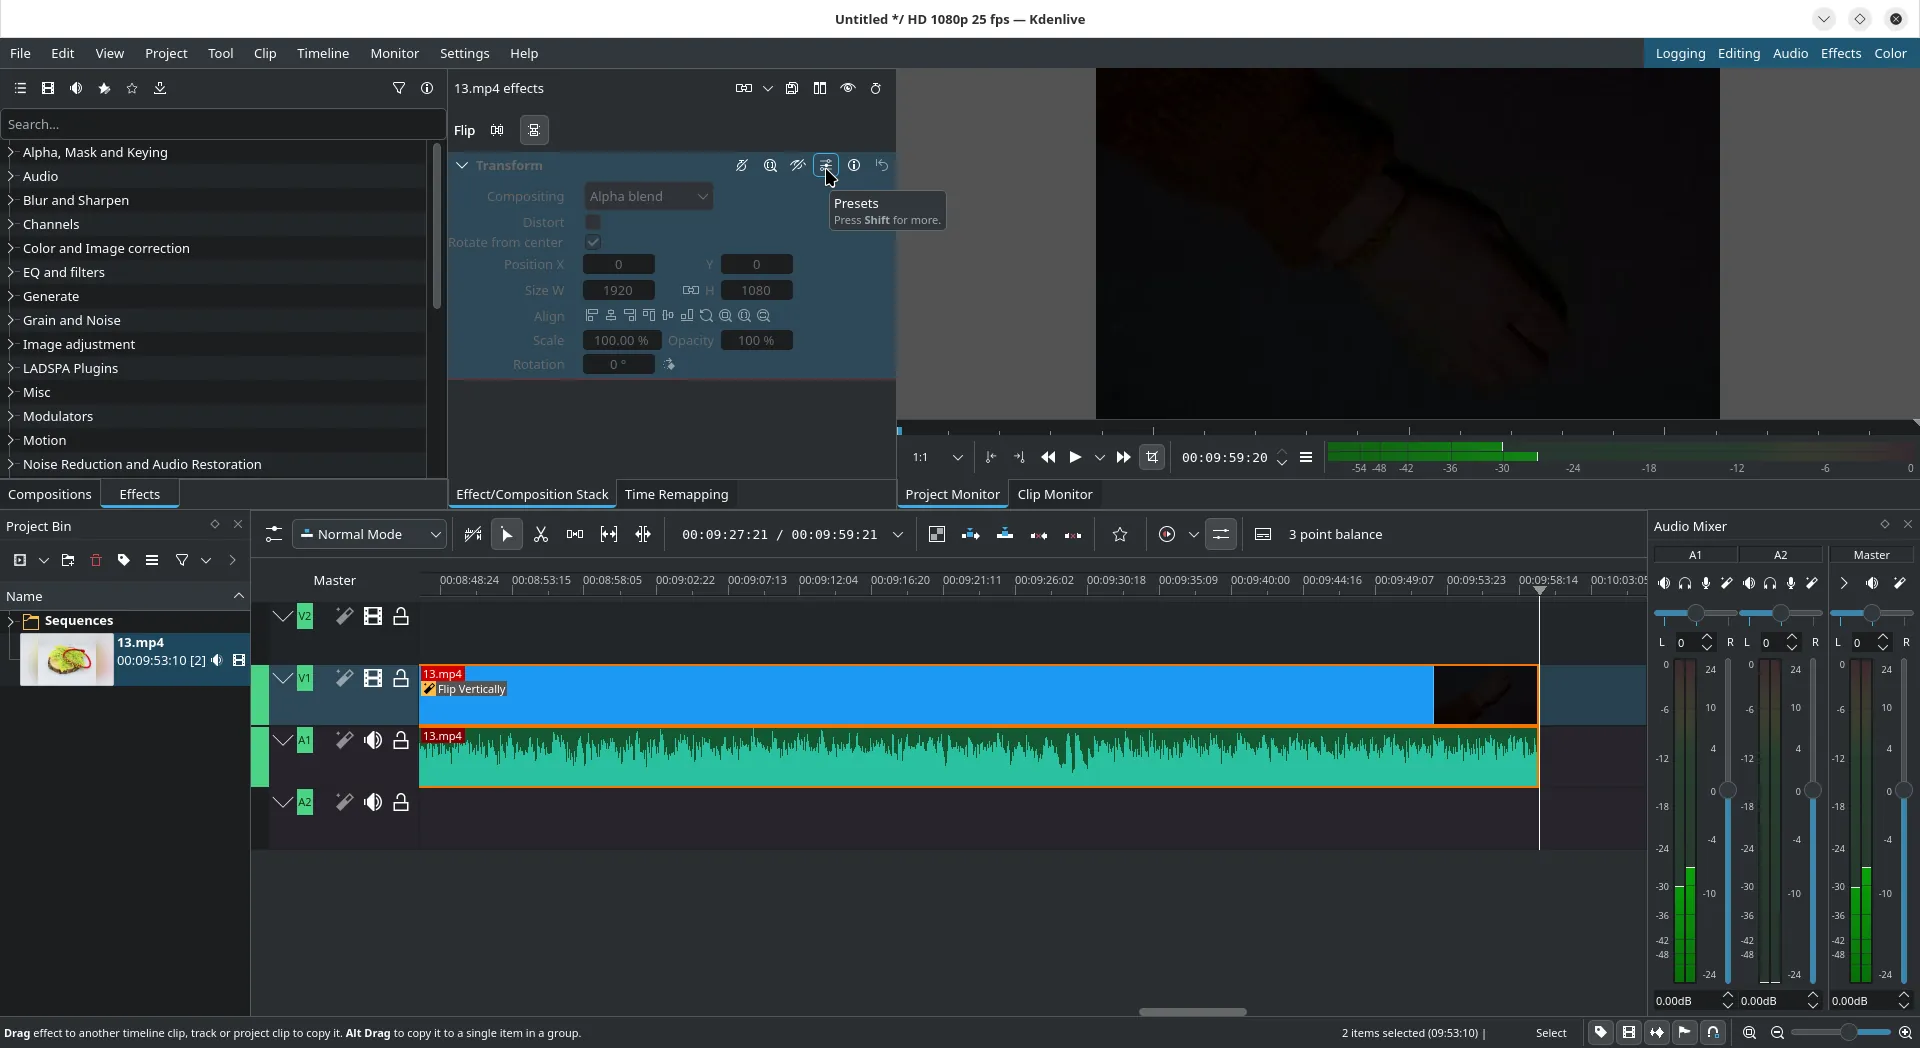
After almost a month of development, Kdenlive video editor released a new version with another dozen of bug-fixes.
It’s Kdenlive 24.12.2, the second maintenance release of the 24.12 series. As usual, the official announcement is not ready yet. But the source tarball is out and KDE has announced it as one in the KDE Gear 2024.2.
Visual Studio Code announce new monthly 1.97 release! Here are new features in the IDE release.
VS Code 1.97 is the first release in 2025. It added two more models OpenAI’s o3-mini and Gemini 2.0 Flash to choose from when using Copilot.
It introduced new Copilot Next Edit Suggestions (Copilot NES) preview feature to help with edits. Which, can both predicts the location of the next edit you’ll want to make and what that edit should be.
Looking for a digital pet application for your computer? Here’s one that works natively in Linux Desktop.
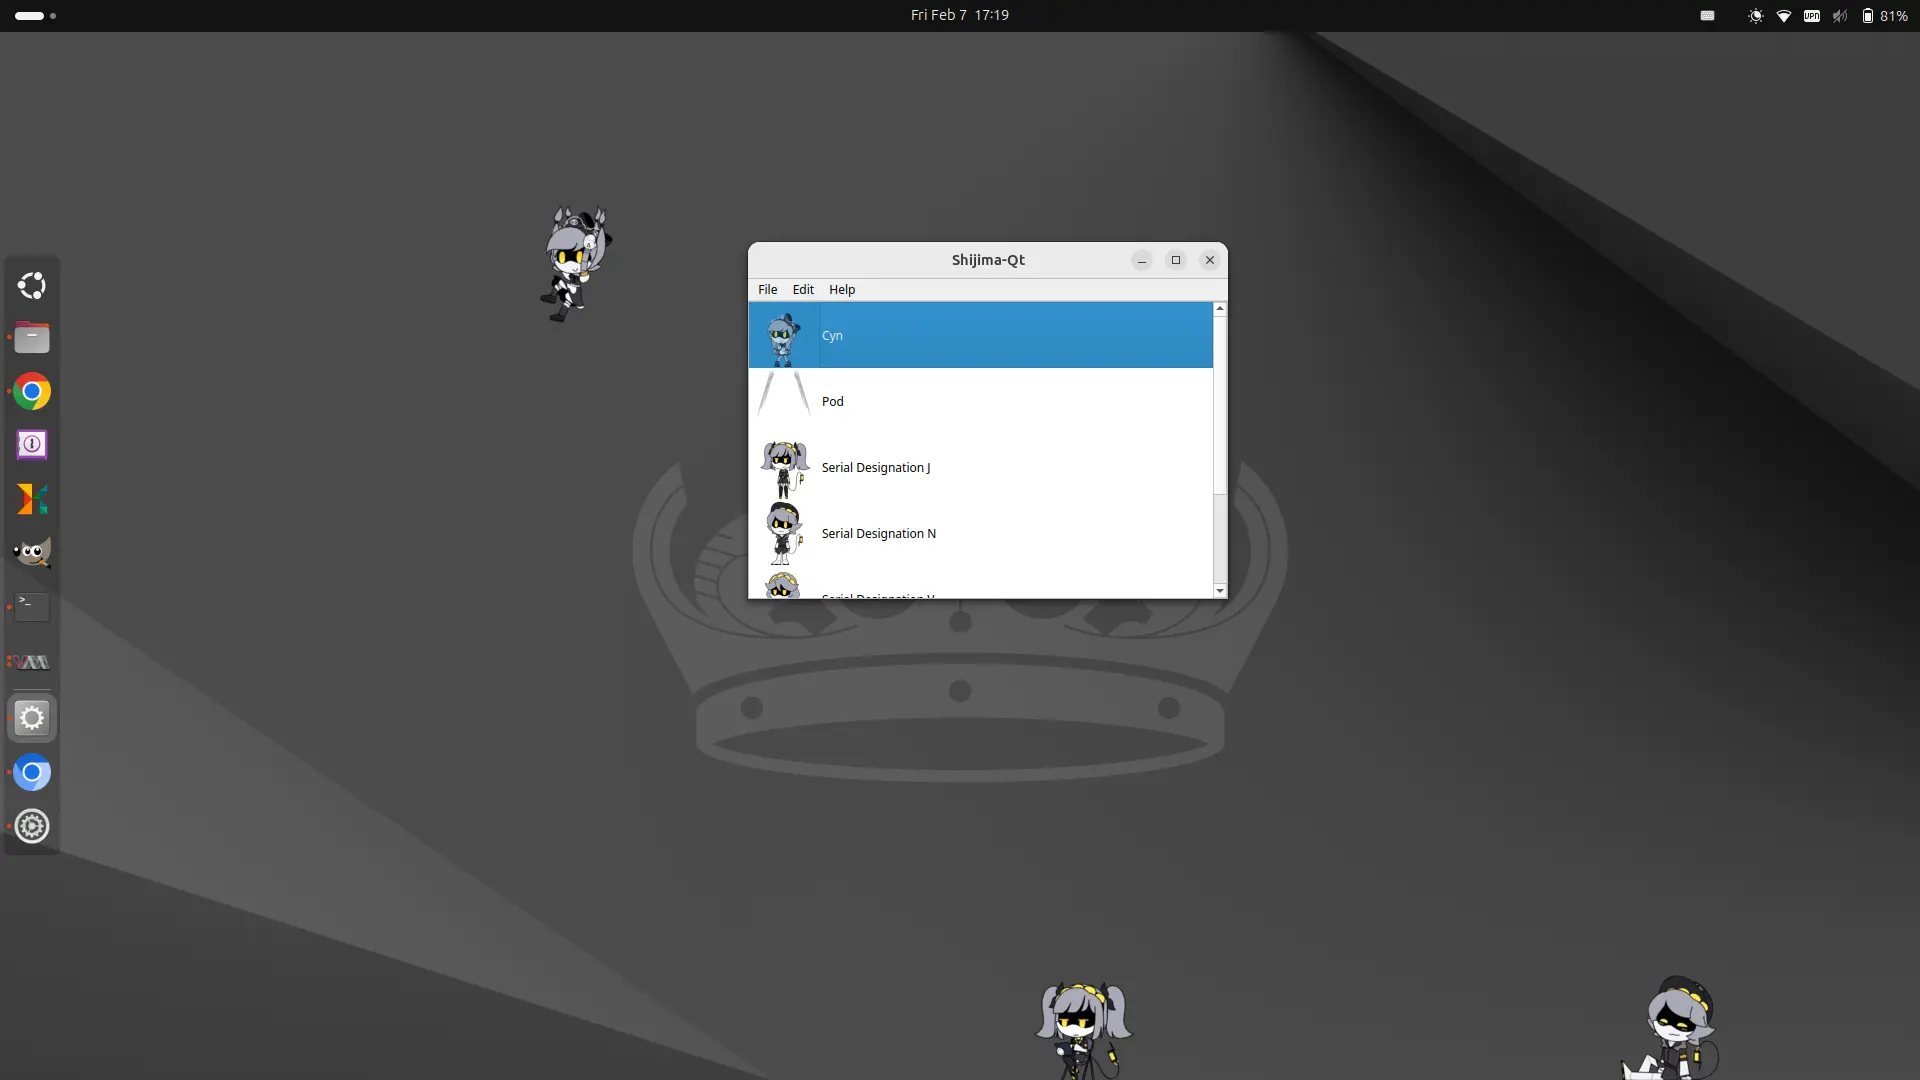
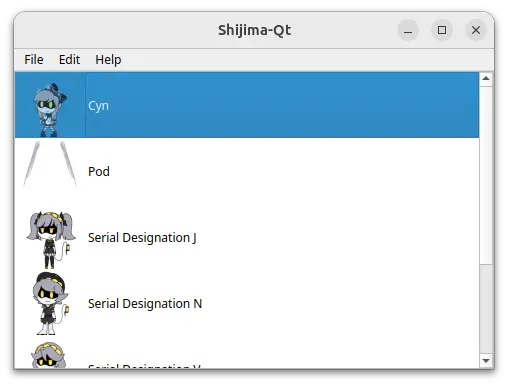
It’s Shijima, a cross-platform shimeji simulation, desktop pets app works on any device, including Windows, Linux, macOS, Android, iOS, and Nintendo Wii.
The is free and open-source (licensed under GPLv3+ since v0.0.3) application. The PC/laptop edition uses Qt6 framework for its user interface. And it works on KDE, GNOME (both X11 and Wayland), and other Linux desktop environments.
Shijima-Qt provides portable executable file and AppImage for Linux. No installation is required. Just run to launch the app window, then, import shimeji mascots by drag’n’dropping the zip/rar/7z archive into app window. Finally, click to add your pets onto desktop and play with them!
How to Install Shijima-Qt in Ubuntu & other Linux
The app is available to install in Linux through 2 ways: Flatpak and AppImage. Choose either one that you prefer.
Option 1: AppImage
The Shijima-Qt packages for Linux, Windows, and macOS are available to download in Github releases page via link below:
For Linux, select download either the release-linux-x86_64.zip that works on modern Intel/AMD CPUs, or release-linux-arm64.zip for ARM devices (e.g., Raspberry Pi).
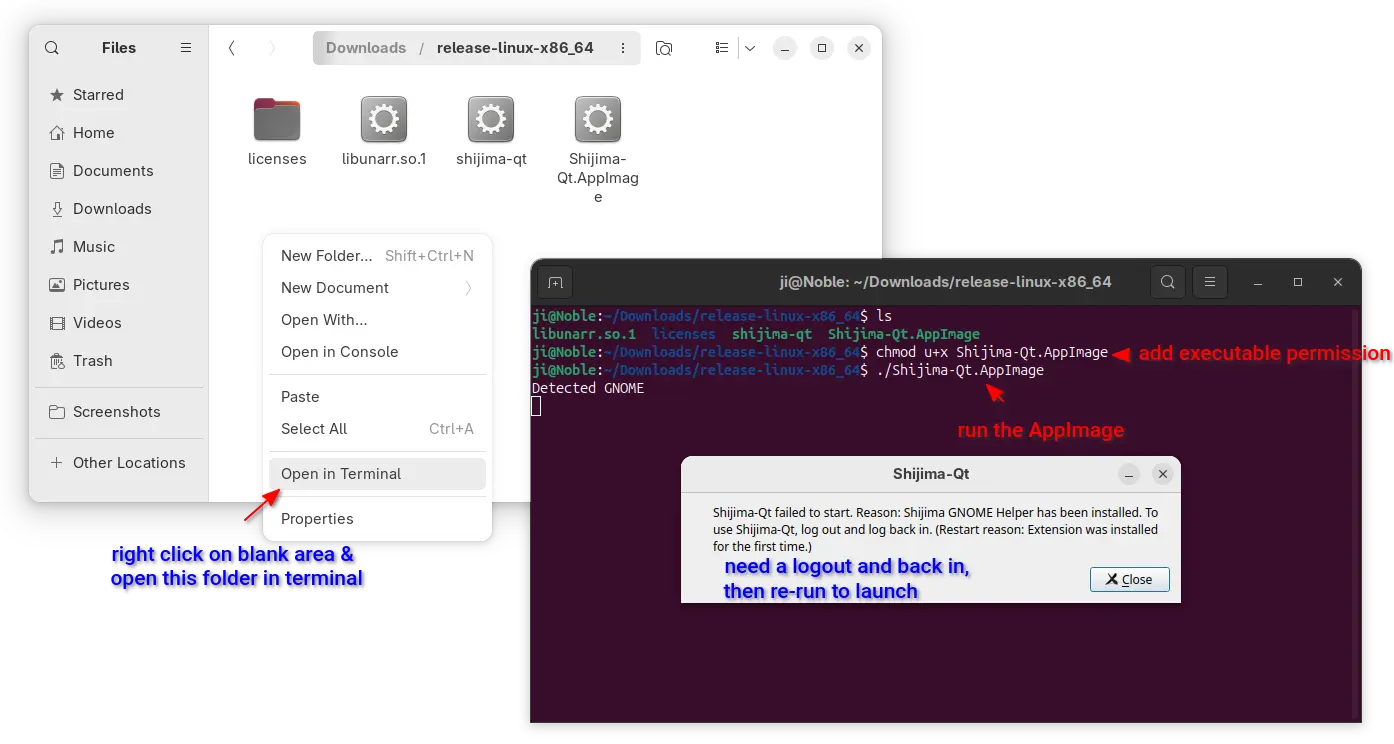
Then, decompress and finally run the “Shijima-Qt.AppImage” from extracted folder to launch the app.
To run it, either right-click and select “Run” (after enabled “Executable as Program” permissionin its Properties dialog), or right-click on blank area in the folder that contains the executable files, select “Open in Terminal” and finally run command below in pop-up terminal window.
./Shijima-Qt.AppImage
NOTE 1: Ubuntu since 22.04 does NOT support AppImage out-of-the-box, run sudo apt install libfuse2 in terminal (Ctrl+Alt+T) first to enable.
NOTE 2: The first time launching the app will ask to log out and back in to apply extension to make it work.
NOTE 3: Since v0.0.2 it has a default mascot. For more, you may to search (e.g., <character name> shimeji) and download from the web. And, here are some Murder Drones shimeji by @PolarSummit on X.
If you don’t like the AppImage, you may run the shijima-qt file in that folder instead to launch the app. It however requires Qt6 >= 6.7 that’s NOT available in Ubuntu repositories until 25.04.
Even in Ubuntu 25.04 (still in development stage), you need to run command to install the required run-time libraries:
And, finally run command from that folder to launch the executable file:
QT_QPA_PLATFORM=xcb ./shijima-qt
Option 2: Flatpak package
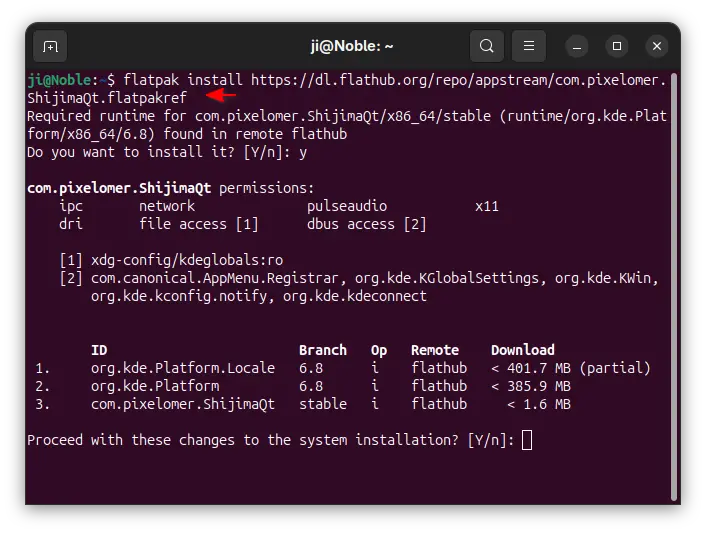
For choice, Shijima-Qt now is available to install as Flatpak package, which runs in sandbox environment.
Linux Mint 21/22 and Fedora Workstation (with 3rd party repository enabled) can directly search for and install the app from either Software Manager or GNOME Software.
While Debian/Ubuntu users may follow the steps below one by one to install the package:
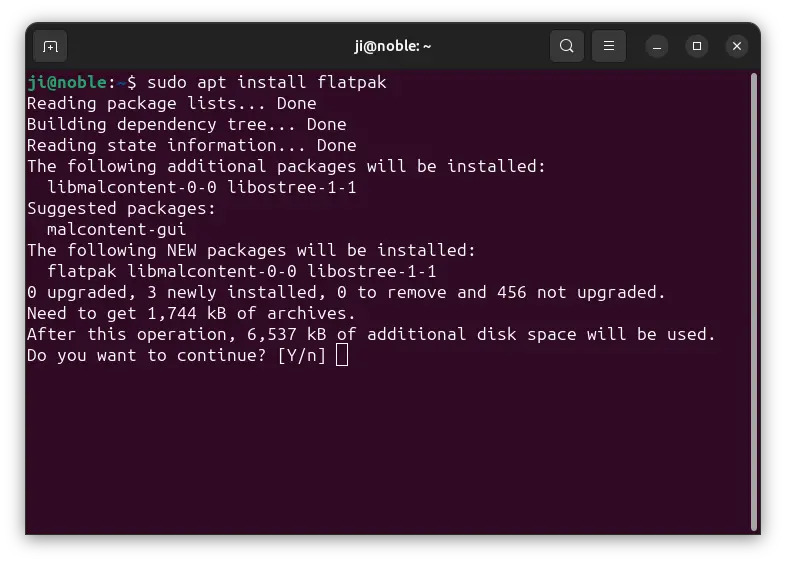
First, press Ctrl+Alt+T to open a terminal window. Then, run command to install Flatpak daemon:
sudo apt install flatpak
For other Linux, follow the official guide to enable Flatpak support.
After install the package, either search for and launch it from start menu or GNOME Overview (log out and back in if app icon is not visible), or run the command below instead to launch from terminal:
flatpak run com.pixelomer.ShijimaQt
Uninstall:
For the AppImage, just delete the file/folder to get rid of it from your system.
To uninstall the Flatpak package, open terminal (Ctrl+Alt+T) and run command:
flatpak uninstall com.pixelomer.ShijimaQt
Also run flatpak uninstall --unused to clear useless runtime libraries.
OnlyOffice announced the new 8.3 release for its offline Desktop Editor apps yesterday.
The new release now is able to open and view files created in Apple iWork’s Pages, Keynote and Numbers, as well as Hancom Office’s .hwp and .hwpx file formats. However, for editing support they need to be converted to OOXML first, i.e. DOCX for text documents, XLSX for spreadsheets and PPTX for presentations.
As you may know, GNOME is moving to GTK4 + LibAdwaita in recent years. Core apps are either ported to the new frameworks or replaced with new ones.
GNOMOE Text Editor, GNOME Camera, GNOME Console, and Loupe replaced Gedit, Cheese, GNOME Terminal, and Eyes of GNOME as default text editor, camera app, terminal, and image viewer. And, it introduced Decibels as new core app for playing audio files.
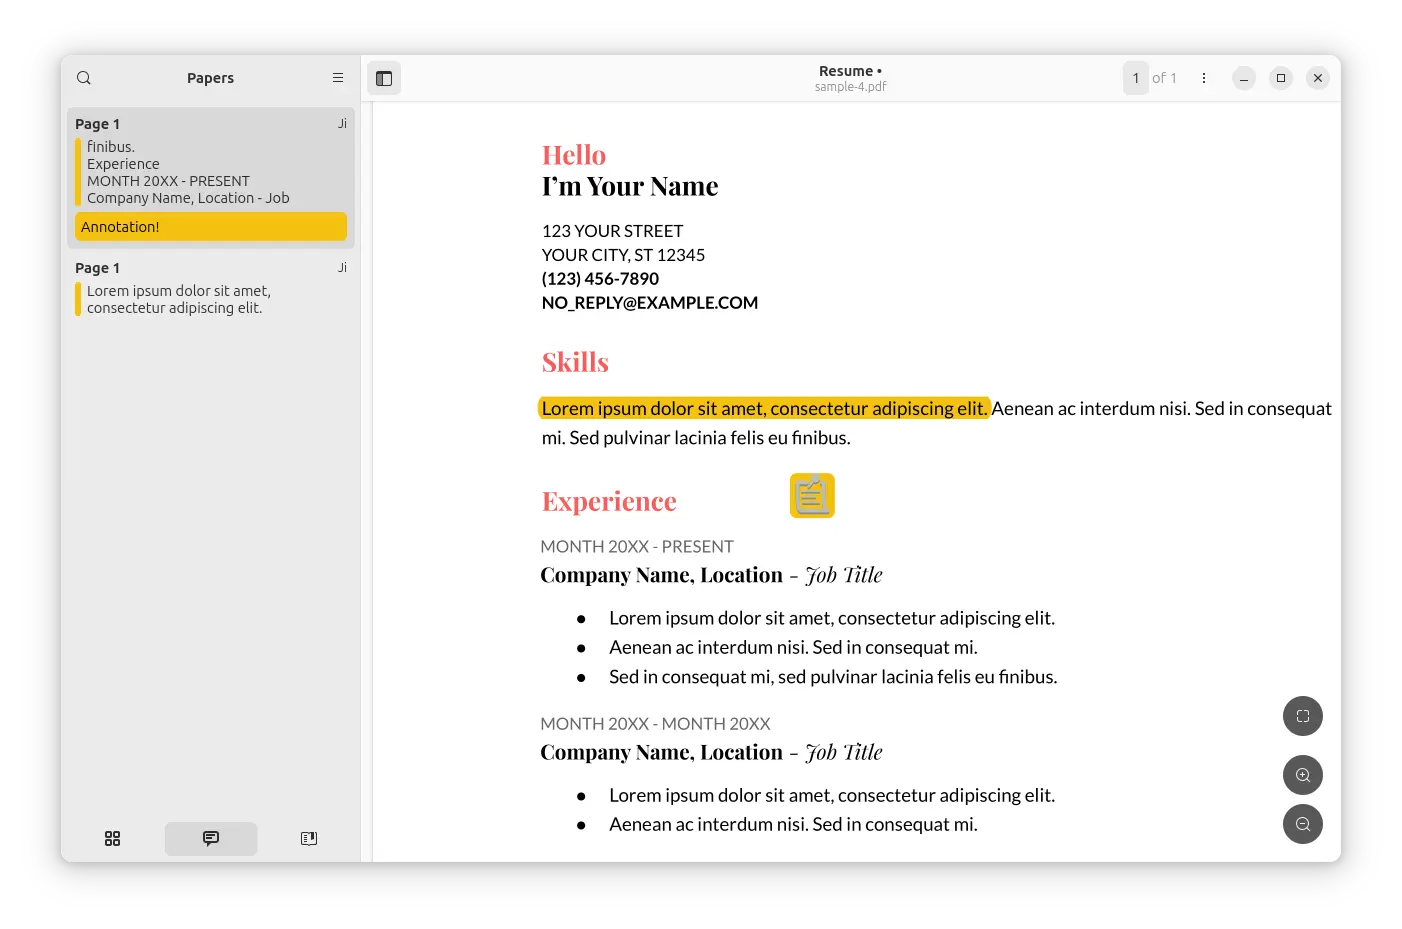
Papers entered GNOME Incubator about a year ago, expects to replace Evince as default PDF and Document viewer. Now it’s made into Debian (Unstable) and Ubuntu (25.04) repository for choice, and it’s expected to be default perhaps later this year according to this thread.
Mozilla Firefox announced new 135.0 release on Tuesday. See what’s new in this monthly release.
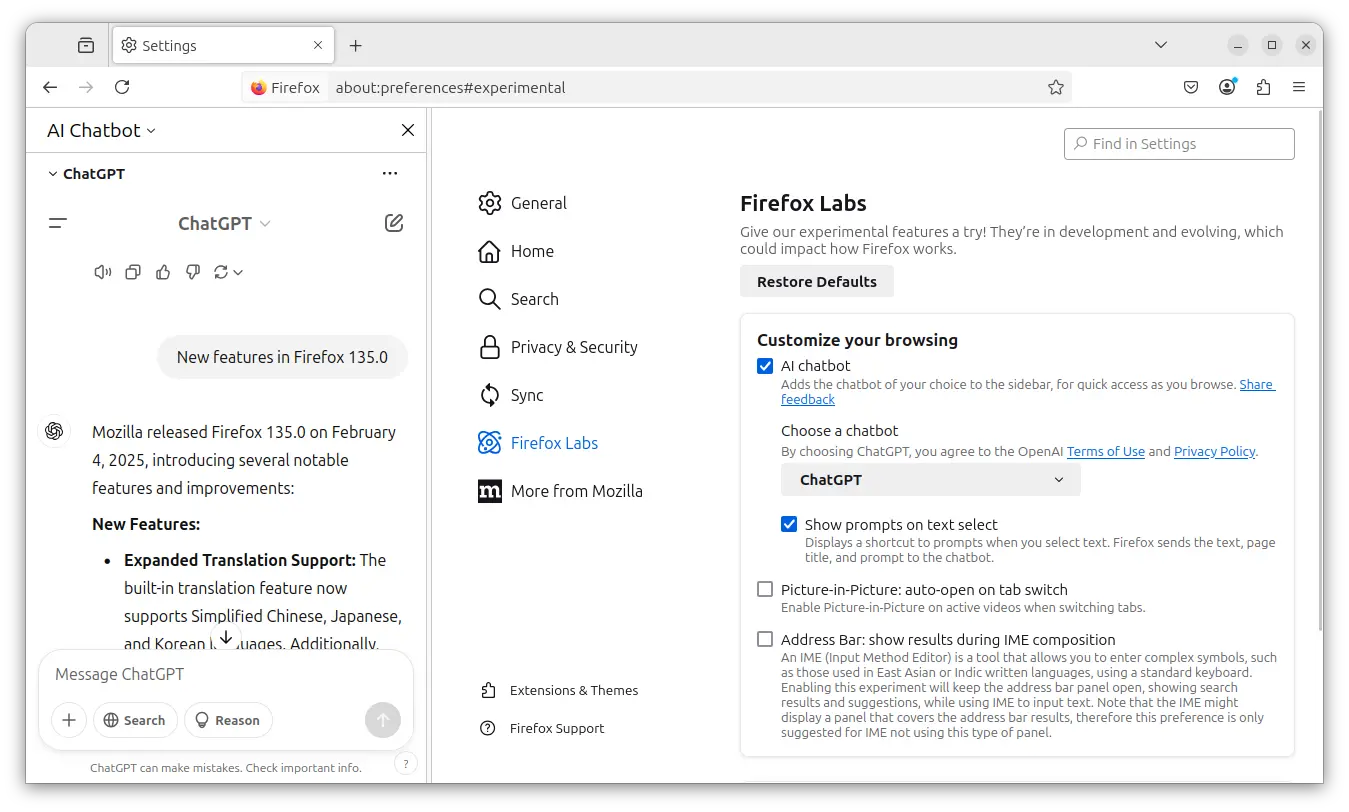
The new release enhanced some features to make them work for all users. AI Chatbot, the experimental feature that’s introduced since Firefox 130, now is available to all users.
Just go to Settings -> Firefox Labs, then select AI between Anthropic Claude, ChatGPT, Google Gemini, HuggingChat, Le Chat Mistral, then you may chat with AI in sidebar after login.
Firefox AI Chatbot made available to all users
Besides AI, the new browser release also extended the credit card autofill feature to all users globally, made the refreshed New Tab layout to users in all countries where Stories are available.
And, the built-in translations now support translating Simplified Chinese, Japanese, and Korean. While Russian is now available as a target language to translated into.
New Tab layout now works in all countries support Stories
Firefox 135 includes safeguards to prevent sites from abusing the history API by generating excessive history entries. Which however make navigating back and forward buttons difficult by cluttering the history.
Other changes in the new browser release include:
New “Close current tab” option in Ctrl+Q quit confirm dialog.
Enforce certificate transparency, requiring web servers to provide sufficient proof.
Roll out the CRLite certificate revocation checking mechanism.
Remove “Do Not Track” checkbox, user may use “Tell websites not to sell or share my data” setting instead.
Rename “Copy Clean Link” menu item to “Copy Without Site Tracking”.
Use XZ instead of BZ2 for smaller Linux binaries.
And, various security fixes.
The release also includes some web development changes. It introduced a new console command $$$ allows to search the page including within shadow roots. It added support for the WebAuthn getClientCapabilities() method, and a post-quantum key exchange mechanism (mlkem768x25519) for HTTP/3.
How to Get Firefox 135.0
The release note and official packages are available at the link below:
For Ubuntu 22.04+ users with default Firefox Snap package, it will automatically update to the latest, though user may manually check updates via command:
sudo snap refresh firefox
For native DEB package, user can choose either the official apt repository or MozillaTeam PPA, and here’s a step by step tutorial talking about it.
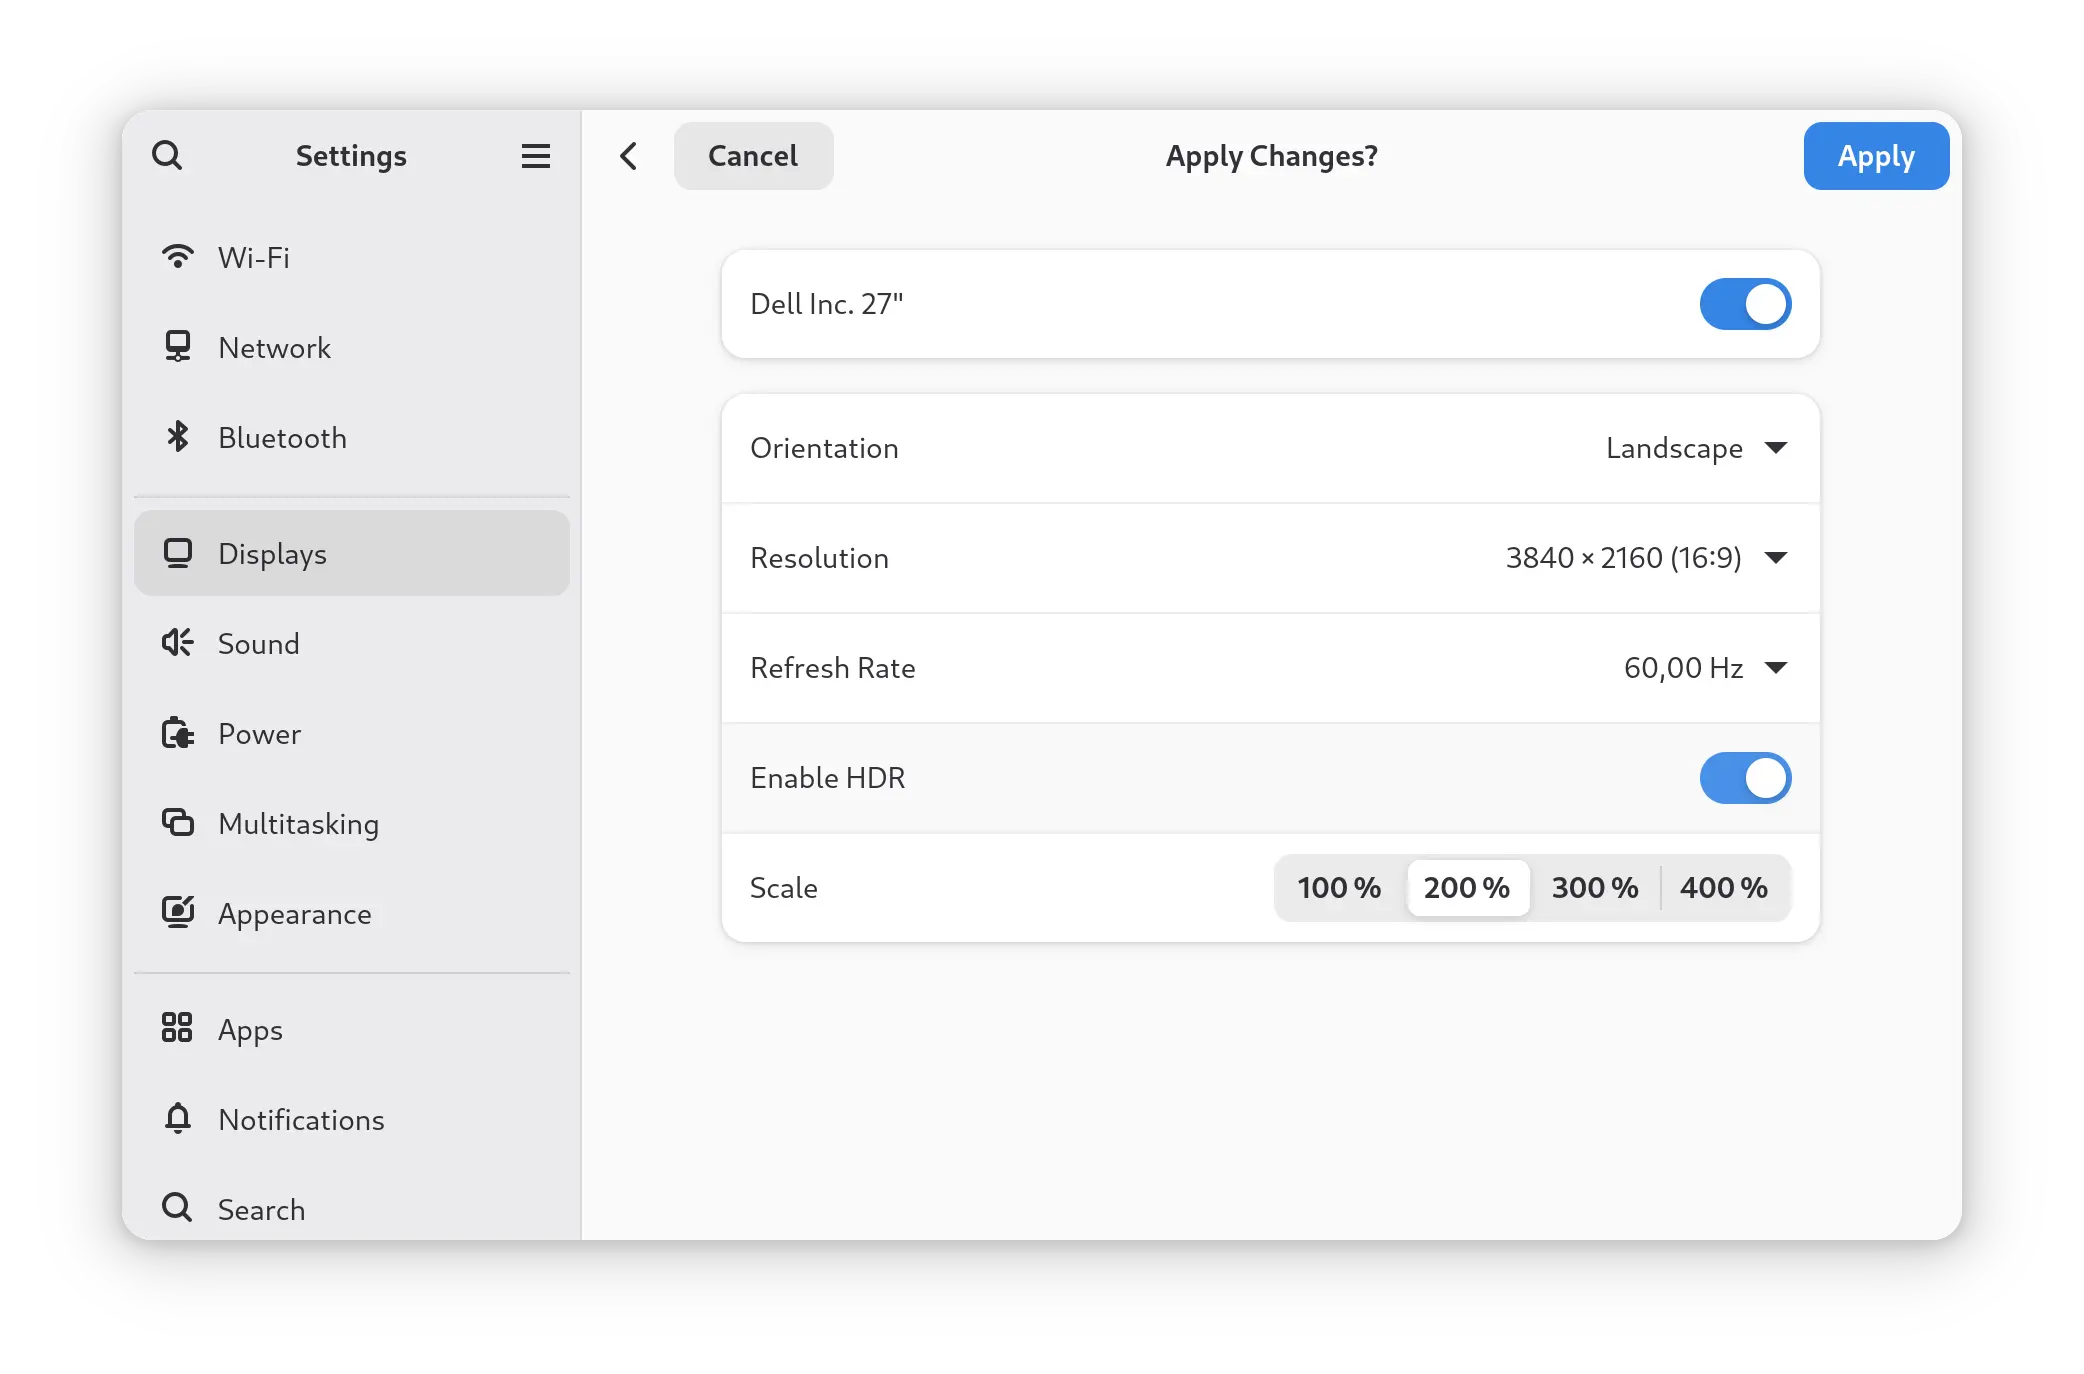
This is a beginner’s guide shows how to enable the experimental HDR feature in Ubuntu, Fedora Workstation, and other Linux with recent GNOME.
HDR is a technology allowing to transmit high dynamic range videos and images to compatible displays. KDE has HDR support in Plasma 6, and GNOME is going to add HDR toggle option in next v48 release.
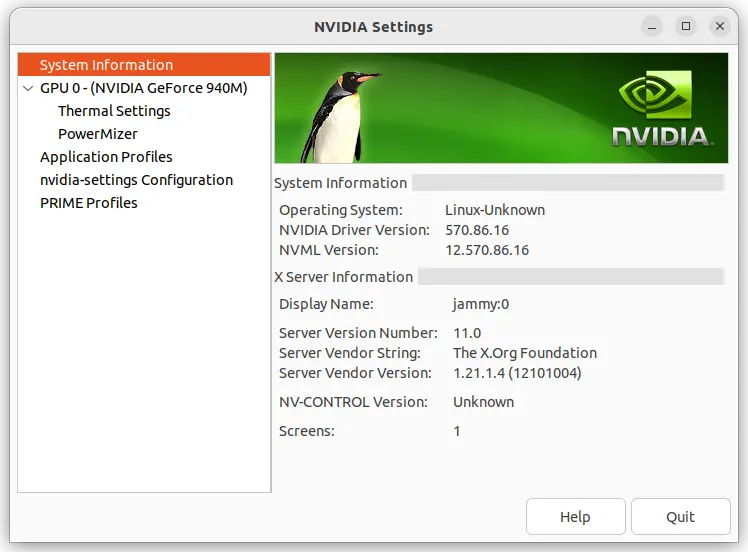
NVIDIA released first Beta of the 570 driver series for Linux users a few days ago. See what’s new in this new driver.
NVIDIA Linux driver introduced VRR support for Wayland since 560 driver series. It’s a feature that adjust the monitor’s refresh rate on the fly, to match the frame rate of output signal from the graphics card.
The feature is useful for games to eliminate screen tearing and also lowers power consumption. And the new 570.86.16 driver enhanced it by supporting variable refresh rate (VRR) on systems with multiple monitors.