This quick tip is going to show beginners how to install Adobe Reader 9 in Ubuntu 13.10 Saucy Salamander.
Adobe Reader is available in Canonical Partners repository for Ubuntu 13.04 Raring and earlier. At the moment the repository is not ready for Ubuntu 13.10. So this tutorial will show you how to install it via the official DEB package.
1.) Click to download the DEB for Adobe Reader
2.) Press Ctrl+Alt+T on your keyboard to open terminal. When it opens, run below command to install it:
For 32-bit system:
sudo dpkg -i ~/Downloads/AdbeRdr9.5.5-1_i386linux_enu.deb; sudo apt-get -f install
For 64-bit system:
UPDATE: the easier way to install Adobe Reader DEB on 64 bit Ubuntu is using Gdebi, which will automatically install all dependencies.
sudo apt-get install gdebi

sudo gdebi AdbeRdr9.5.5-1_i386linux_enu.deb
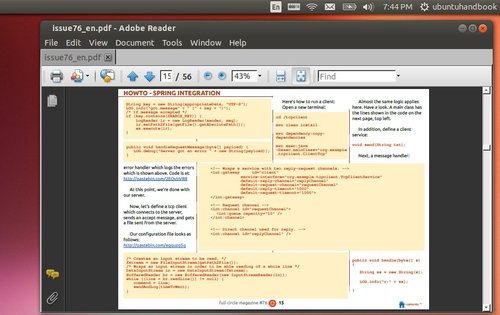
Once installed, open Adobe Reader from Unity Dash or right-click your PDF files to open it via Adobe Reader.
UPDATE 1: Thanks for your comments! I’ve rewritten a clean tutorial about how to install this in Ubuntu 14.04 Trusty.
If you’ve already followed previous steps, run the below command to install required libraries should make the Adobe Reader work (Thanks to osman):
sudo apt-get install libgtk2.0-0:i386 libnss3-1d:i386 libnspr4-0d:i386 lib32nss-mdns libxml2:i386 libxslt1.1:i386 libstdc++6:i386