This simple tutorial shows you how to install Facebook Messenger App in Ubuntu 13.10 Saucy, 13.04 Raring, 12.04 Precise and 12.10 Quantal via PPA repository.
As you may know, Facebook Messenger is an instant messaging service and software application which provides text and voice communication. Integrated with Facebook’s web-based Chat feature and built on the open-source MQTT protocol.
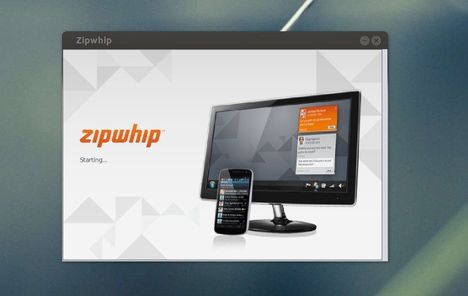
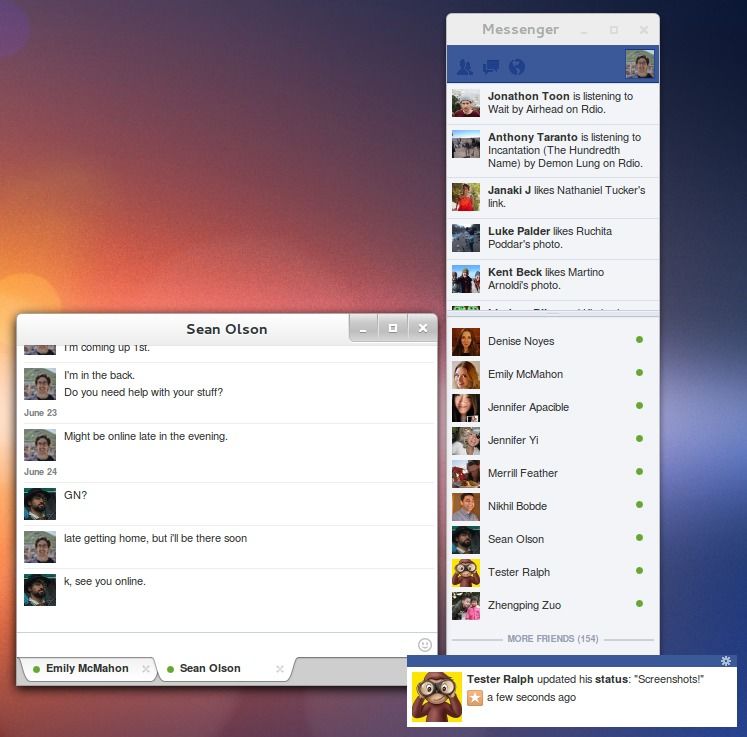
Here’s a Linux clone of Facebook Messenger for Windows. It gives you a chat sidebar, chat popup windows, and notification toasts outside of the browser. Ubuntu users can install it from a PPA created by Webupd8Team.
To get started installing this app, press Ctrl+Alt+T on your keyboard to open terminal. When it opens, run below commands to add the PPA:
sudo add-apt-repository ppa:nilarimogard/webupd8
Then update your package lists and install:
sudo apt-get update; sudo apt-get install fbmessenger
Project Homepage:https://github.com/oconnor663/linuxmessenger