![]()
For Linux desktop user who want to access German-language public broadcasting live streams and archives, this can do the job for you.
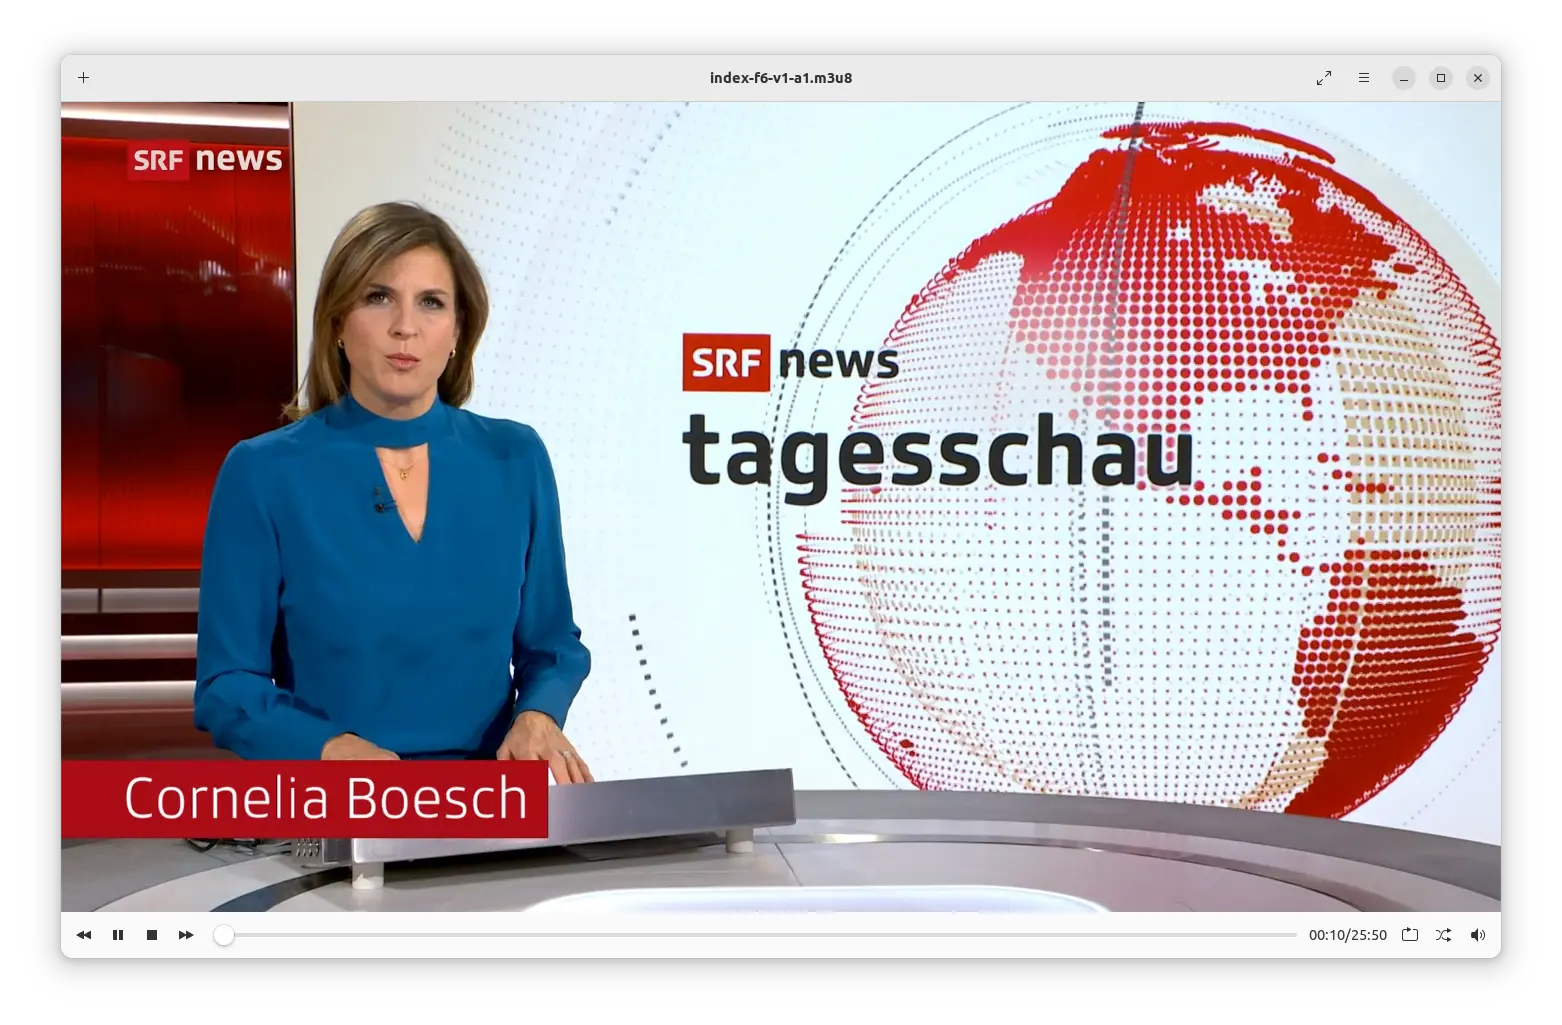
It’s televido (“Television” in Esperanto), a free and open-source tool, allowing to livestream, search, play and download media from German-language public television services. Though, ORF (Austrian TV) & SRF (Swiss TV) are also supported.
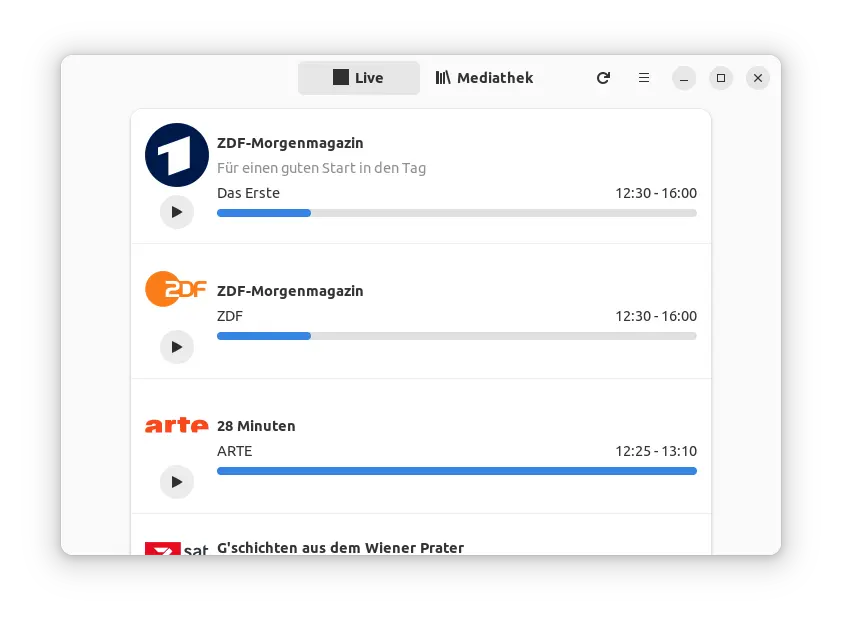
The app is written in Rust programming language, and use GTK4 for its modern user interface. It has ‘Live’ tab for live TV shows, such as ZDF-Morgenmagazin, 28 Minuten, and more.
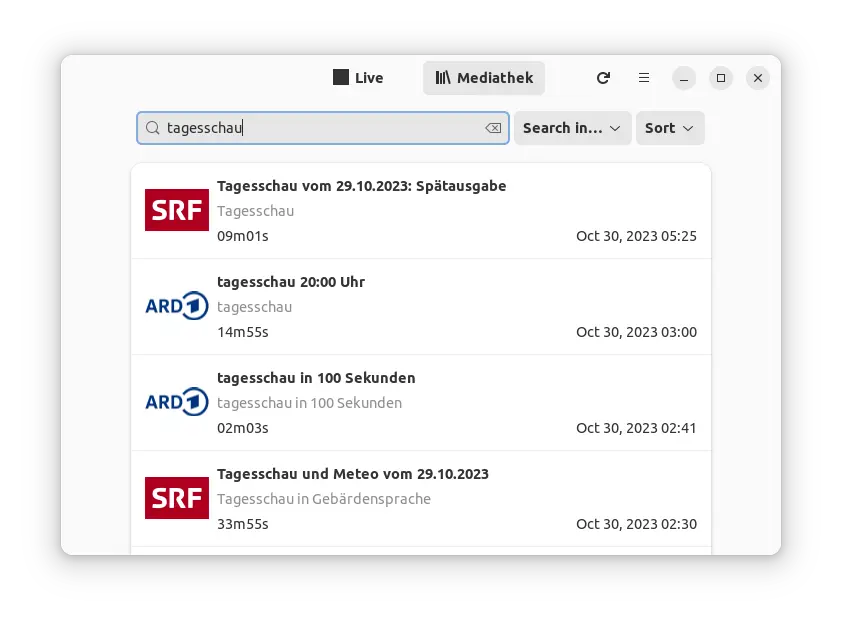
And, allows to search, play, and download media via ‘Mediathek’ tab.
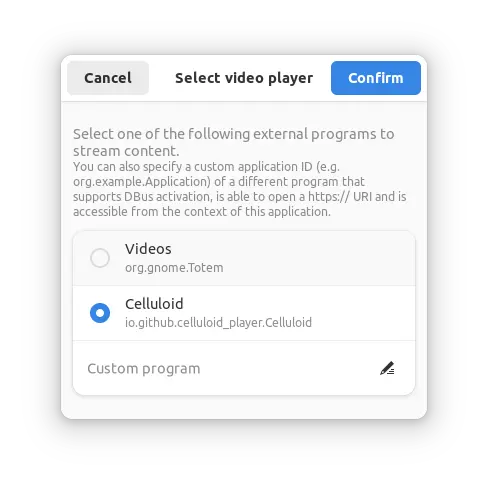
The application only find and access TV shows with the power of MediathekViewWeb’s API and the Zapp backend API. The media playback is done by external video players installed on your system. So far, it supports GNOME Videos (Totem), Celluloid, Clapper, Daikhan.
How to install Televido in Ubuntu & Other Linux
Televido is easy to install in most Linux desktop through the Flatpak package.
For Linux Mint 21 and Fedora 38 + (with 3rd party repositories enabled), simply search for and install it directly from either Software Manager or Gnome Software.
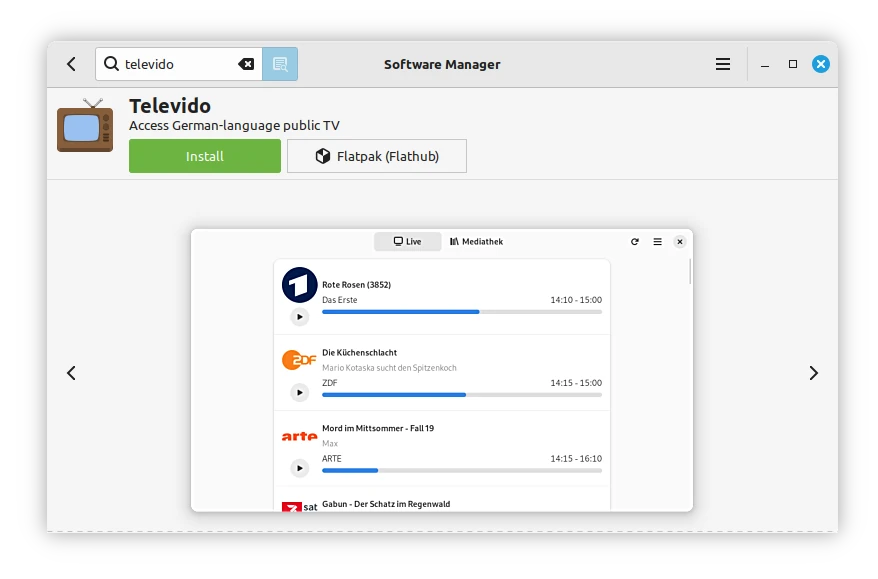
Install Televido from Linux Mint software manager
For other Linux, follow the steps below one by one to install the app as Flatpak package:
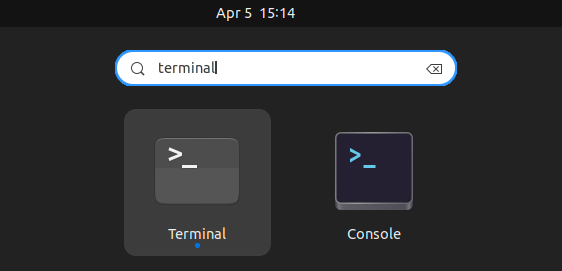
- First, launch terminal from start menu or ‘Activities’ overview depends on your desktop environment.
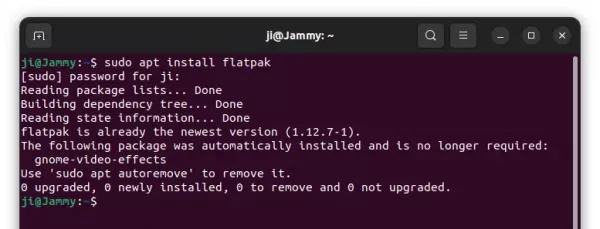
- Then, follow the setup guide to enable Flatpak support.
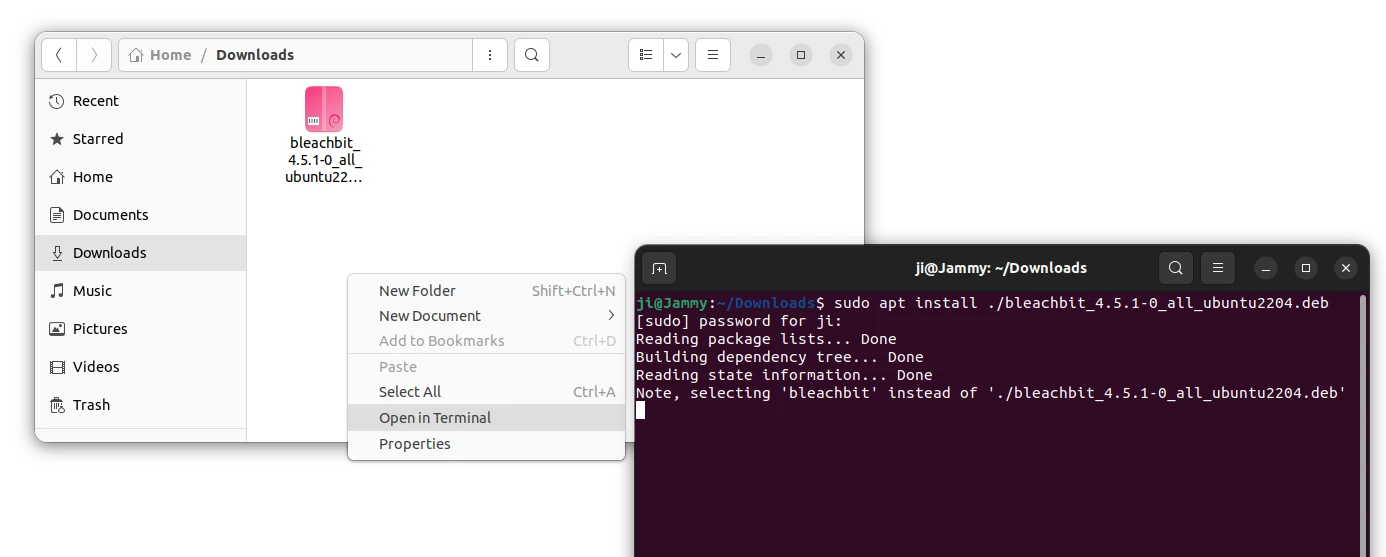
For Debian and Ubuntu based systems, just run command:sudo apt install flatpak
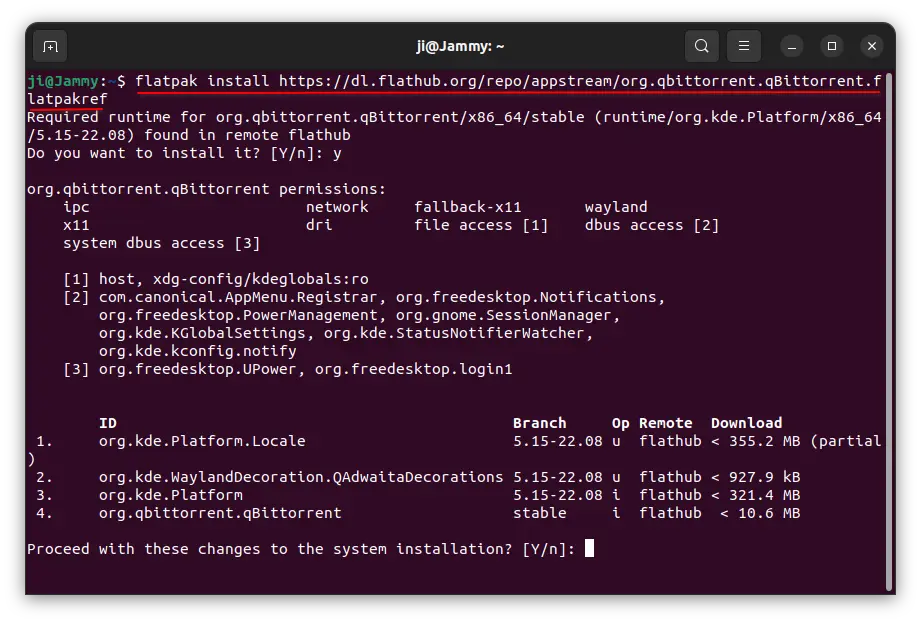
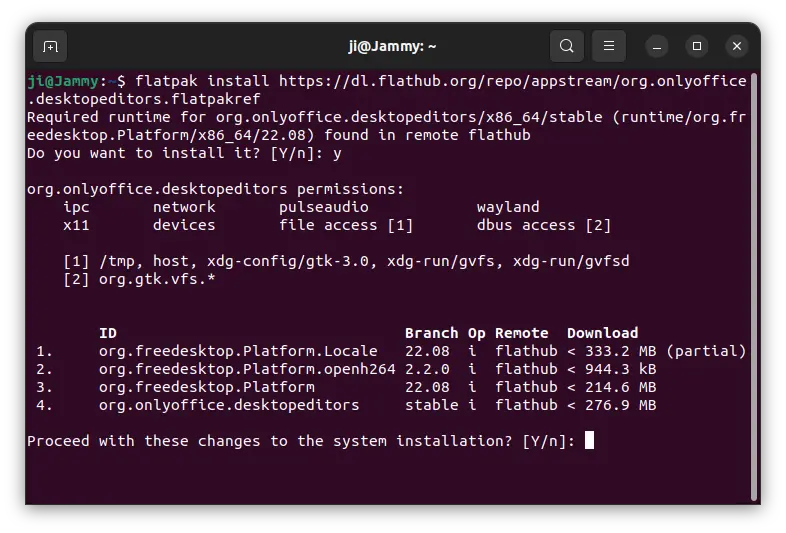
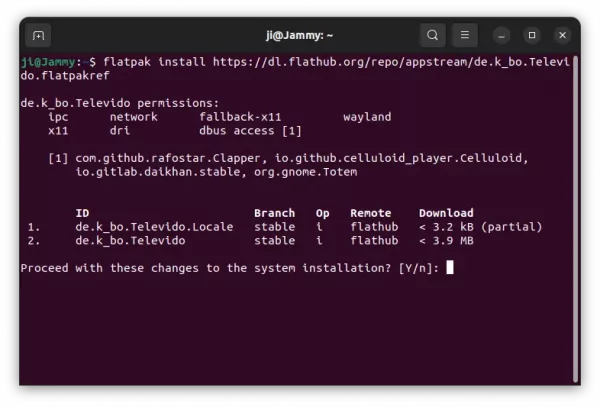
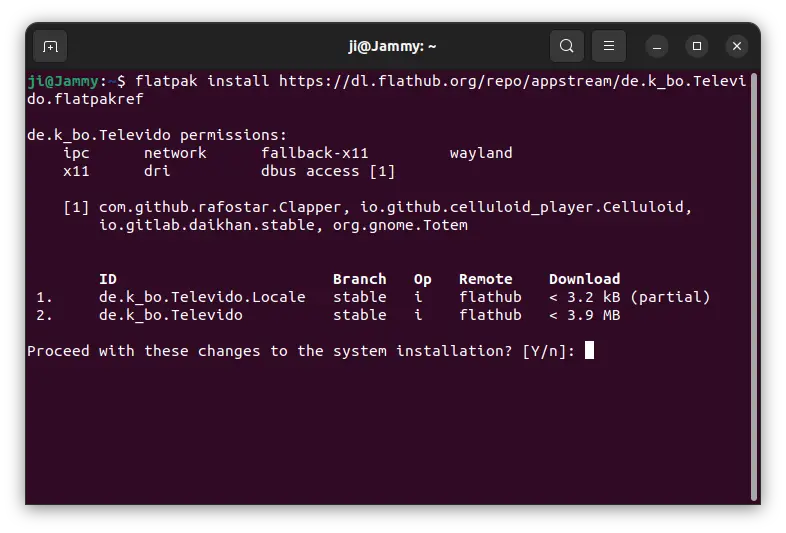
- Finally, install the app as Flatpak package by running the command below in terminal:
flatpak install https://dl.flathub.org/repo/appstream/de.k_bo.Televido.flatpakref
Tips: First time installing Flatpak app may have lots of download for run-time libraries, and user needs to log out and back in to make app icon visible.
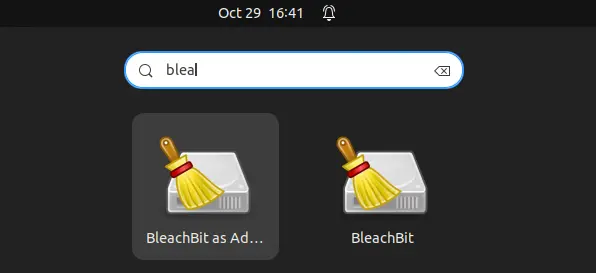
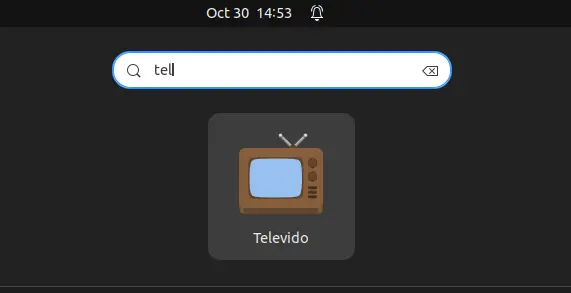
Once installed, search for and launch the app either from start menu or ‘Activities’ overview depends on your desktop environment.
Uninstall
To remove the software package, also launch terminal and run command:
flatpak uninstall --delete-data de.k_bo.Televido
Also run flatpak uninstall --unused to remove useless run-times to free up some disk spaces.