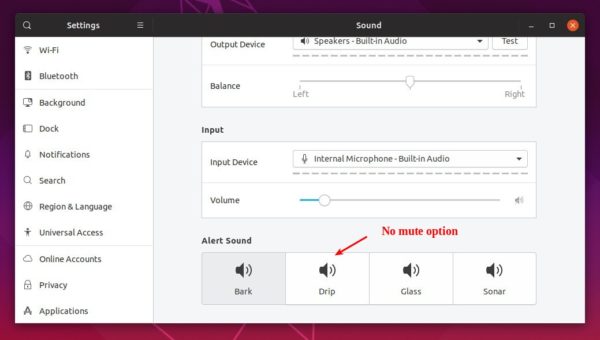
Ubuntu Gnome desktop will play a simple alert sound for certain types of messages and events, e.g., terminal tab completion alert and usb plugged in or removed.
In Ubuntu 19.04 sound settings, it only provide options to choose a different alert sound, though it used to have an option to disable or mute it in old Ubuntu releases.
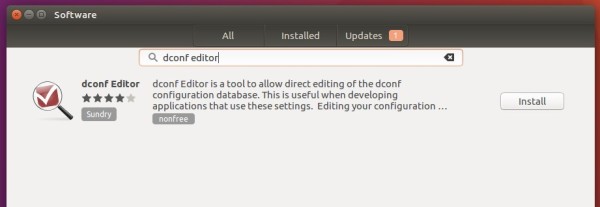
1. Open Ubuntu Software, search for and install dconf editor:
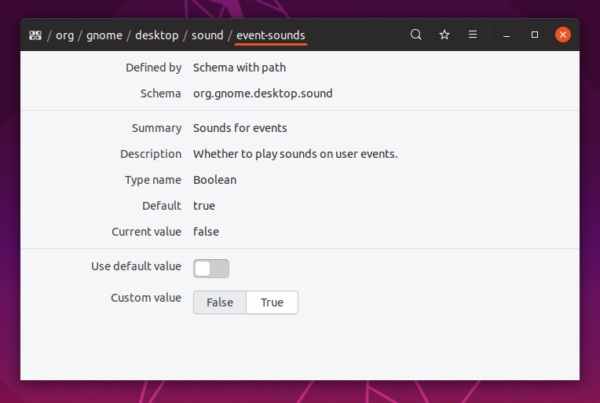
2. Launch dconf editor and navigate to org/gnome/desktop/sound.
Then turn off the switch for “event-sounds”.
That’s it.
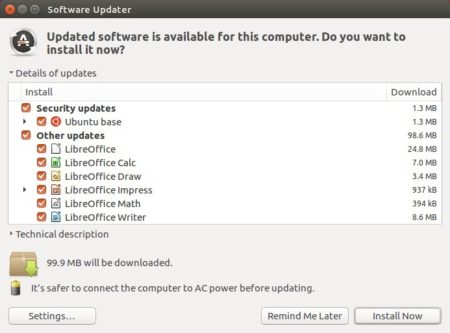
In addition, previous changes will be restored once you choose an alert sound (pic 1) in Sound settings.
HP Color LaserJet Managed MFP E77422a, E77422dv, E77422dn, E77428dn
HP LaserJet MFP E72425a, E72425dv, E72425dn, E72430dn
HP LaserJet Managed MFP E62655dn, E62665hs
HP LaserJet Managed Flow MFP E62665h, E62675z, E62665z
HP LaserJet Managed E60155dn, E60165dn, E60175dn
HP Color LaserJet Managed E65150dn, E65160dn, MFP E67650dh, Flow MFP E67660z
The new release also adds support for Debian 9.7(64-bit), RHEL-7.6(64-bit), LinuxMint 19.1(64-bit). Also Gen2 Class driver now is supported, and basic Booklet printing support for a list of devices.
Download / Install HPLIP 3.19.3 in Ubuntu:
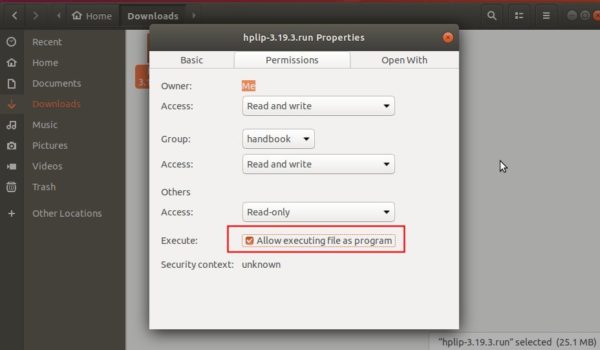
1. To install the software, download the package “hplip-3.19.3.run” from the link below:
2. Then make the downloaded file executable from its Properties dialog:
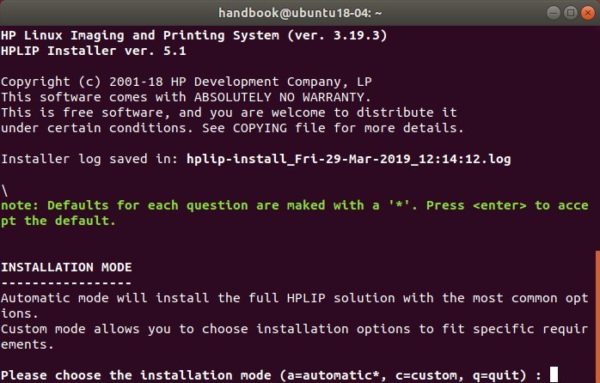
3. Finally open terminal either via Ctrl+Alt+T or search for “terminal” from app launcher. When it opens, run command to start installing it:
./Downloads/hplip-3.19.3.run
Type user password (no asterisk feedback) when it prompts and hit Enter.
4. Then follow the terminal prompts, answer some questions to build and install HPLIP on your system. When everything is done, plug/re-plug your printers and enjoy!
In LinuxMint 19.1 cups is not printing from the localhost:631. The work around is to install the cups-filters via commands:
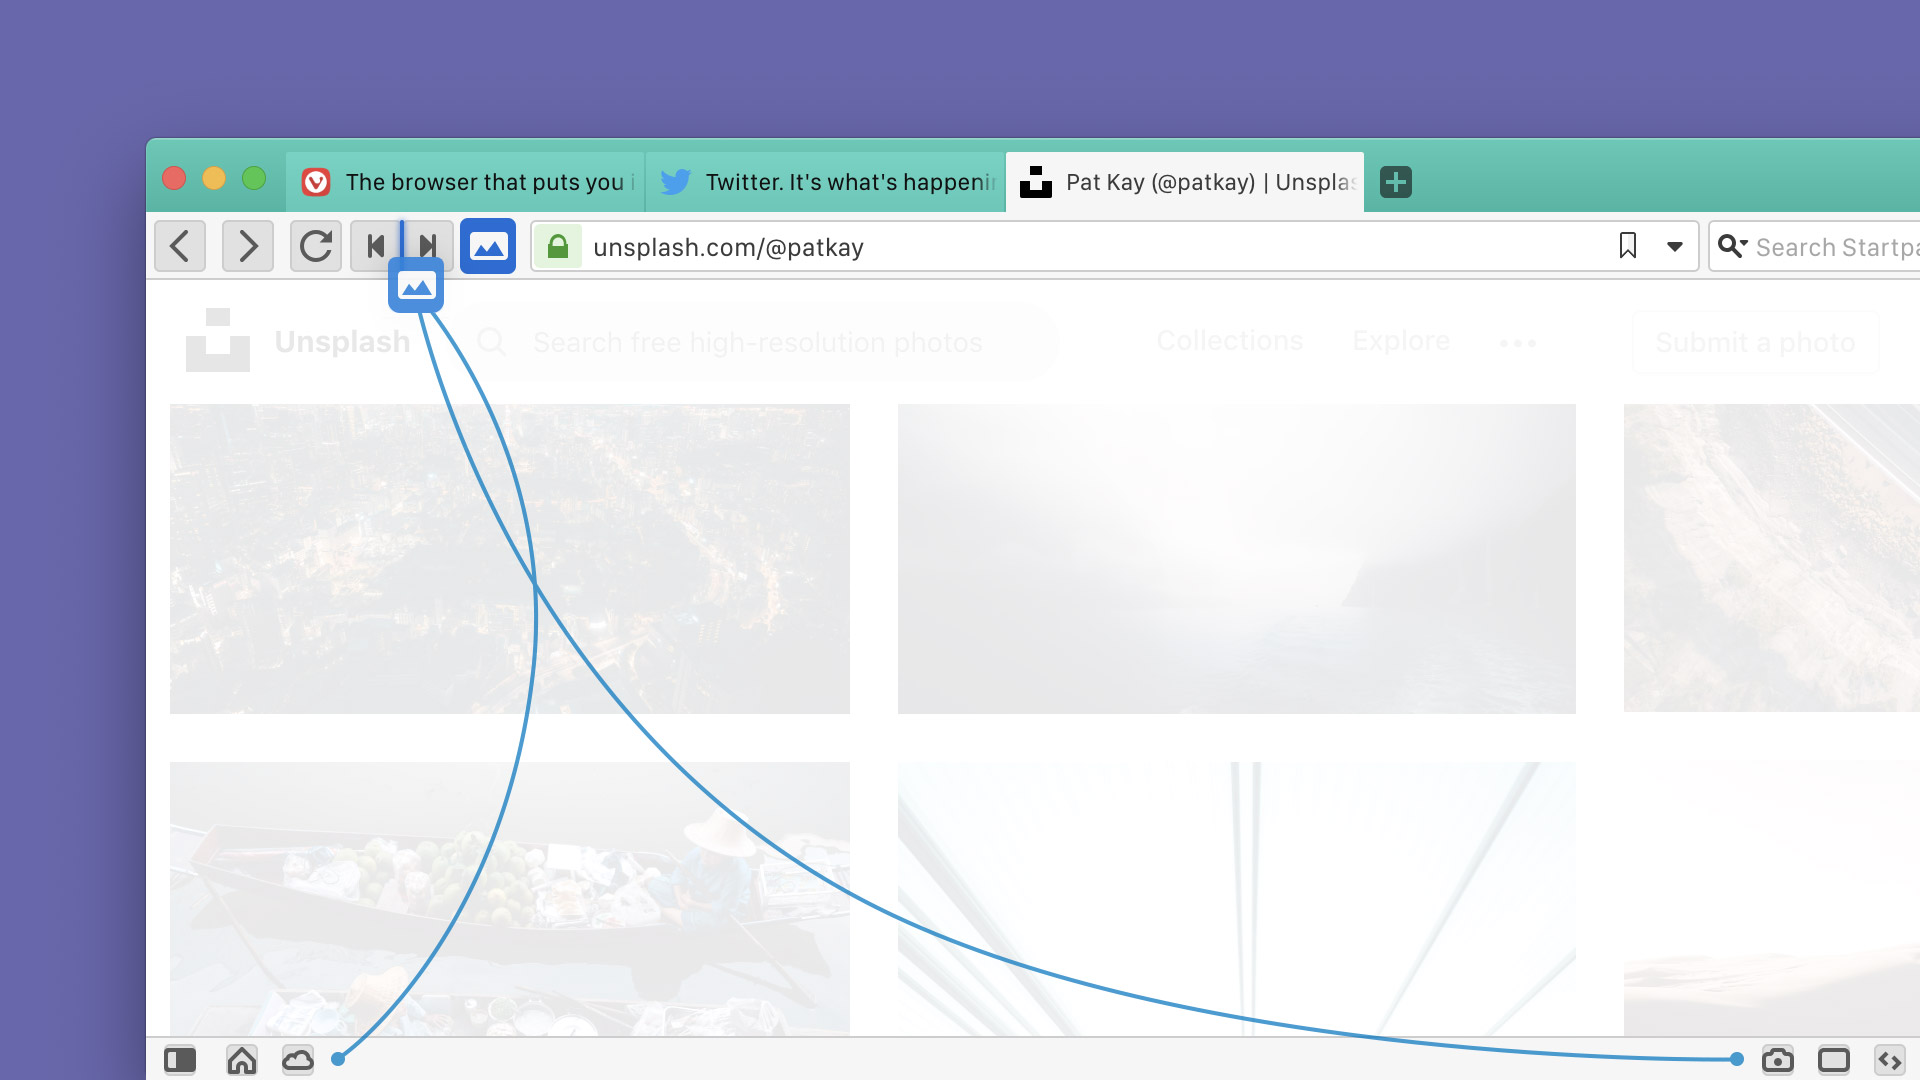
Bookmark a selection of tabs via the context menu (right-click)
Support managing people and guest profiles
Basic Calculator in Quick Commands
Allow double-click to rename tab stack
Make it possible to sync the content of the bookmarks bar
And many more other changes. See the previous link for details.
How to Install Vivaldi 2.4 in Ubuntu:
The official Ubuntu .DEB packages are available for download at the link below:
Grab the deb matches your OS, then install it via Ubuntu Software or Gdebi package manager. Or run command in terminal:
sudo dpkg -i ~/Downloads/vivaldi-stable_2.4*.deb
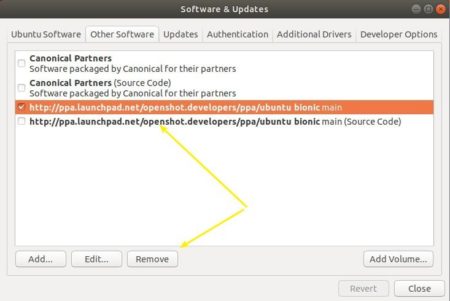
In addition, after installed the .deb package, you can enable Vivaldi apt repository (Softare & Updates -> Other Software) to receive future updates through Software Updater:
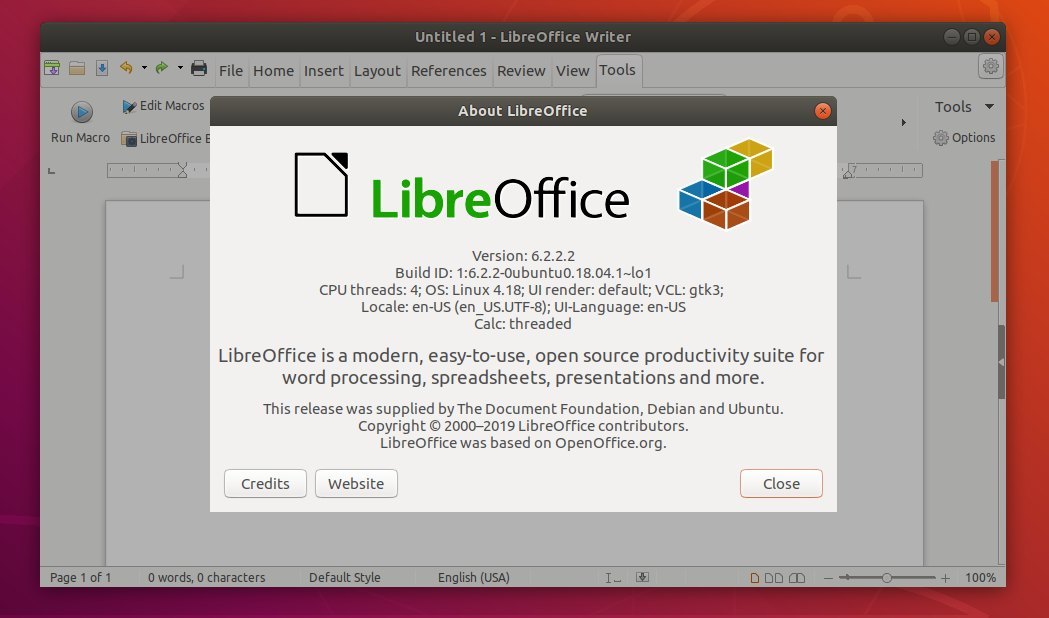
Ubuntu users can finally upgrade the default LibreOffice office suite to version 6.2 (6.2.2) via PPA, though the LibreOffice 6.2 snap package is available to install for many days.
LibreOffice 6.2 was released a months ago. New features include:
LibreOffice NotebookBar UI in 3 styles: Tabbed, Groups, and Contextual.
Improved icons for HiDPI displays.
Context menus of each app has been reworked and tidied up.
Better file compatibility with Microsoft Office
Install Libreoffice 6.2.2 via PPA in Ubuntu:
For Ubuntu 16.04, Ubuntu 18.04, Ubuntu 18.10, and Ubuntu 19.04, do following steps to install the office suite from Libreoffice Fresh PPA.
1. Open terminal either via Ctrl+Alt+T keyboard shortcuts, or by searching for “terminal” from application launcher. When it opens, run command to add the LibreOffice PPA:
sudo add-apt-repository ppa:libreoffice/ppa
Type user password (no asterisk feedback while typing) when it prompts, and read terminal output for PPA description and hit Enter to continue.
2. Then you’ll see the upgrade available in Software Updater after checking for updates.
Or run commands in terminal to install LibreOffice:
sudo apt update

sudo apt install libreoffice
For Ubuntu 18.04 and higher, you can skip sudo apt update as it’s done while adding PPA.
Uninstall:
You can restore to stock version of LibreOffice in Ubuntu main archive by running command in terminal:
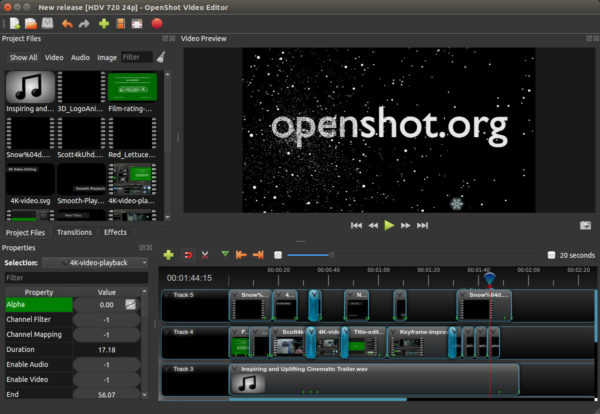
Openshot video editor released version 2.4.4 a few days ago. The stable PPA has built the packages for Ubuntu 14.04, Ubuntu 16.04, Ubuntu 18.04, Ubuntu 18.10.
OpenShot 2.4.4 includes fixes and improvements to keyframe scaling, better timeline and preview performance, improved SVG rendering via the resvg library, improved docking & tracks, user-defined Export presets, new translations, constant rate factor support, and various other changes.
How to Install OpenShot 2.4.4 in Ubuntu:
1. Open terminal from software launcher (or press Ctrl+Alt+T), when it opens, run command to add the PPA:
After two beta releases, KeePassXC password manager 2.4.0 finally goes stable. Here’s how to install it in Ubuntu 16.04, Ubuntu 18.04, and higher.
KeePassXC 2.4.0 enables coordinate system scaling for high-DPI displays, adds new database wizard, implements advanced search, and
Automatic update checker
KeeShare database synchronization
Improve favicon fetching; transition to Duck-Duck-Go
Remove KeePassHttp support
Linux: Prevent Klipper from storing secrets in clipboard
Linux: Enable use of browser plugin in Snap build
TOTP QR Code Generator
Allow toolbar to be hidden and repositioned
Increase max allowed database timeout to 12 hours
Password generator uses existing password length by default
Browser Integration Enhancements
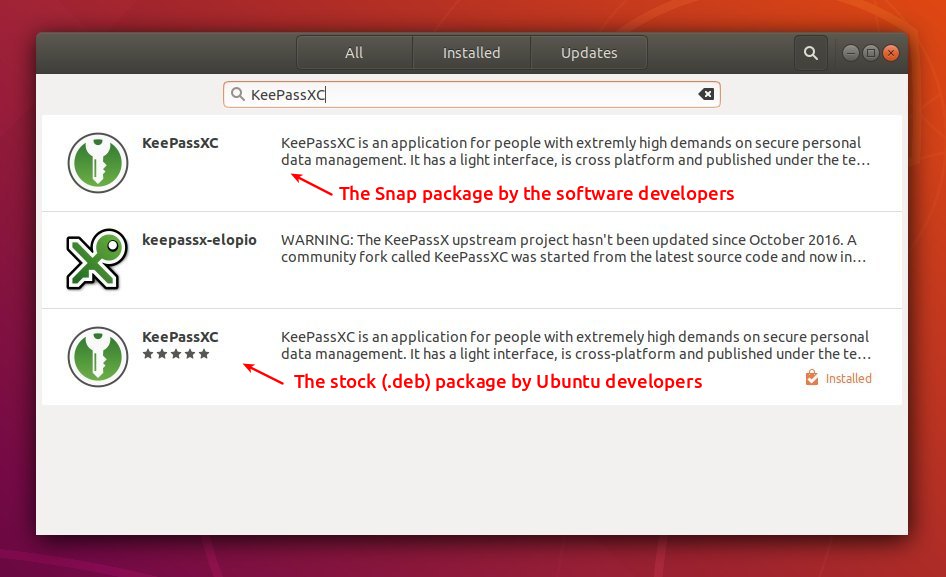
How to Install KeePassXC 2.4.0 in Ubuntu via Snap:
The official snap package (runs in sandbox and auto-updates itself) has been updated.
The snap can be easily installed in Ubuntu 18.04 and higher via Ubuntu Software:
For Ubuntu 16.04, run command to install snapd daemon first:
sudo apt-get install snapd
Then install the snap package via command:
sudo snap install keepassxc
How to Install KeePassXC 2.4.0 in Ubuntu via PPA:
For those who don’t prefer snap packages, the official KeePassXC PPA contains the most recent .deb packages for Ubuntu 14.04, Ubuntu 16.04, Ubuntu 18.04, Ubuntu 18.10.
The 2.4.0 release package will be made into PPA in 2 or 3 days. Check the previous link before getting started.
1. Open terminal either via Ctrl+Alt+T keyboard shortcut or by searching for ‘terminal’ from app launcher. When it opens, run command to add the PPA:
sudo add-apt-repository ppa:phoerious/keepassxc
Type user password (no asterisk feedback due to security reason) when it prompts and hit Enter to continue.
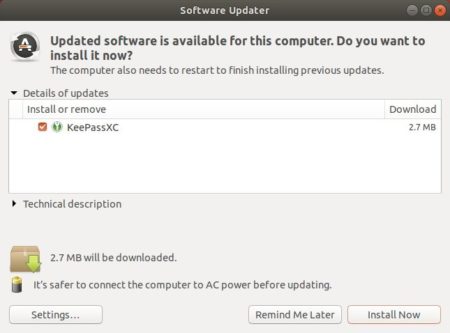
2. Then upgrade KeePassXC via Software Updater:
or run commands one by one in terminal to install the latest package:
sudo apt update

sudo apt install keepassxc
Uninstall:
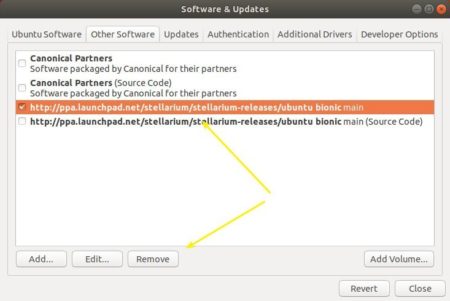
To remove the PPA, open Software & Updates and navigate to Other Software tab.
To remove KeePassXC .deb package, run command in terminal:
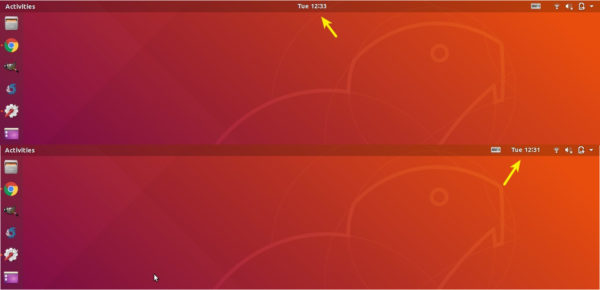
This quick tutorial is going to show how to move the clock from middle to the right of the top panel in Ubuntu 18.04, Ubuntu 20.04, and Ubuntu 21.04 Gnome Shell.
The date and time is by default displayed in the middle of top panel in Gnome 3 desktop. It’s hard coded with no tweak option to change its position. However, a Gnome Shell extension can do the job.
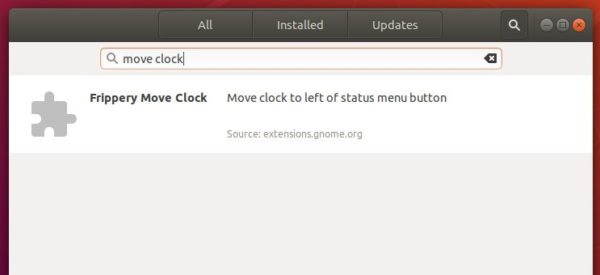
Install Frippery Move Clock in Ubuntu 18.04:
Open Ubuntu Software, search for and install frippery move clock.
Once you installed the extension, the clock change its position to right.
Install the Extension in Ubuntu 20.04:
Since Ubuntu 20.04, you can no longer install Gnome Extensions from Ubuntu Software. Instead, do following steps to install it via web browser:
1.) Firstly, open terminal (Ctrl+Alt+T) and run command to install chrome-gnome-shell and gnome extensions app:
Don’t see the toggle icon? Click ‘click here to install browser extension’ to install browser extension and refresh the web page.
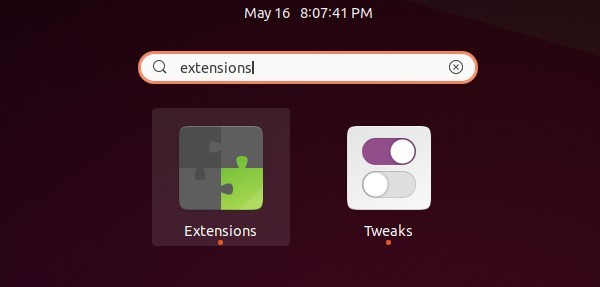
(Optional) Once installed, it moves clock to the right automatically. You can then manage extensions, by searching for and open Extensions from system app launcher.