For Thunderbird users who don’t like Snap package, here’s step by step guide shows how to replace the pre-installed snap version of the mail client with classic Deb package in Ubuntu 24.04 LTS.
Like Firefox, the Thunderbird Email Client in Ubuntu 24.04 and 25.04 has been replaced as Snap package that runs in sandbox! If you don’t like the change, then here are 2 other choices:
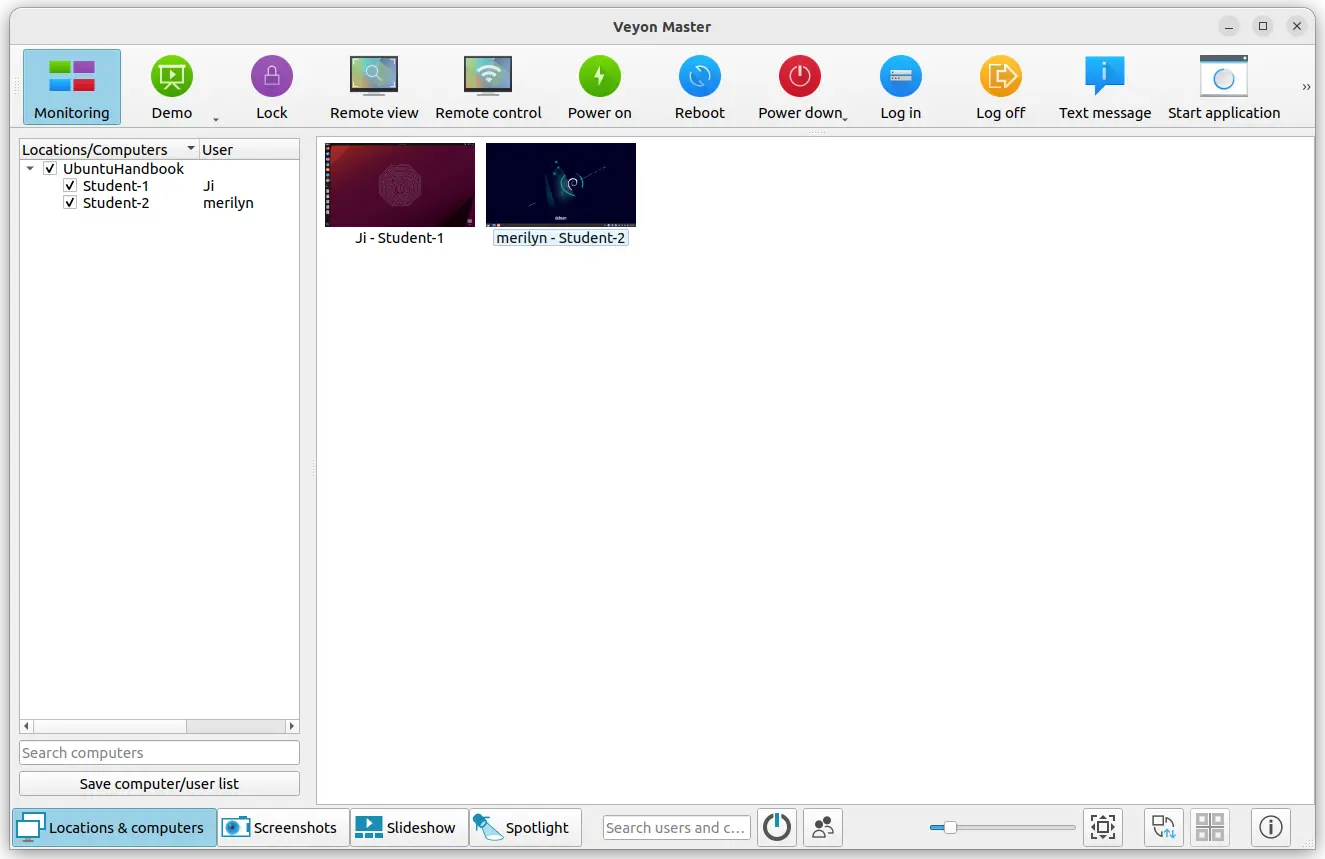
This tutorial shows how to install and setup Veyon for classroom management in Ubuntu 24.04, Ubuntu 22.04, Ubuntu 20.04, and Debian 12, though it should also works in Windows 10 & 11.
Veyon is a free and open-source software for monitoring and controlling computers across multiple platforms. It supports monitoring all computers in one or multiple classrooms, view or control computers, and broadcast the teacher’s (or student’s) screen in real-time.
Besides the basic monitor, control, screen sharing features, the program also can do:
Lock student computers screen.
Power on/off, reboot student computers.
Send message, start app, open website, take screenshot, and transfer files to student computers.
This tutorial shows how to disable USB, either the full sub-system or for certain USB ports, in Ubuntu 24.04 or Ubuntu 22.04.
For server or production machines, disable USB can be useful for data privacy, virus protection, and other security reasons. For Ubuntu and most other Linux, here I’m going to show you how to disable USB via 3 ways:
Disable whole USB sub-system
Disable USB storage only – Only disable access for USB flash drive and other storage devices.
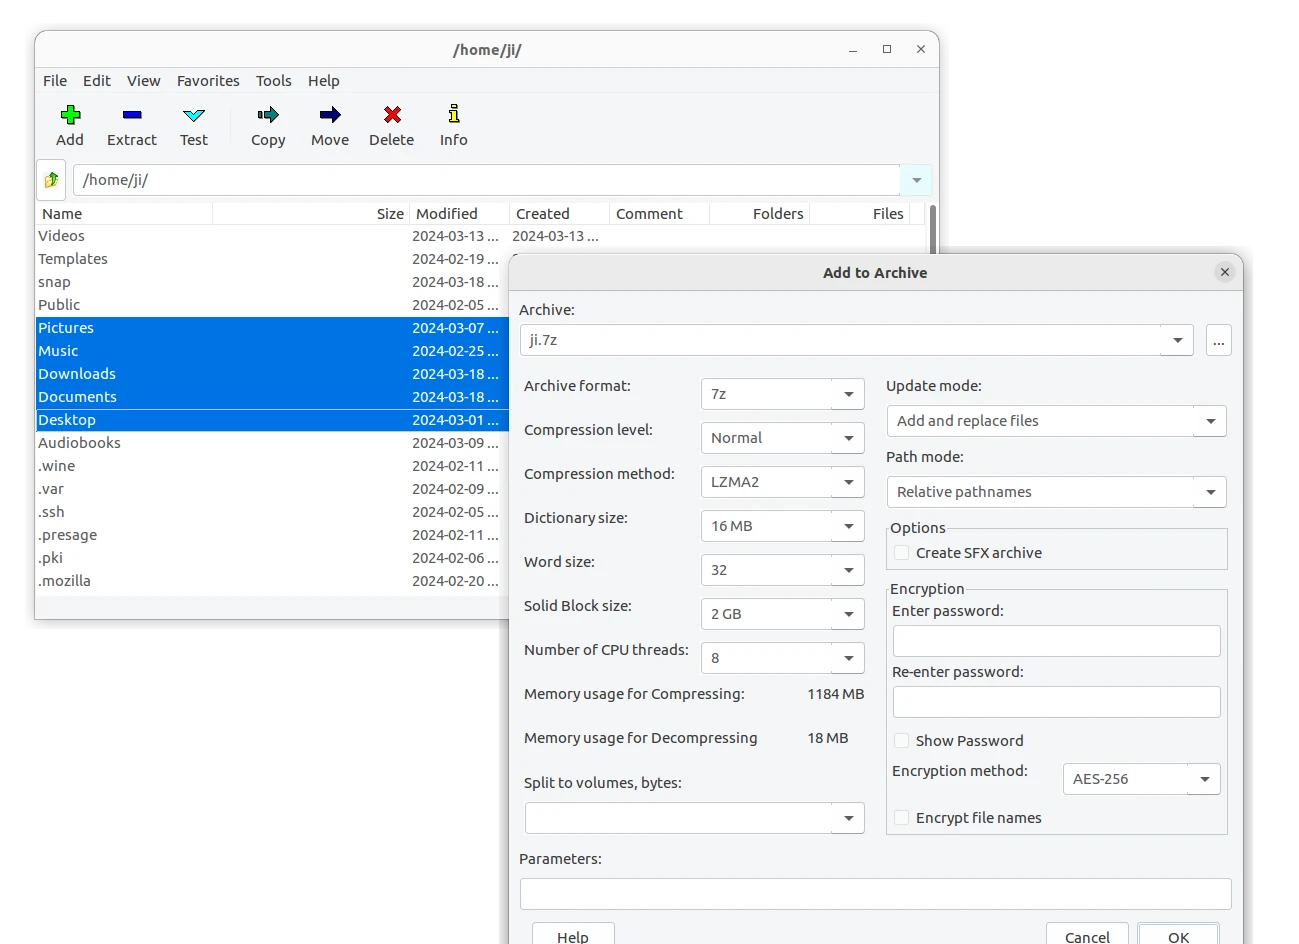
This simple tutorial shows how to install 7-Zip file archiver in Ubuntu Desktop.
7-Zip is a popular free open-source file archiver with a high compression ratio. Ubuntu Linux can get it in few different packages:
p7zip – a command line port of 7-Zip for POSIX systems, including Linux, when 7-Zip was Windows-only. Discontinued since 2016, but still popular and working good.
p7zip-desktop – fork of p7zip with a graphical interface.
7zip – 7-Zip for Linux, command line version.
NOTE: If you just want to do compress and/or extract .7z files, then Ubuntu supports the feature out-of-the-box with the Nautilus file manager.
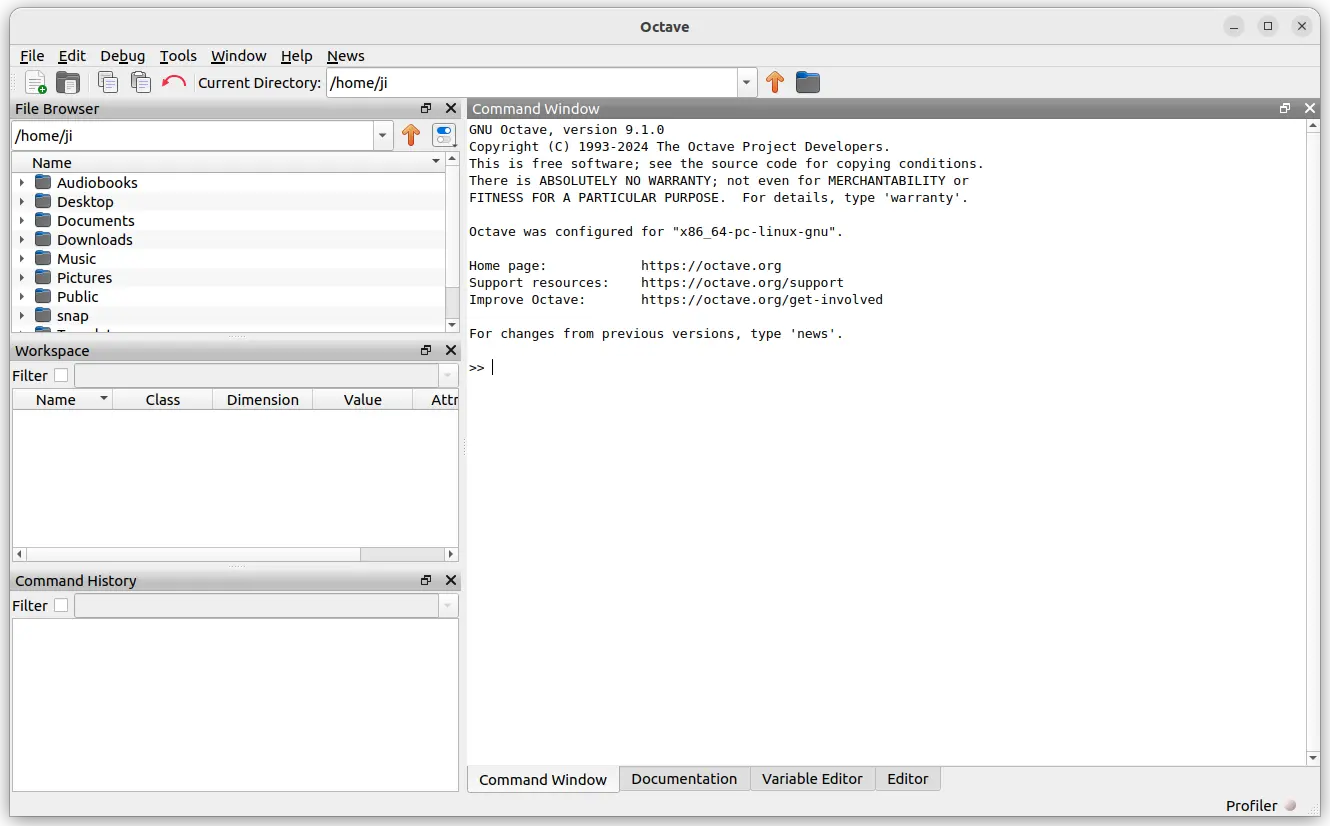
GNU Octave, the free open-source application for numerical computations, released new major 9.1.0 version! Here’s how to install it in Ubuntu 20.04, Ubuntu 22.04, Ubuntu 23.10, and Ubuntu 24.04.
The GNU website has not yet announced the new release, but it’s available in the download page.
According to the changelog, the new Octave 9.1.0 overhauled dec2base, dec2bin, and dec2hex. They now accept negative inputs and fractional inputs.
It re-architected the inputParser function to get a 60% performance improvement. And, the perms function has been made faster. The audiowrite function now supports writing to MPEG audio formats (including MP3) if the sndfile library supports it. The current directory of oruntests now changes to the directory containing the files with the tests for the duration of the test.
The release features new functions, including isenv, ismembertol, isuniform, tensorprod.
The disable_diagonal_matrix, disable_permutation_matrix, and disable_range functions have been removed! Replacements are optimize_diagonal_matrix, optimize_permutation_matrix, and optimize_range
Operators, such as .+, .+=, **, and .**= are removed. Replacements are +, +=, +=, ^, and .^=. And, following function are obsolete:
This simple tutorial shows how to install Beta version of your Flatpak app package from Flathub Beta repository in Ubuntu Linux.
Flatpak now is one of the top popular package formats for Linux. It runs in sandbox, allowing to easily manage software permissions and installing latest apps without worrying about dependency issues.
Most software developers publish their Flatpak app packages through Flathub repository. And for testing purpose, Flathub also provides a Beta repository.
There used to be beta.flathub.org web page for browsing and installing beta apps. The page however does no longer present in the website, though the beta apps are still installable.
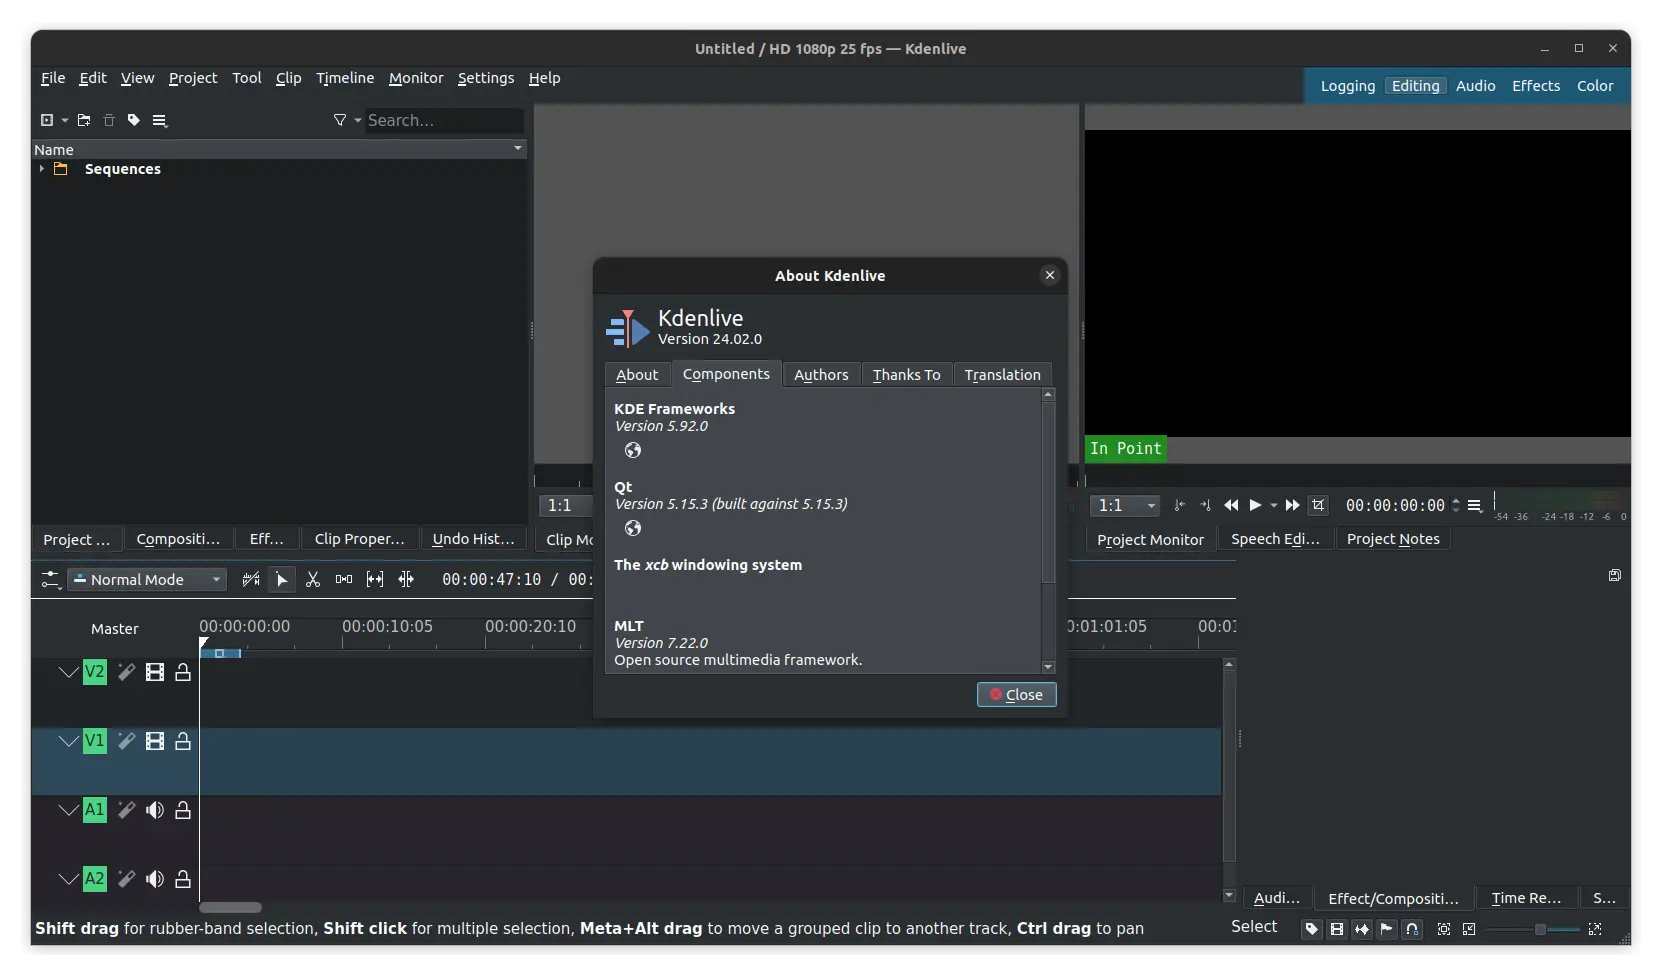
For those who prefer the native .deb app packages, here’s new unofficial PPA for installing the most recent Kdenlive video editor 24.08.3 in Ubuntu 24.04 and 24.12.2 in Ubuntu 24.10.
Since version 24.02, the Kdenlive video editor is finally ported to Qt6 plus KDE Frameworks 6, which brings big performance improvements, but also a few regressions.
Due to this change, the developer team discontinued the official Kdenlive PPA, since KF6 is NOT yet made into Ubuntu repositories.
The official packages are now only Flatpak and AppImage, that run in sandbox. For those who prefer the .deb package format, here’s the new unofficial PPA for choice.
This tutorial shows how to turn off your laptop’s built-in display for using external monitors in Ubuntu Desktop.
When working with multiple monitors, it can be useful to disable the built-in screen for saving power. You can set lid close action to do nothing then just close the laptop lid.
However, the lid close action may not work properly in some laptops, or you need to use the built-in keyboard and touch-pad. In the cases, here are a few other ways to do the job. Continue Reading…
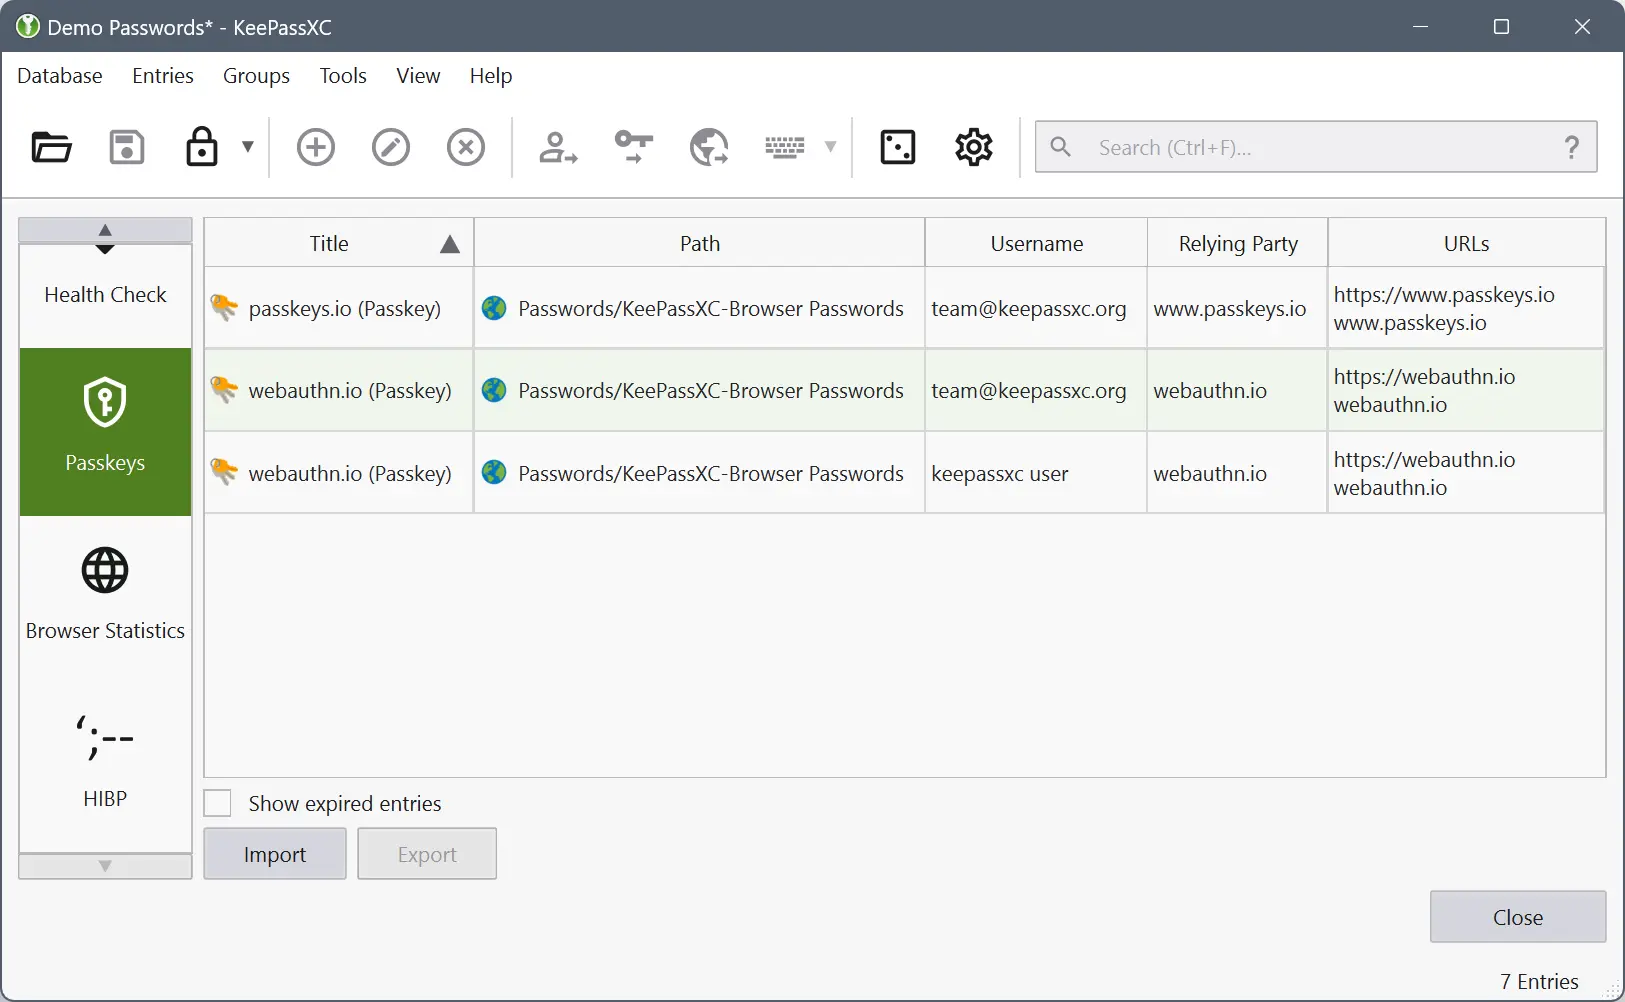
KeePassXC password manager announced the new 2.7.7 release this Sunday! Here are the new features and how to install instruction for Ubuntu.
The new KeePassXC 2.7.7 features official support for Passkeys. It’s a type of login credential, that provides a faster, easier, and more secure ways to login to websites and services without having to enter a password.
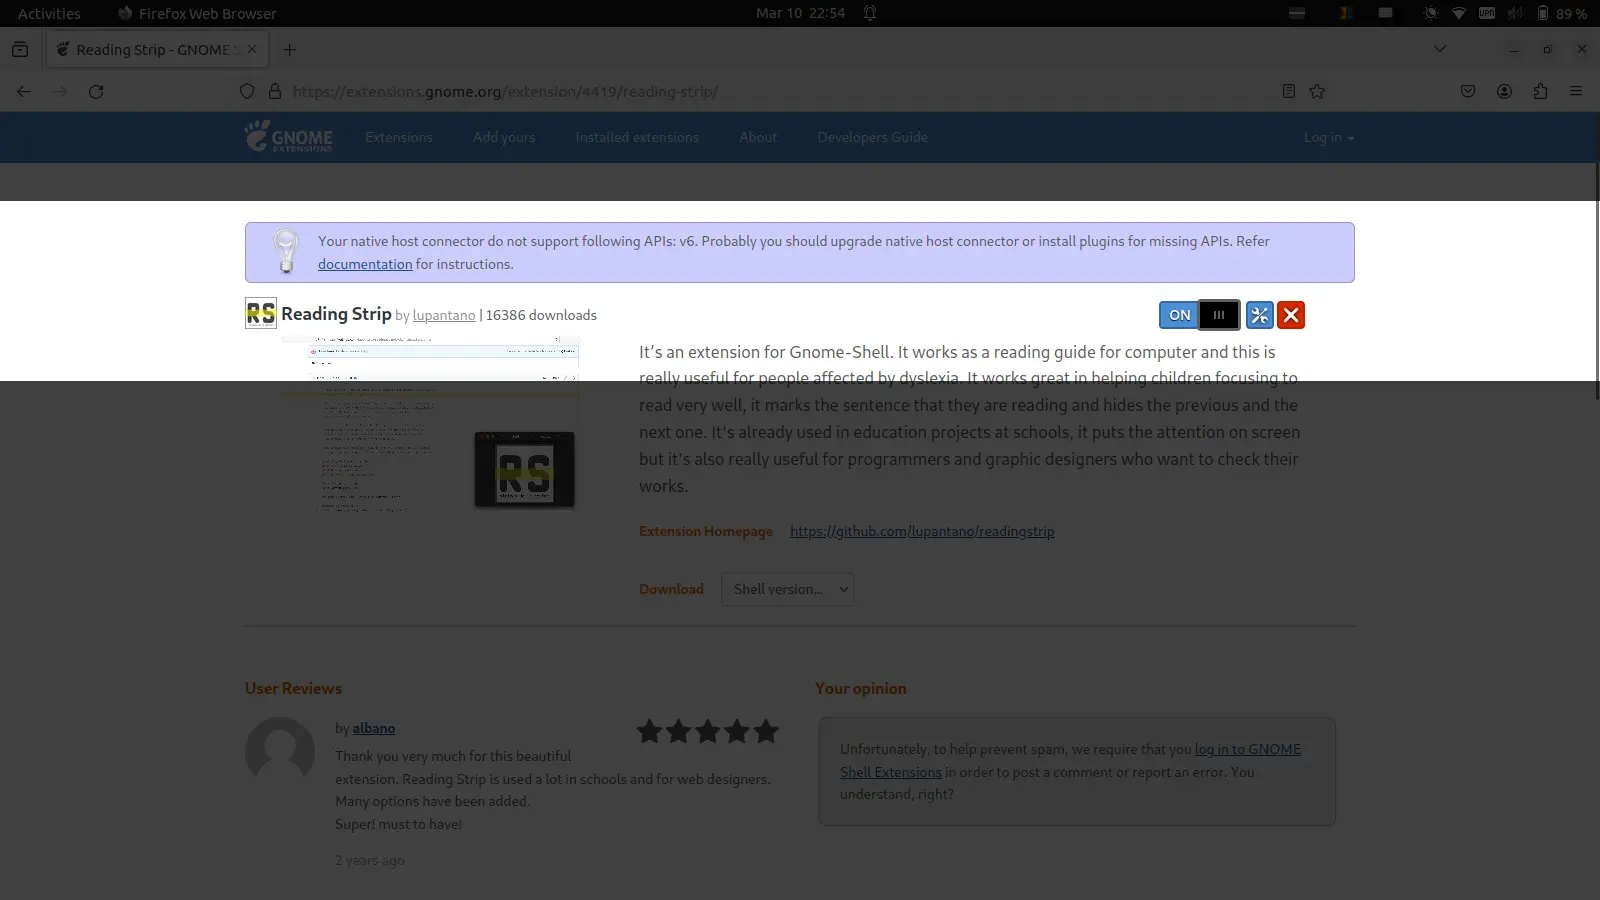
For Ubuntu, Fedora Workstation, and other Linux with GNOME Desktop, there’s an extension to help you focus on reading on the screen.
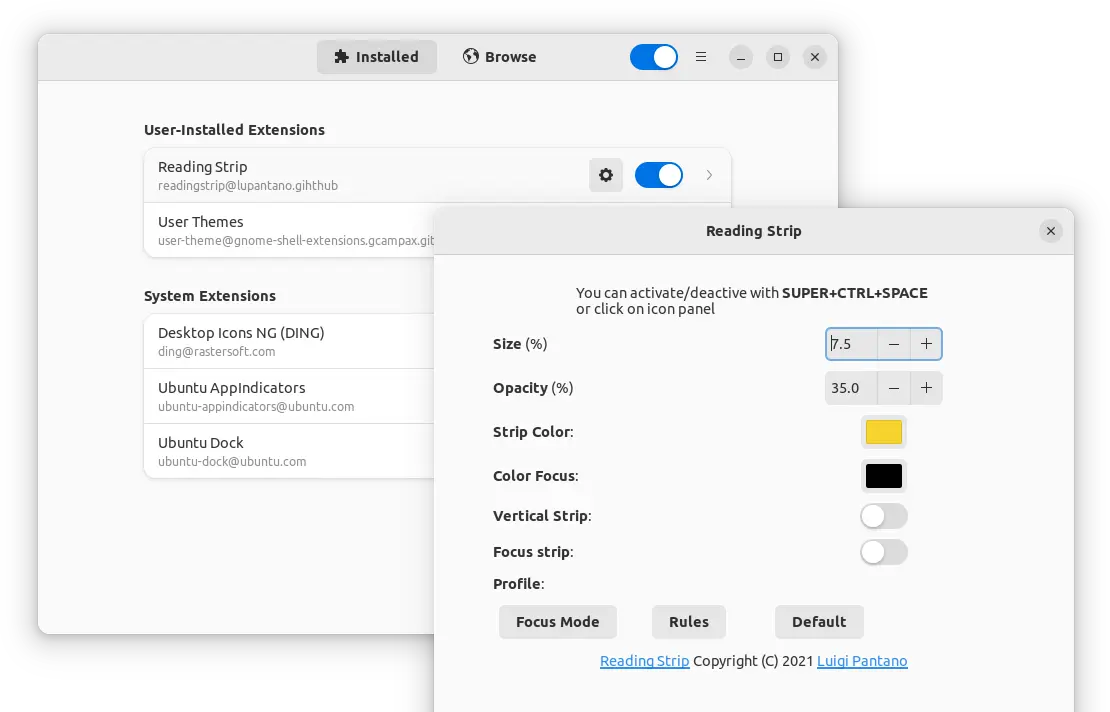
It’s Reading Strip, a free and open-source app written in JavaScript. With it, a horizontal (and/or vertical) strip will be displayed and follow around your mouse cursor.
By settings its background color and opacity, it can highlight the sentence to help focus on reading for people affected by dyslexia.
It also supports focus strip mode, that hides (blurs) the previous and next ones on screen. Which, is great for helping children focus on reading very well.
ReadingStrip Focus mode
How to Install Reading Strip
As mentioned above, reading strip is available as an extension for GNOME Desktop. It so far supports for GNOME from version 3.36 to 44. Sadly, GNOME 45 is not supported due to bug. Meaning it works for all current Ubuntu LTS (20.04 and 22.04), Fedora 37/38, Debian 12, RHEL 9.
For Ubuntu 22.04, first search for and install “Gnome Shell Extension Manager” from Ubuntu Software.
Install Extension Manager in Ubuntu 22.04+
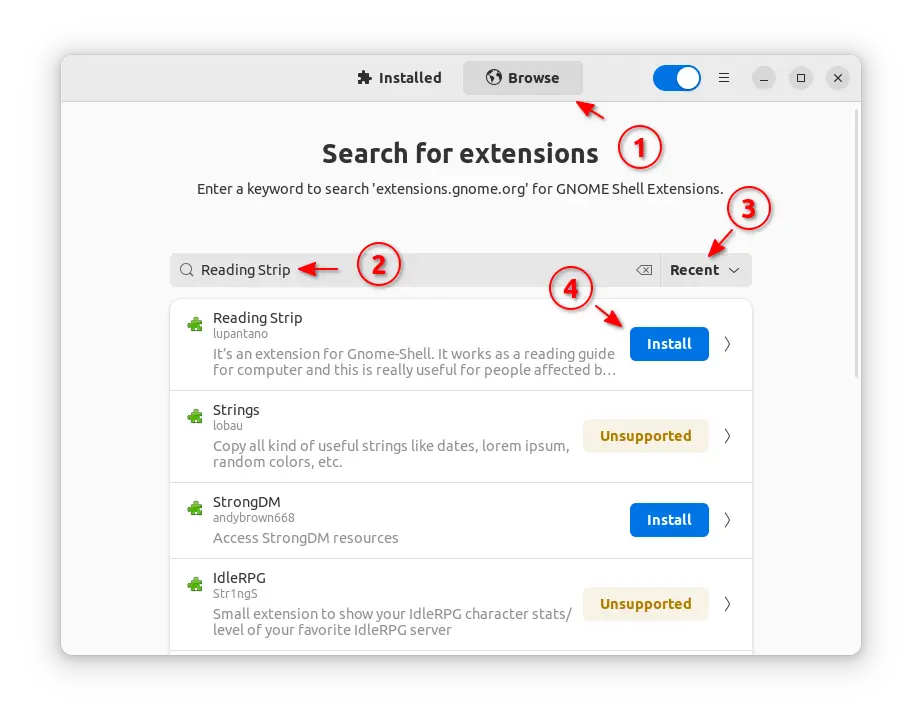
Then, launch the tool and use it to search & install “Reading Strip” under Browse tab.
For Ubuntu 20.04 and other Linux with GNOME, just open web browser and go to the extension page via the link button below:
Install the browser extension if it prompts, refresh, and finally use the ON/OFF switch that page to install the GNOME Shell Extension.
NOTE: Debian and Ubuntu may also needs to open terminal and run command sudo apt install chrome-gnome-shell to install the agent package first.
Configure & Use Reading Strip
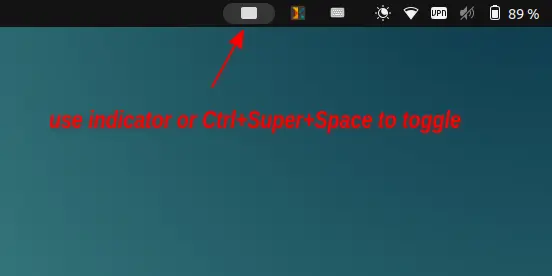
After properly installed the extension, an indicator applet should appear in top-right system tray area.
By clicking on the applet icon or using Ctrl + Super (Windows Logo) + Space key combination can toggle on/off the feature.
To change the strip size, background opacity, color, and/or enable focus mode, just install either Gnome Extensions or Extension Manager from either Ubuntu Software or Gnome Software.
Then, click on setting for the Reading Strip extension and do the changes as you want.