![]()
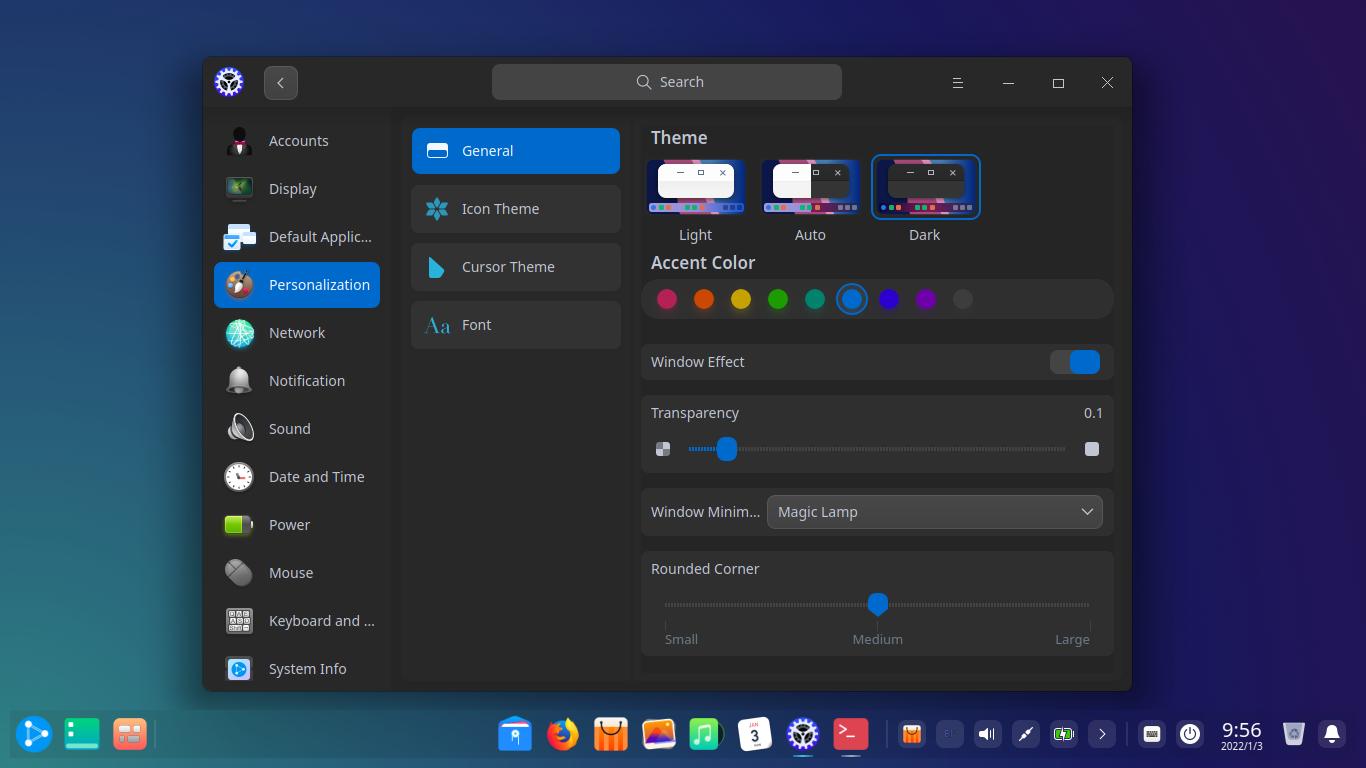
As you may know, Gnome control center (aka settings) has “Fractional Scaling” option since Ubuntu 20.04, allows to change scaling level for HiDPI displays.
By default, user may scale up to 125%, 150%, 175% and 200% to make Ubuntu (or other GNOME based Linux, such as Fedora) to be read easily. In this tutorial, I’m going to introduce “BetterScale”, a command line tool gives more scaling levels.
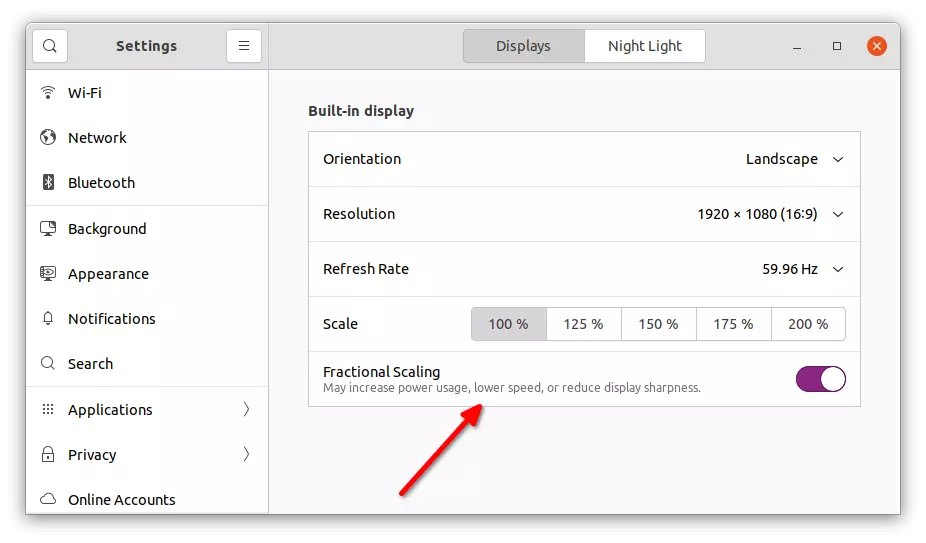
GNOME by default has 125%, 150%, 175%, 200% scaling levels
BetterScale:
BetterScale is a group of bash scripts that helps Gnome & Budgie x11 users perfectly scale their desktop. With it, user may scaling via 110%, 120%, 130%, 140%, 150%, 160% … 200% levels.
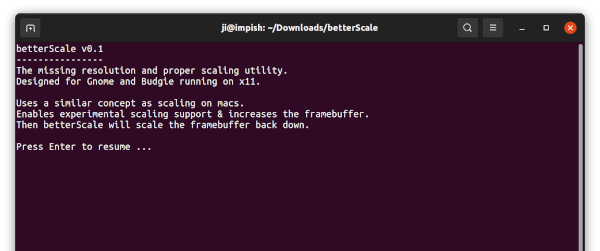
BetterScale uses a similar concept for scaling as macs do by enabling Gnomes experimental scaling support & increasing the graphics framebuffer. It makes your system easily readable while remaining fully clear, crisp and sharp.
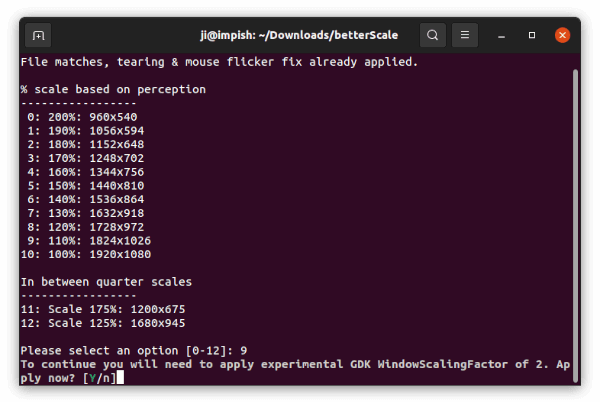
BetterScale with more scaling levels
The tool uses xrandr to scale the framebuffer. Which means, it only works for GNOME / Budgie on Xorg. Ubuntu 21.10+ needs to switch to Xorg session at Login Screen for using the tool.
Install & Use BetterScale:
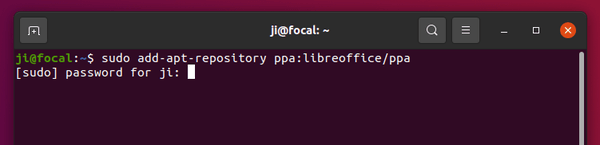
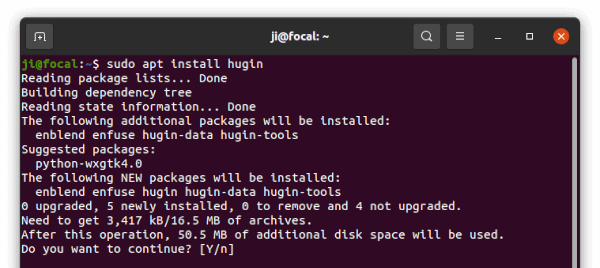
The tool is hosted on Github page. Ubuntu user may press Ctrl+Alt+T on keyboard to open terminal, and run command to grab the source:
git clone https://github.com/rbreaves/betterScale.git
Install git via sudo apt install git for those don’t have it.
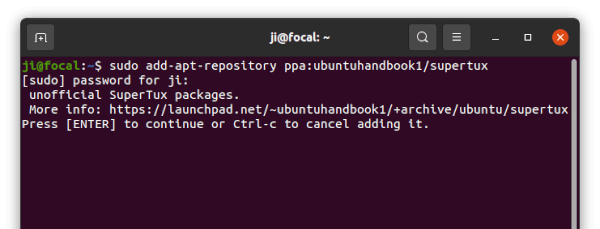
Next, run cd command to navigate to the source folder:
cd betterScale
Finally, start the script via command:
./setup.sh

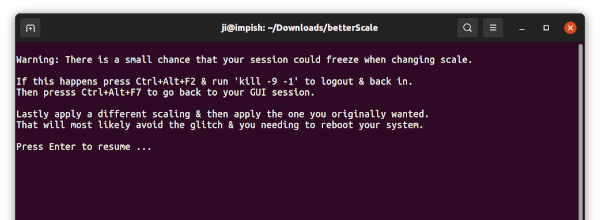
Grab and start BetterScale
When it starts, read the description and warning before hitting Enter.
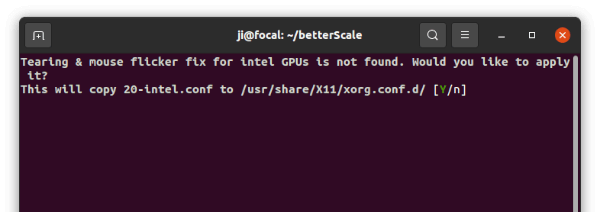
And, it will ask if to install the fix for tearing & mouse flickering for intel GPU. Type “n” to skip it if you don’t have this issue, or answer “Y” and type user password to install the fix.
If you answered ‘Y’ to fix tearing and flicker, log out and back in. Then, re-run the script to get the scaling level selection screen and type number to choose your favorite scaling factor.
BetterScale with more scaling levels
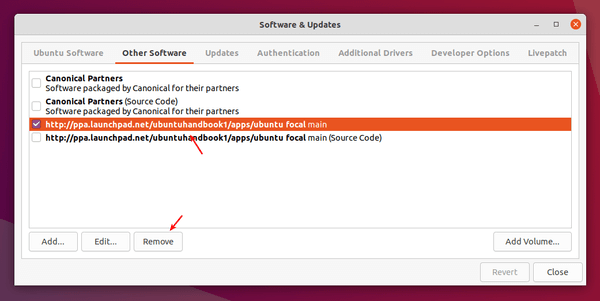
How to Restore:
The tool is in quite earlier stage. It might not work sometimes. I tested it in Ubuntu 21.10 with normal HD display without system’s ‘Fractional Scaling’ enabled. It works mostly but NOT occasionally.
To restore the changes, simply re-run the script and select 10 to set scaling to 100%. Do it twice if it does not work properly!
And remove the “20-intel.conf” file via the command below if you’ve installed the fix for tearing and mouse flickering:
sudo rm -rf /usr/share/X11/xorg.conf.d/20-intel.conf
That’s all. Enjoy!