While typing in my Ubuntu laptop, I was often making mistakes by tapping on touch-pad accidentally. The text cursor (aka caret) jumped to another place, and/or app window lost focus. It made me crazy since the built-in ‘disable touchpad while typing‘ option does not function in my HP laptop.
Option 1: system built-in option
GNOME has the option to disable touchpad while typing, which is enabled out-of-the-box in current Ubuntu releases. Users may access the settings either via ‘/org/gnome/desktop/peripherals/touchpad/‘ in Dconf Editor or using Gnome Tweaks tool.
Both configuration tool available to install in Ubuntu Software.
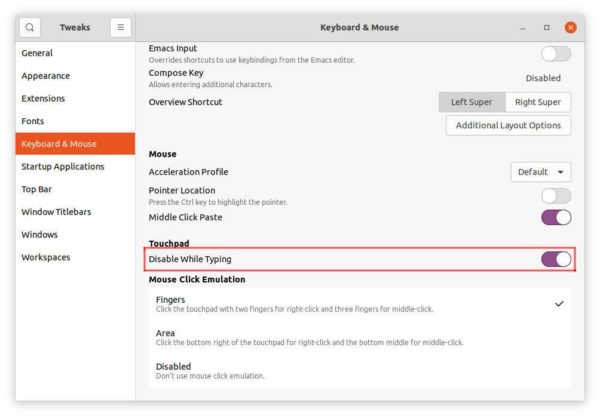
Disable touchpad while typing via Gnome Tweaks Tool
For Synaptics touchpad running on Xorg, like me, this option may not work. And, here are the few other choices I’m going to show you in this tutorial.
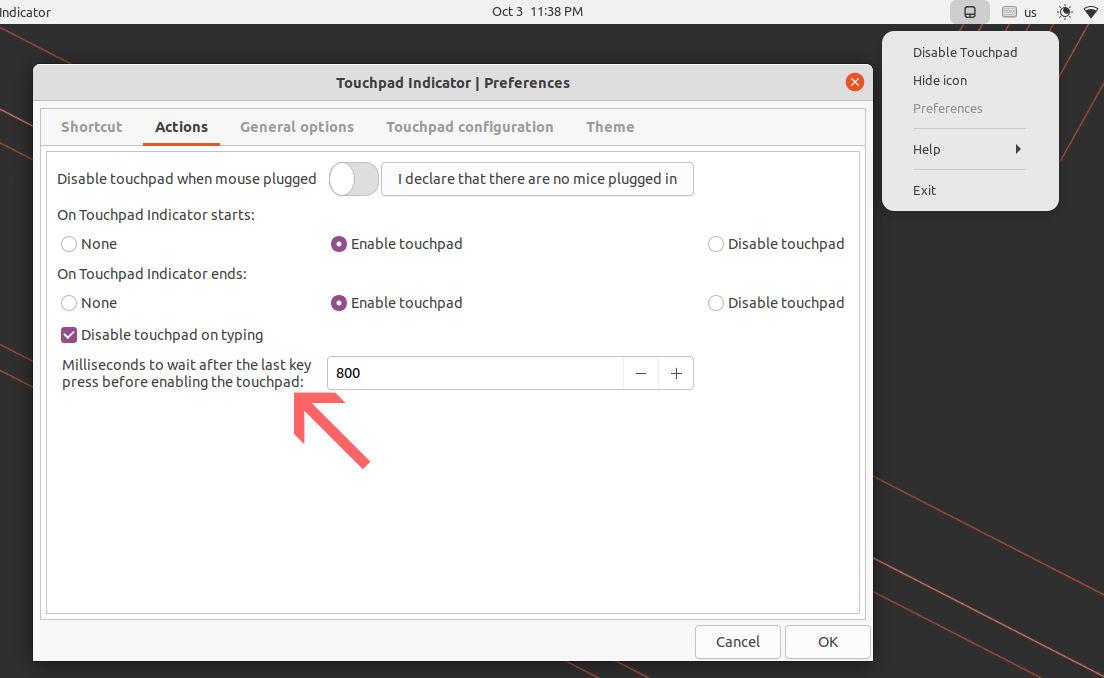
Option 2: Disable touchpad while typing via Touchpad-Indicator
A ten years old app, Touchpad-Indicator, has ability to toggle this function for all Ubuntu users.
It’s a free and open-source project developed and maintained by atareao team from Spain. It has option to disable touchpad while typing and set milliseconds to wait after the last key press before enabling touchpad.
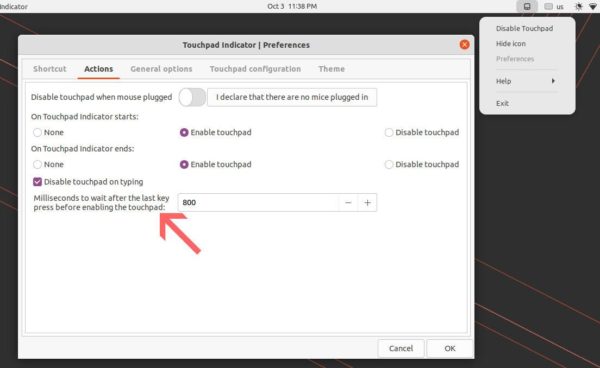
It also allows to disable touchpad while mouse is plugged, toggle scrolling options and remap one-, two- and three-finger tap actions.
How to Install Touchpad Indicator in Ubuntu:
The software developer maintains an official PPA contains the software packages for all current Ubuntu releases (Ubuntu 18.04, 20.04, 21.04, 21.10) and old releases such as Ubuntu 12.04, Ubuntu 14.04, and Ubuntu 16.04.
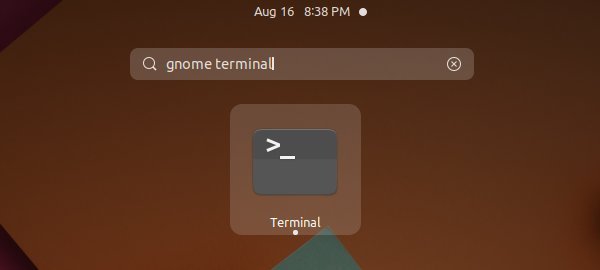
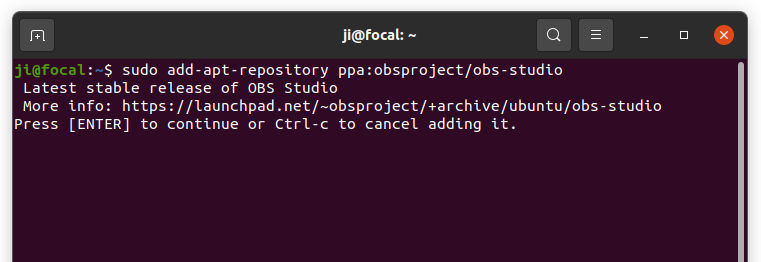
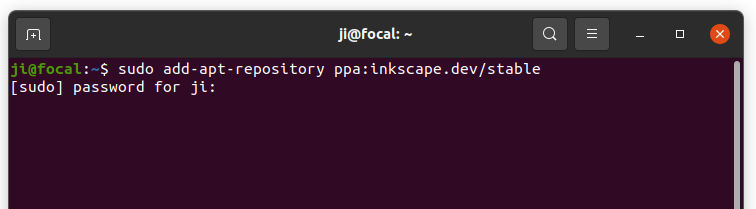
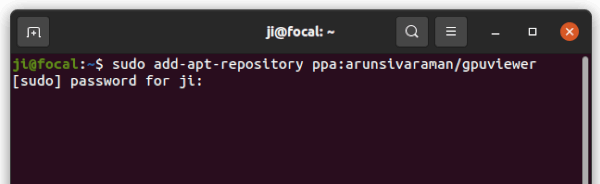
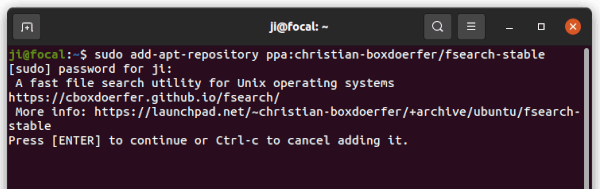
1.) Firstly, open terminal from start menu or by pressing Ctrl+Alt+T on keyboard. When it opens, run command to add the PPA:
sudo add-apt-repository ppa:atareao/atareao

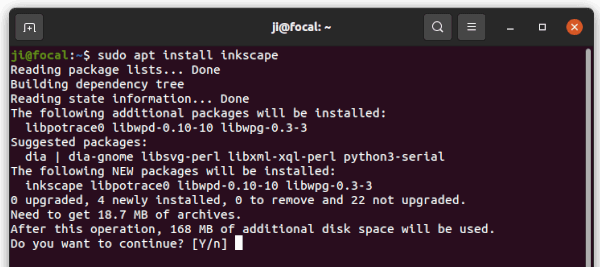
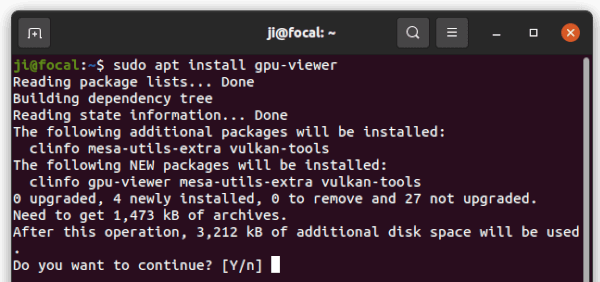
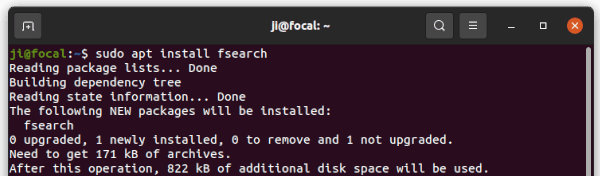
2.) Next, refresh package cache and install the app:
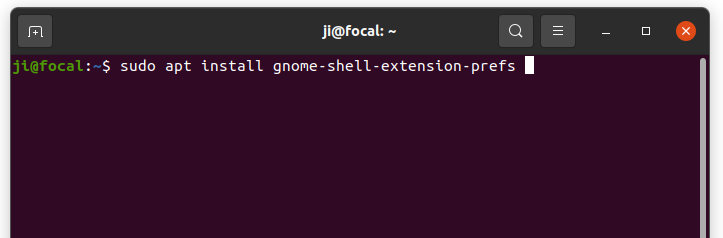
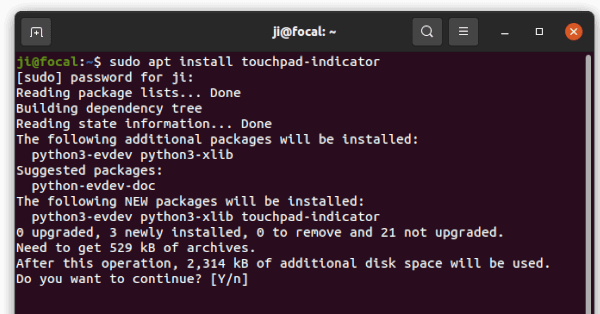
sudo apt update && sudo apt install touchpad-indicator
Once installed, search for and open it from the overview screen and go to Preferences to change its settings.
Uninstall Touchpad-indicator:
To remove the applet, open a terminal window and run command:
sudo apt remove --autoremove touchpad-indicator
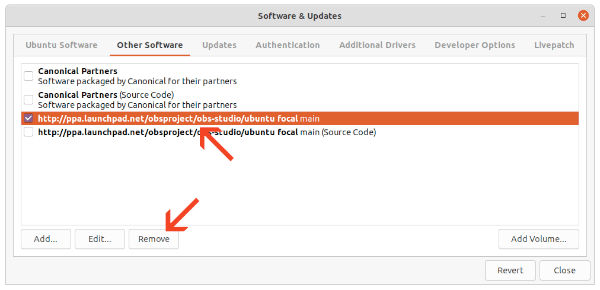
Also remove the Ubuntu PPA by running command in terminal:
sudo add-apt-repository --remove ppa:atareao/atareao
Option 3: Single command to disable touchpad while typing (for synaptics)
Touchpad indicator is great, however it’s a little bit heavy for the single function only. Without installing any third-party app, a single command can also do the trick!
The synaptics touchpad driver for Xorg server offers a command line tool “syndaemon” that monitors keyboard activity and disables the touchpad when the keyboard is being used.
Users can simply open terminal and run the command below to test it out:
syndaemon -i 0.8 -K -t -d
The command will run the service silently in background. And the parameters are:
- -i 0.8 tells to wait 0.8 second after last key press before re-enabling the touchpad.
- -K makes it ignore Modifier+Key combos, such as Ctrl, Alt, and/or Shift + key combinations.
- -t tells to disable tapping / scrolling only. Mouse movement is still possible while typing.
- -d runs the command as daemon, in background.
Syndaemon works until reboot. If you like this method, you may make it running automatically at start up via following steps:
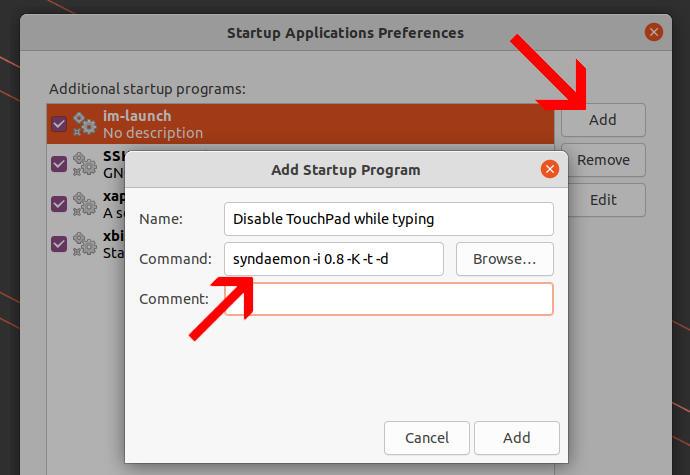
1.) Firstly, search for and open ‘Startup Applications’ utility from overview screen.
2.) When it opens, click ‘Add’ button and type:
- Name: Disable TouchPad while typing
- Command:
syndaemon -i 0.8 -K -t -d
- Comment: optional
And finally click on ‘Add’ button will make it auto-start at login.

NOTE: It has downside in my case in Ubuntu 20.04 LTS. When trying to stop syndaemon either via “System Monitor” or using sudo kill -i Process-ID command, it causes touchpad tap to click not working until reboot!
Option 4: For Ubuntu with Xorg session (Libinput driver)
The function works out-of-the-box in my Ubuntu 22.04 with the default Wayland session. User may use Gnome Tweaks to toggle the option, see screenshots in Option 1.
If you’ve switch back to “Ubuntu on Xorg” session, then this method may help for those using libinput driver.
1. First, press Ctrl+Alt+T on keyboard to open terminal. When it opens, run the command to edit the config file:
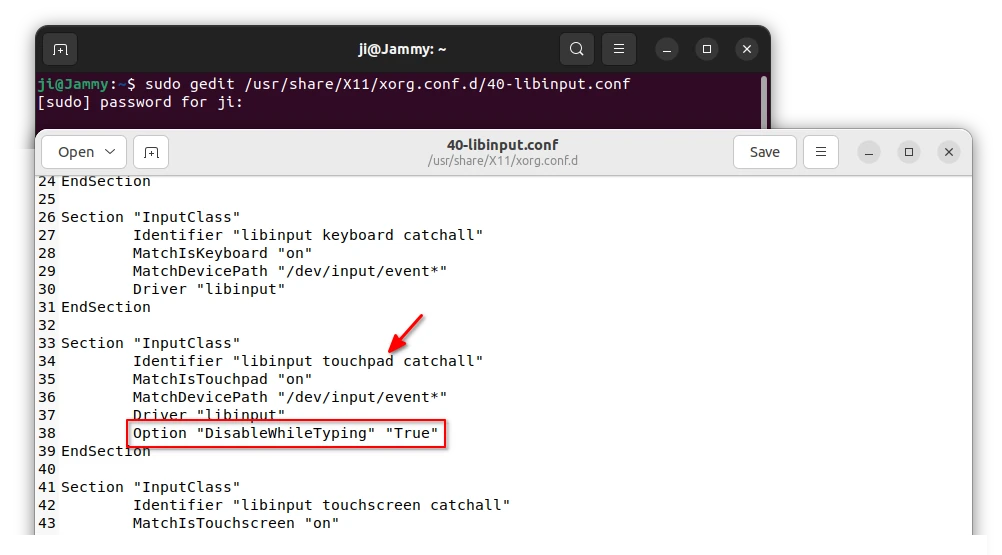
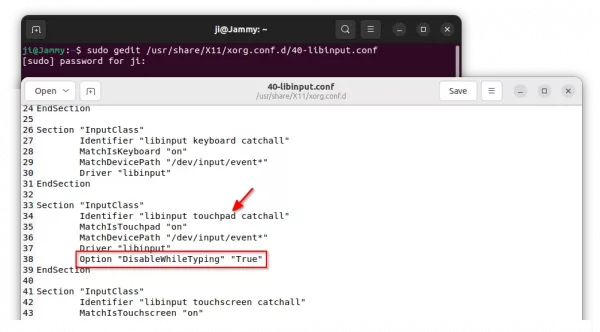
sudo gedit /usr/share/X11/xorg.conf.d/40-libinput.conf
If you’re trying this in Ubuntu 22.10, replace gedit with gnome-text-editor or nano.
2. When the file opens in text editor, find out the section that contains “Identifier “libinput touchpad catchall”“. Add rule Option “DisableWhileTyping” “True”, so it will look like:
Section "InputClass"
             Identifier "libinput touchpad catchall"
             MatchIsTouchpad "on"
             MatchDevicePath "/dev/input/event*"
             Driver "libinput"
             Option "DisableWhileTyping" "True"
EndSection
3. Make sure you don’t have the synaptics driver installed, or the previous change will be overridden.
Open terminal (Ctrl+Alt+T) and run command to list the config file in that directory:
ls /usr/share/X11/xorg.conf.d/
If you see 70-synaptics.conf file in the terminal output, run command to remove the Synaptics driver package:
sudo apt remove xserver-xorg-input-synaptics<.pre>
Finally, restart computer and done!