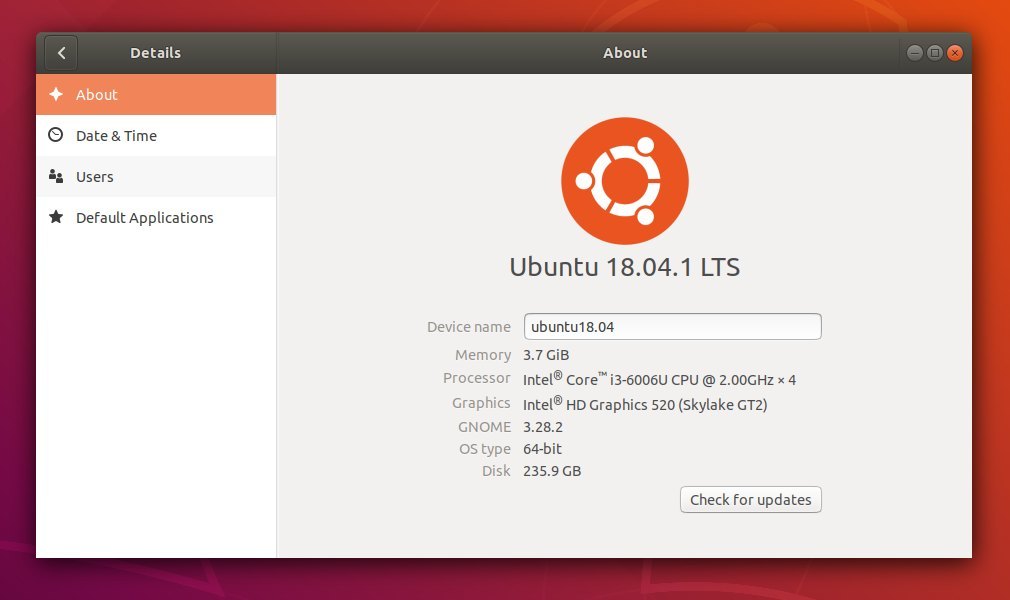
The first point release of Ubuntu 18.04 LTS was finally released.
Except for Ubuntu 18.04.1 Desktop, Server, and Cloud, Ubuntu Budgie 18.04.1 LTS, Kubuntu 18.04.1 LTS, Ubuntu MATE 18.04.1 LTS, Lubuntu 18.04.1 LTS, Ubuntu Kylin 18.04.1 LTS, and Xubuntu 18.04.1 LTS are also now available.
Ubuntu 18.04.1 come with updated Kernel and hardware support, many sever and cloud related fixes, installation and upgrade bug-fixes, and desktop fixes that include:
Make audio work on Lenovo machines with dual audio codecs
Upgrade Gnome Shell, GDM, and some other core apps to 3.28.2
Fix login fails (blank purple screen and mouse pointer only)
Ubuntu Software improvements for Snap packages.
New thunderbolt panel in System Settings (under Devices)
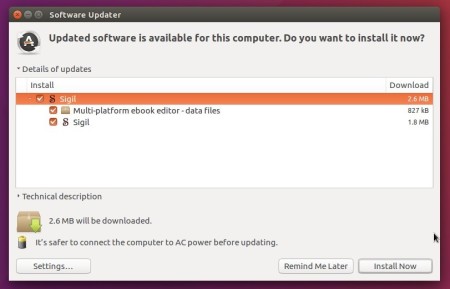
Sigil epub ebook editor 0.9.10 was released earlier today with new features and various bug-fixes.
According to the changelog.txt, Sigil 0.9.10 adds following new features:
allow plugins to supply their own icon (plugin.png 48×48) for use on the Quick Launch Toolbar icons
extend plugin interface to include the status of the epub inside Sigil (modified or saved)
extend plugin interface to include the path to the saved epub file or the null string if never saved
extend Insert->Special Characters to include both a Greek letter panel and a mathematical symbol panel
add support for calibre:series and calibre:series_index to Metadata Editor for epub2
add support for calibre:title_sort to Metadata Editor for epub2
add support for clicking internal links in Preview to load the proper destination tab
add support for loading Qt’s base translation files if present. Allows buttons on native qt dialogs to be translated (Windows users may need to manually copy newer qtbase_xx.qm files to Sigil’s translation directory if they didn’t exist in Qt5.6.2)
allow user to add custom css rules to Preview/Book View by creating a file called “custom_preview_style.css” in the Sigil preferences folder (not responsible for custom css and ebook css fighting with each other)
There are also various bugs fixed in the release, see changelog file for details in Sigil github page.
How to Install Sigil 0.9.10 in Ubuntu:
The new release can be easily installed in Ubuntu 16.04, Ubuntu 18.04, Linux Mint 19/18 via PPA (unofficial) repository.
1. Open terminal by either pressing Ctrl+Alt+T on keyboard or searching for “Terminal” from software launcher. When it opens, run command to add the PPA:
sudo add-apt-repository ppa:ubuntuhandbook1/sigil
Type your user password (no asterisks feedback due to security reason) when it prompts and hit Enter.
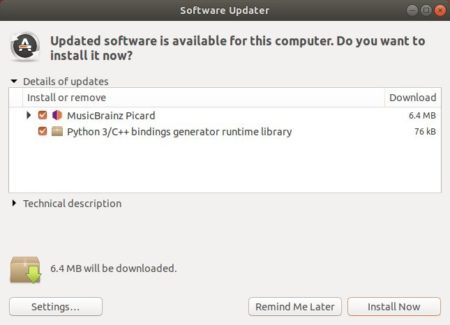
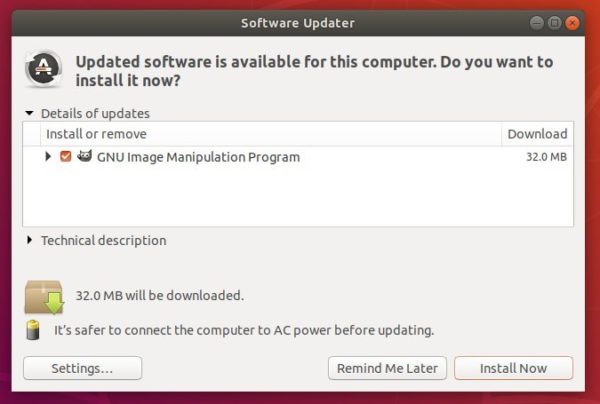
2. Then you can upgrade Sigil editor from an existing release via Software Updater:
Or install /upgrade Sigil via commands:
sudo apt update

sudo apt install sigil
Uninstall:
To remove the PPA repository, launch ‘Software & Updates’ utility and navigate to ‘Other Software’ tab.
To remove Sigil epub editor, either use system package manager or run command in terminal:
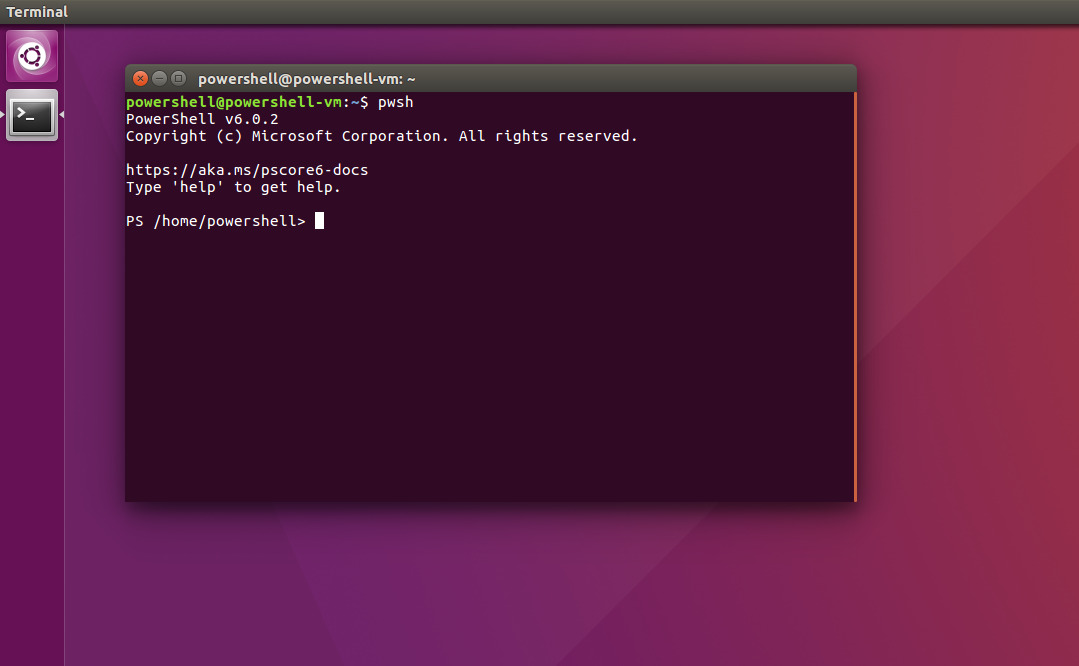
Microsoft PowerShell Core now can be easily installed in Ubuntu 18.04, Ubuntu 16.04 via Snap package.
PowerShell is a task automation and configuration management framework from Microsoft, consisting of a command-line shell and associated scripting language.
“The goal of PowerShell Core is to be the ubiquitous language for managing your assets in the hybrid cloud. That’s why we’ve worked to make it available on many operating systems, architectures, and flavors of Linux, macOS, and Windows as possible.
Today, we’re happy to announce an addition to our support matrix: PowerShell Core is now available as a Snap package.“
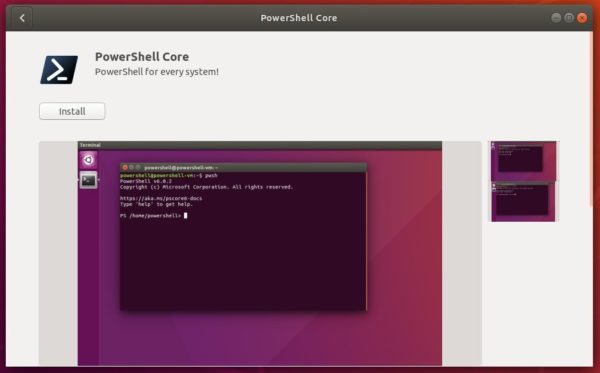
How to Install PowerShell in Ubuntu via Snap:
Snap packages are containerized applications that can be installed on many Linux distributions. Snap bundles its dependencies in a single package and updates itself automatically once new version is published.
To install PowerShell snap, open Ubuntu Software, search for and install PowerShell Core:
or open terminal (Ctrl+Alt+T) and install it by running command:
snap install powershell --classic
NOTE for Ubuntu 16.04 users first time installing a snap package, install snapd before getting started:
Ubuntu 17.10 Artful Aardvark reached end of life on July 19 2018. It was announced last night:
“This is a follow-up to the End of Life warning sent earlier this month to confirm that as of today (July 19, 2018), Ubuntu 17.10 is no longer supported. No more package updates will be accepted to 17.10, and it will be archived to old-releases.ubuntu.com in the coming weeks.
The original End of Life warning follows, with upgrade instructions:
Ubuntu announced its 17.10 (Artful Aardvark) release almost 9 months ago, on October 19, 2017. As a non-LTS release, 17.10 has a 9-month support cycle and, as such, the support period is now nearing its
end and Ubuntu 17.10 will reach end of life on Thursday, July 19th.
At that time, Ubuntu Security Notices will no longer include information or updated packages for Ubuntu 17.10.“
Users of Ubuntu 17.10 are recommended to upgrade to Ubuntu 18.04 LTS. Before following the official documentation, you need to first make backups, uninstall proprietary drivers, purge third-party PPAs.
And it’s always a good choice to do a fresh install of Ubuntu 18.04 LTS.
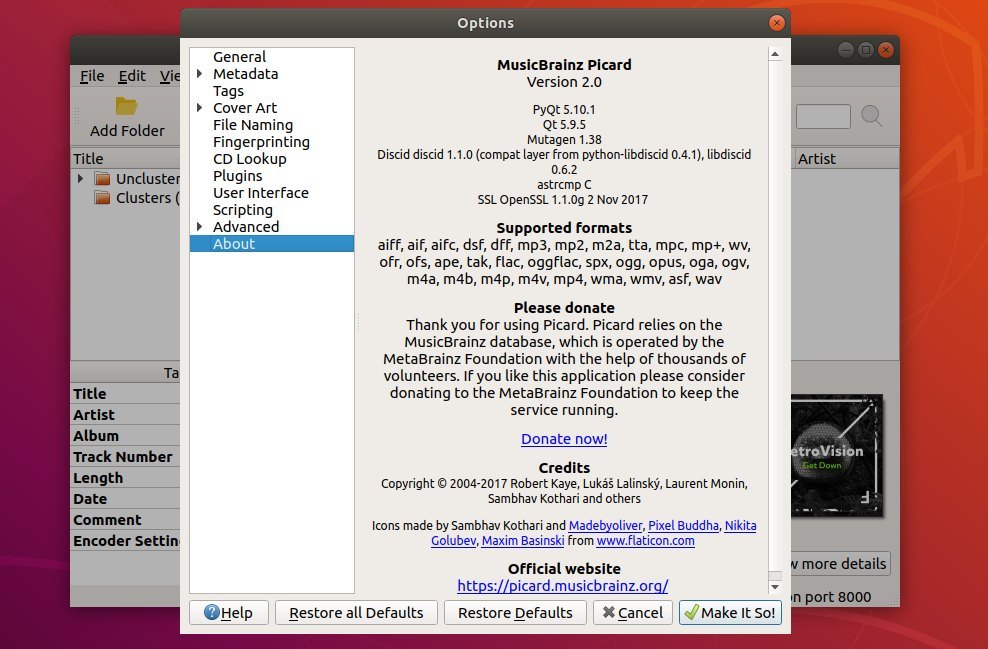
And numerous bug-fixes, UI and performance improvements.
How to Install MusicBrainz Picard 2.0 in Ubuntu:
The official PPA has built the music tagger for Ubuntu 17.10, Ubuntu 18.04, and Ubuntu 18.10.
1. Launch terminal either via Ctrl+Alt+T keyboard shortcut or searching for ‘terminal’ from software launcher. When it opens, run command to add the PPA:
Full featured LaTeX editor TeXstudio 2.12.10 was released silently today. Here’s how to install it in Ubuntu 18.04, Ubuntu 17.10, Ubuntu 16.04, and/or Ubuntu 14.04.
No release note, no changelog. I can only find following words about TeXstudio 2.12.10:
bug fixes
fix structure view with Qt >5.10
How to Install TeXstudio 2.12.10 in Ubuntu:
There’s a PPA repository contains the latest TeXstudio packages for all current Ubuntu releases. You can do following steps to add the repository and install the latest TeXstudio.
1. Open terminal either via Ctrl+Alt+T or by searching for “terminal” from app launcher. When it opens, run command to add the PPA:
sudo add-apt-repository ppa:sunderme/texstudio
Input your password (no visual asterisks feedback while typing) when it prompts and hit enter.
2. If you’ve installed the distro’s build of TeXstudio from Ubuntu Software, you may first remove the doc, debug packages via command:
sudo apt-get remove texstudio-d*
3. Finally run commands one by one in terminal to install (or upgrade) the software:
Add simple horizon straightening option in the Measure tool
Asynchronous fonts loading to improve startup time.
Add fonts tagging support.
Add new features to the Dashboard dockable dialog that help debugging or finetune the use of cache and swap.
Load PSD file saved with “Maximize Compatibility” option enabled in Photoshop.
Improved Recursive Transform operation, allow multiple transformations to be applied simultaneously
How to Install GIMP 2.10.4 in Ubuntu:
The best way to install the latest GIMP in Ubuntu is using the otto-kesselgulasch’s PPA, as the PPA maintainer promised the PPA will never die and the most recent packages will for ever be.
The PPA contains the most recent packages for Ubuntu 18.04 and Ubuntu 17.10, though GIMP 2.10.4 is not available at the moment (there are always one or two days delay).
1. Open terminal either via Ctrl+Alt+T keyboard shortcuts, or by searching for ‘Terminal’ from app launcher. When it opens, run command to add the PPA: