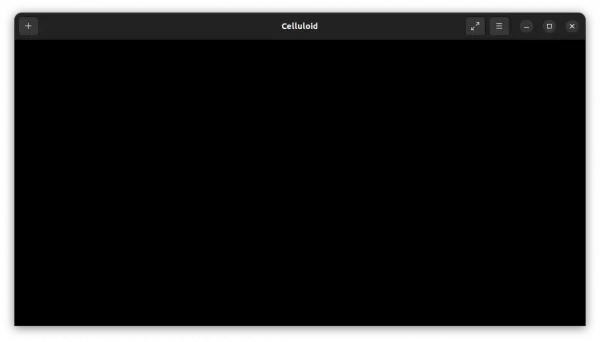
Since Ubuntu 22.04, you’ll find that the MPV media player does NOT have window border and title-bar out-of-the-box.
That’s quite annoying! You can no longer drag resizing the app window. And, title bar buttons (minimize, maximize, and close) only appear when you hover over the window during video playback.
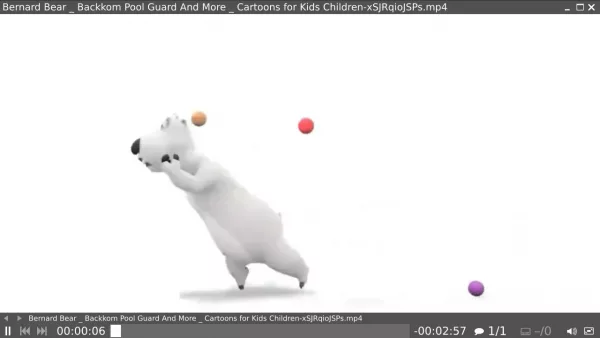
MPV no window border and title bar
Why:
It’s NOT feature but a bug! Someone has reported the issue almost 9 years ago. Though, it’s still not been fixed due to GNOME Wayland protocol.
You know, MPV is a command line media player. It does not use the GUI toolkit for window borders, but the server-side protocol. However, GNOME developers do deliberately do not support the xdg-decoration protocol for server-side decorations in Wayland (via this FAQ).
Ubuntu 22.04 finally switched Wayland as the default session. So, the problem occurs.
Workaround 1: Switch back Xorg Session
Besides MPV, still many applications have compatibility issues with GNOME Wayland. Even the Night Light feature does not work in Ubuntu 22.04 with this session.
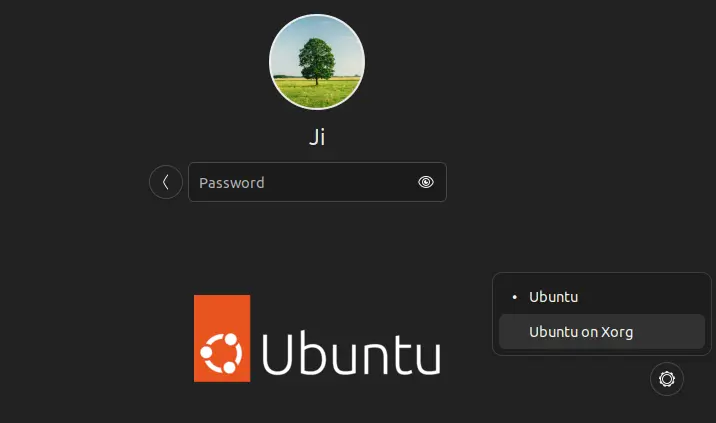
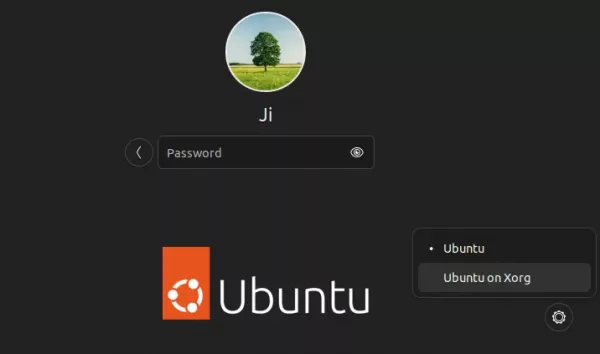
As a workaround, user may switch back to the classic Xorg session. To do so, simply log out, click your username in login screen, then select “Ubuntu on Xorg” via the bottom right gear button menu, and finally type password to log in.
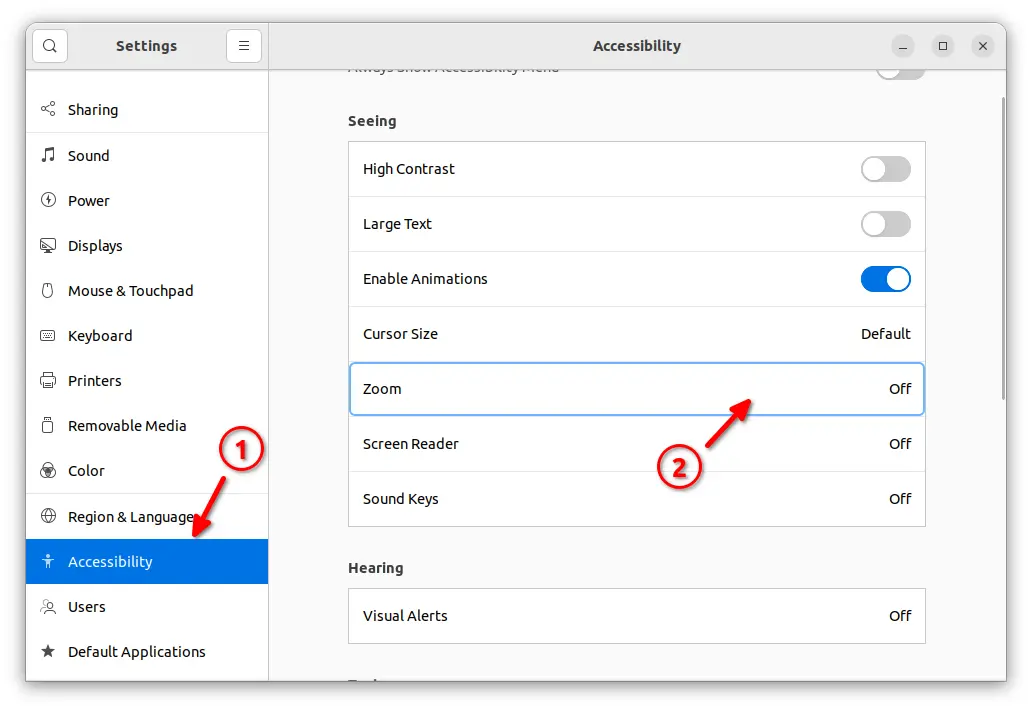
To verify your current session either run echo $XDG_SESSION_TYPE command in terminal or check in “Settings -> About -> Windowing system”.
Workaround 2: Run MPV via X11 backend
For those prefer GNOME Wayland session, it’s possible to run MPV media player via X11 backend without switch session.
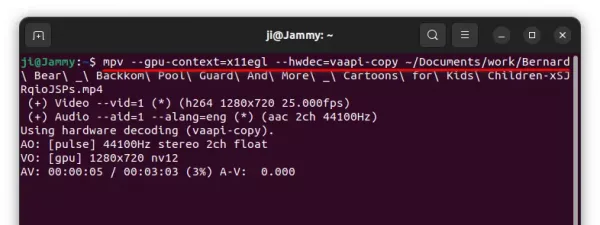
1.) To start video playback from command line, use command:
mpv --gpu-context=x11egl --hwdec=vaapi-copy PATH/TO/VIDEO_FILE
Here --gpu-context=x11egl tells to use x11 backend for video playback. And, --hwdec=vaapi-copy is required to enable GPU hardware acceleration in this case.
Thanks to S. Likhitrattanapisal, you may try --hwdec=vaapi flag to enable hwacc. Though it may not work, it depends on your hardware.
2.) To enable this for global use, you may add the flags into MPV configuration file.
Press Ctrl+Alt+T on keyboard to open terminal. When terminal opens, make a copy of configuration file first via command:
sudo cp /etc/mpv/mpv.conf /etc/mpv/mpv.conf.bak
Then, edit the file via command:
sudo xdg-open /etc/mpv/mpv.conf
When file opens, add the following new line:
gpu-context=x11egl

After saving the changes, start playing your movie via MPV. The window border as well as title-bar should be back!
Workaround 3: Use GUI front-end
There are a few media players that use MPV as backend. As far as I know, there are SMPlayer and Celluloid (formerly GNOME MPV), both of which are available to install via Ubuntu Software (or App Center).