![]()
This is a step by step beginner’s guide shows how to install and use TeamViewer in Ubuntu 24.04 Desktop.
TeamViewer is a popular German remote desktop access and remote control software that works in Linux, Windows, MacOS, Android, and iOS/iPadOS.
It’s a proprietary software that provides paid versions, as well as free license for personal use. For Linux, TeamViewer provides support for x86/x64, and arm64/armhf devices support. It’s a good choice for users who don’t know how to setup remote desktop sharing.
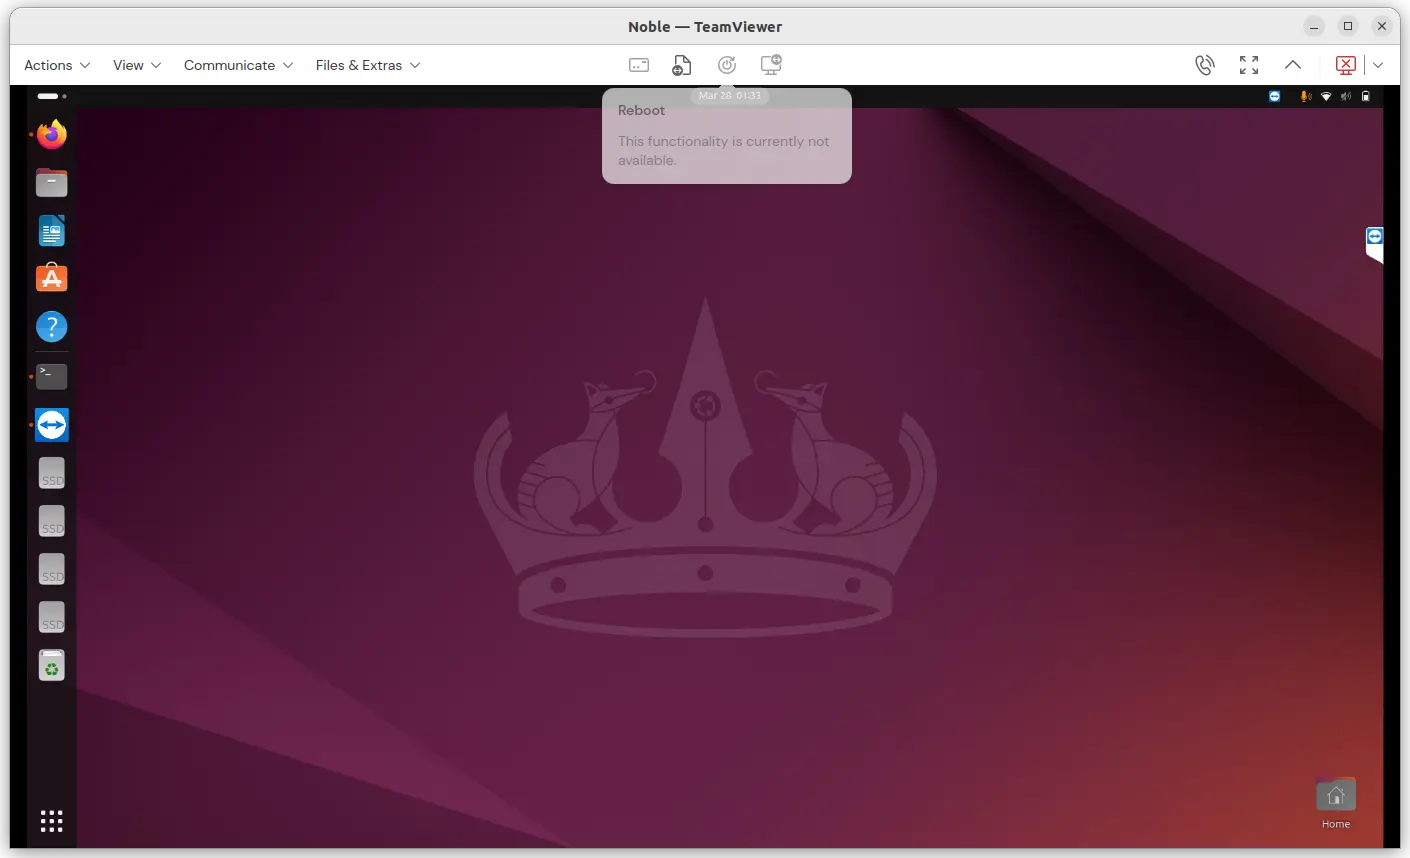
Remote Control Ubuntu 24.04 Desktop via TeamViewer