Archives For November 30, 1999

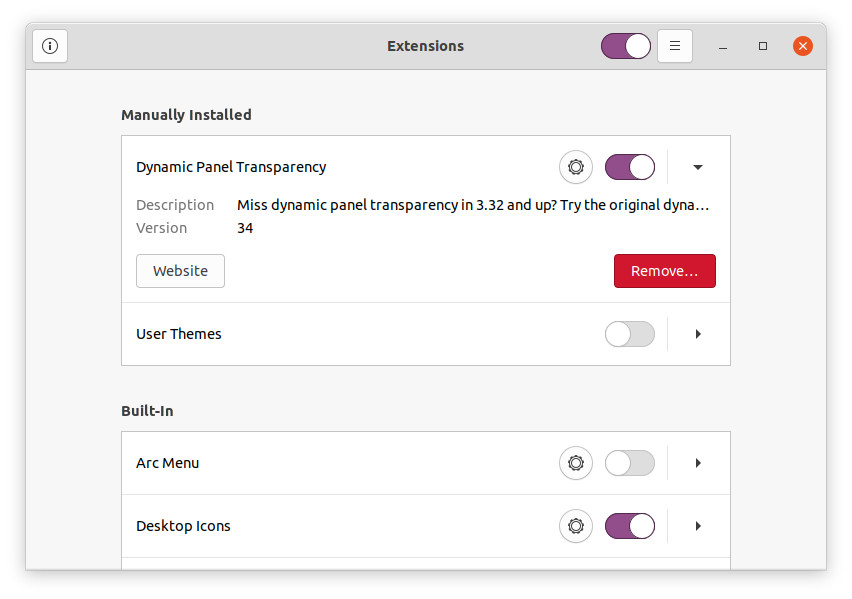
Have many extensions installed on your GNOME desktop? Here’s a new tool to help managing them with a more efficient way.

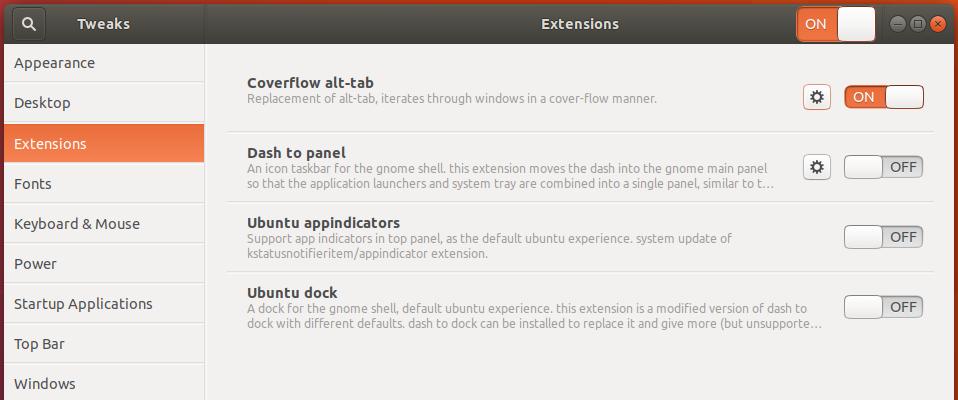
Without launching Gnome Extensions app or Extension Manager every time, the new “Glass Grid” allows user to either press a keyboard shortcut or click the indicator on panel to quickly trigger an overview of all the installed extensions.

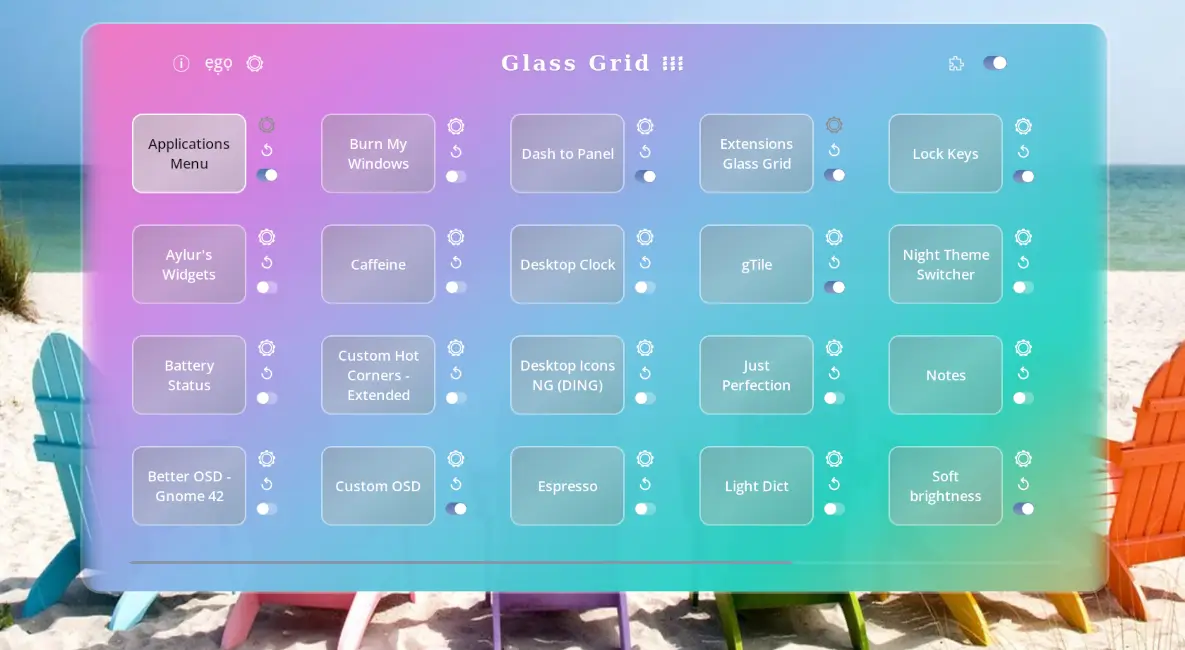
Then, user can either click on extension name to open its preference dialog. Or, use the buttons right beside them to turn on/off, refresh or configure extensions. There’s also a global ON/OFF switch in top-right to toggle all extension with one click. If you have too many extensions more than a page capacity, it supports scrolling horizontally with either mouse or keyboard arrow keys.

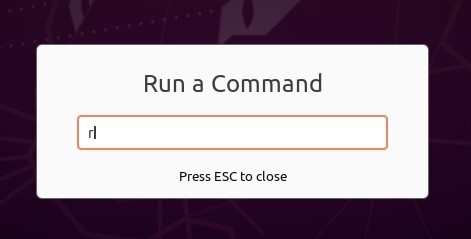
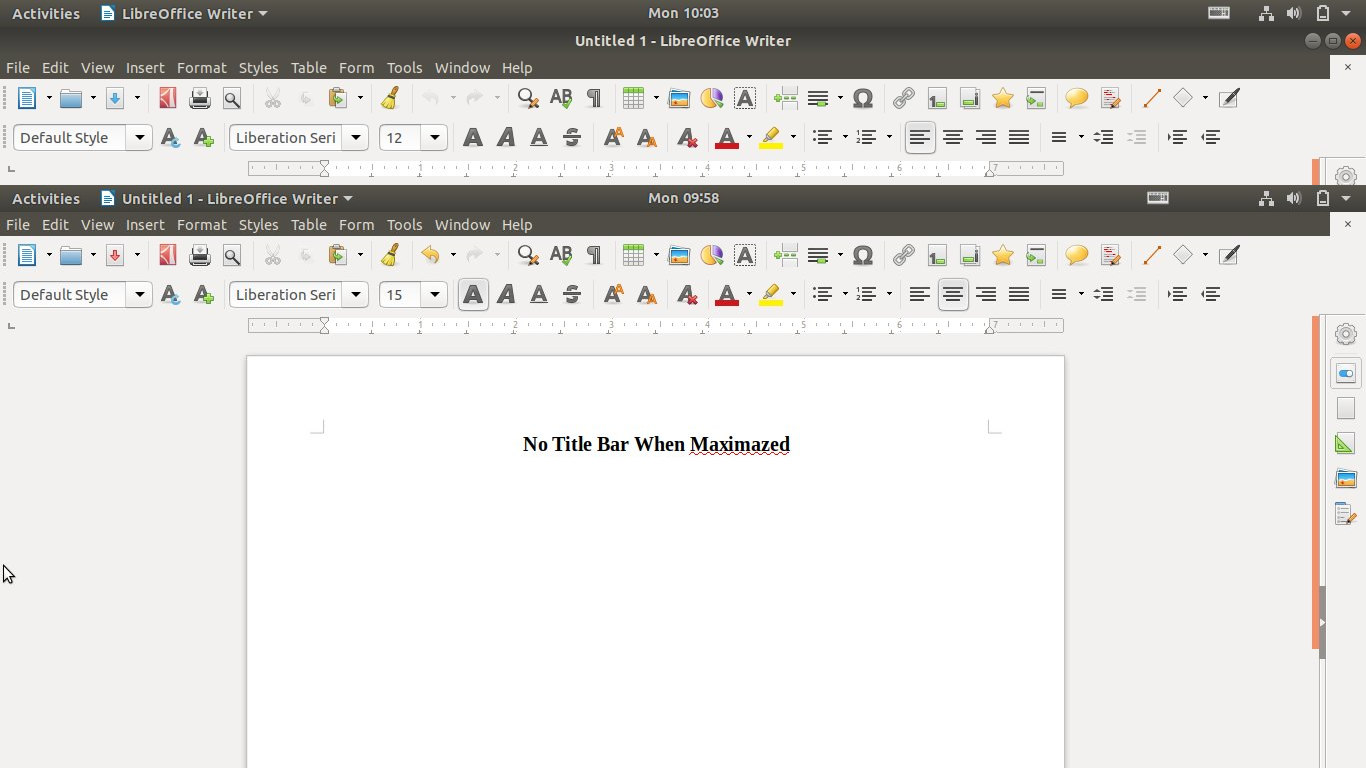
The extension grid view can be triggered either via keyboard shortcut or indicator applet. And, it will disappear when pressing Esc or clicking anywhere outside. It has a dark mode layout, and support quick launching extensions.gnome.org and Gnome Extensions app (if installed) via header buttons.

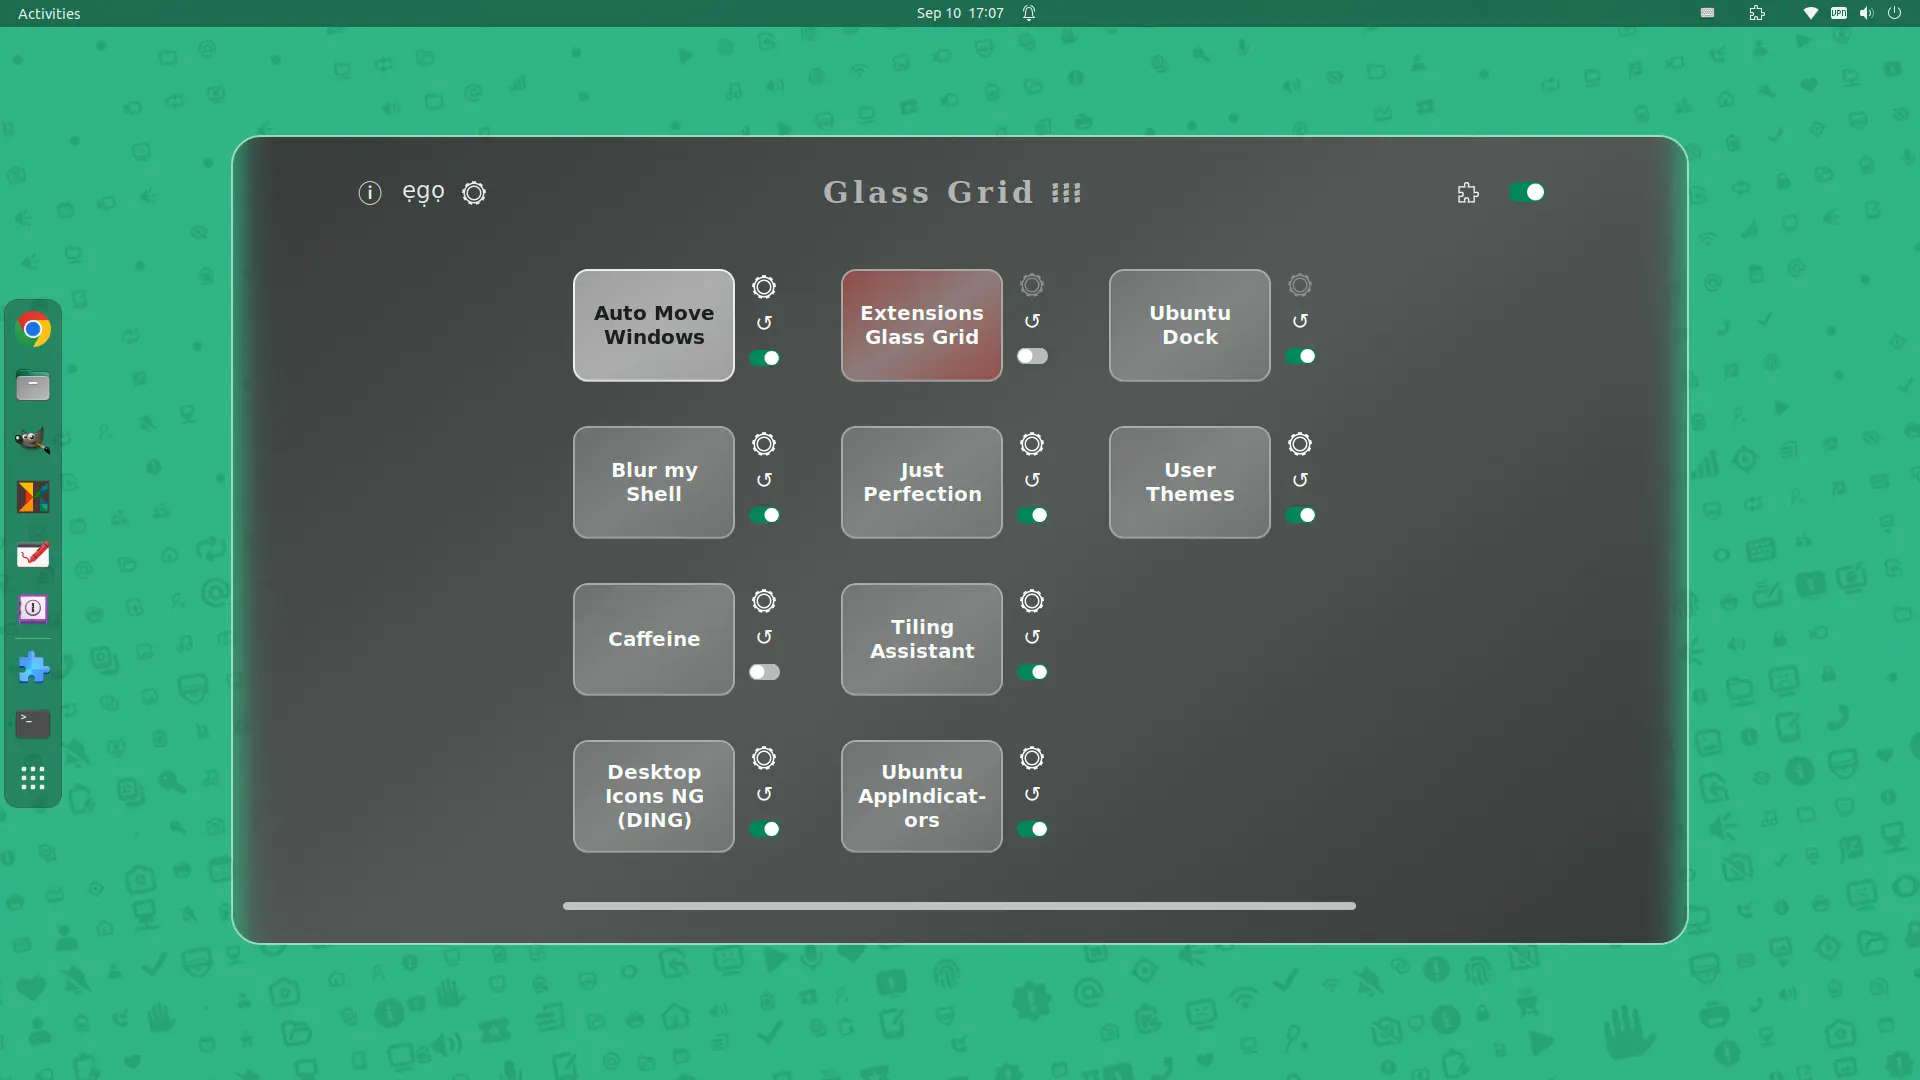
Extension Glass Grid dark layout

How to Install the ‘Glass Grid’ extension in GNOME

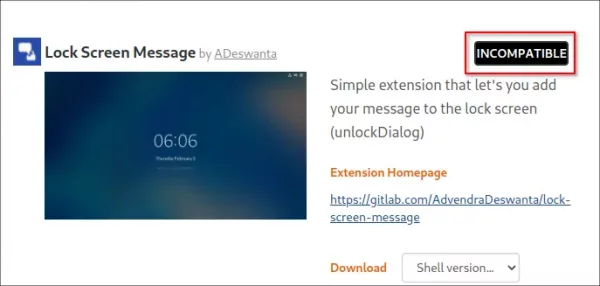
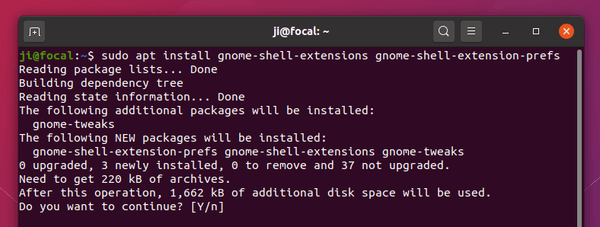
The extension so far supports GNOME 42, 43 & 44. Meaning, you can install it in Ubuntu 22.04/23.04, Fedora Workstation, Debian 12, and Arch etc with GNOME.

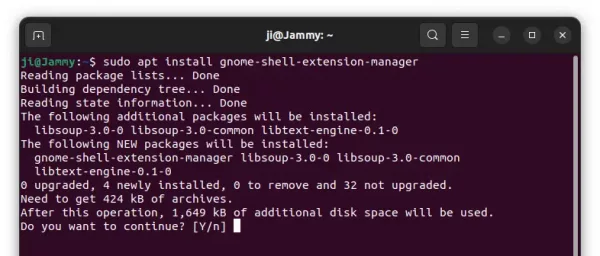
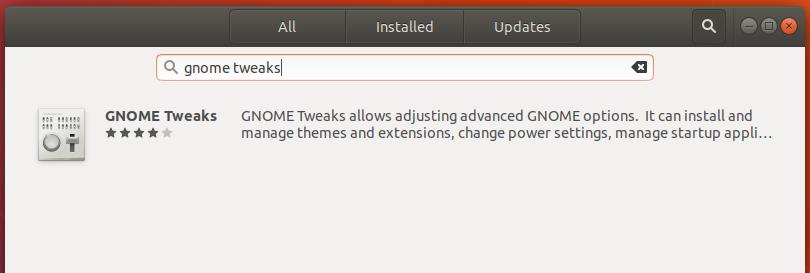
For Ubuntu, first search for and install “Extension Manager” from Ubuntu Software.

Install Extension Manager in Ubuntu 22.04+

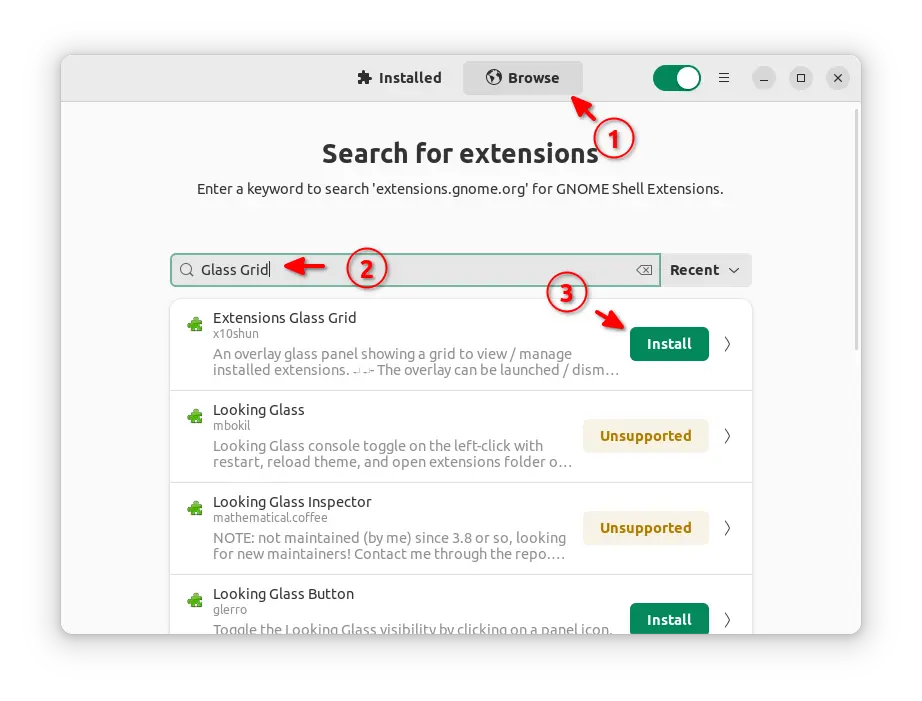
Then, launch “Extension Manager” and navigate to ‘Browse’ tab. Finally, search for and install the Extensions Glass Grid extension.

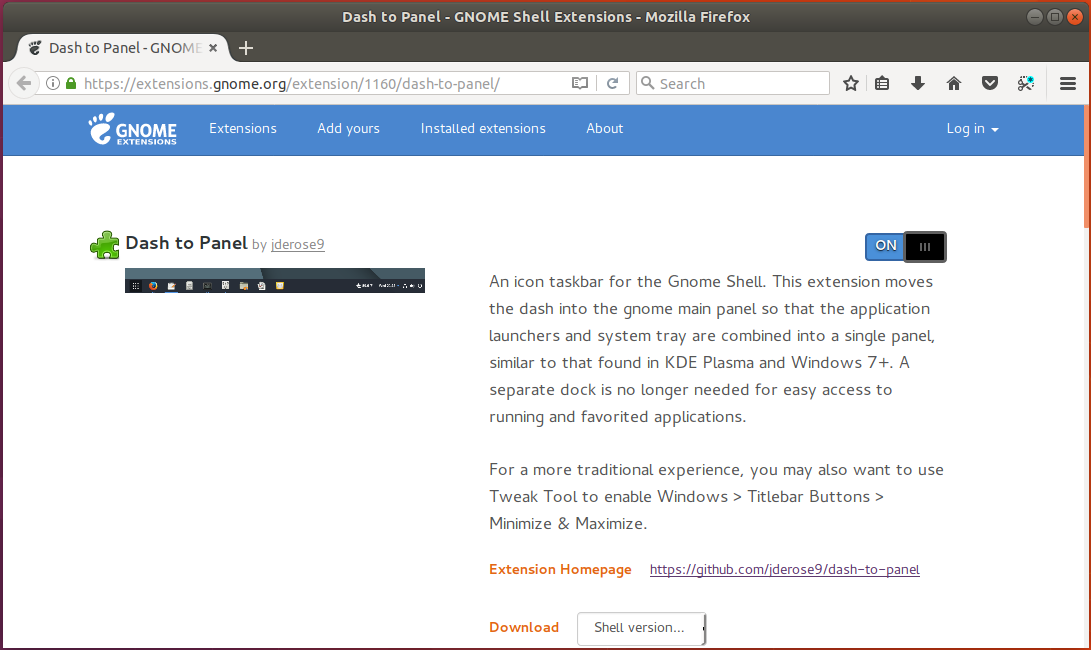
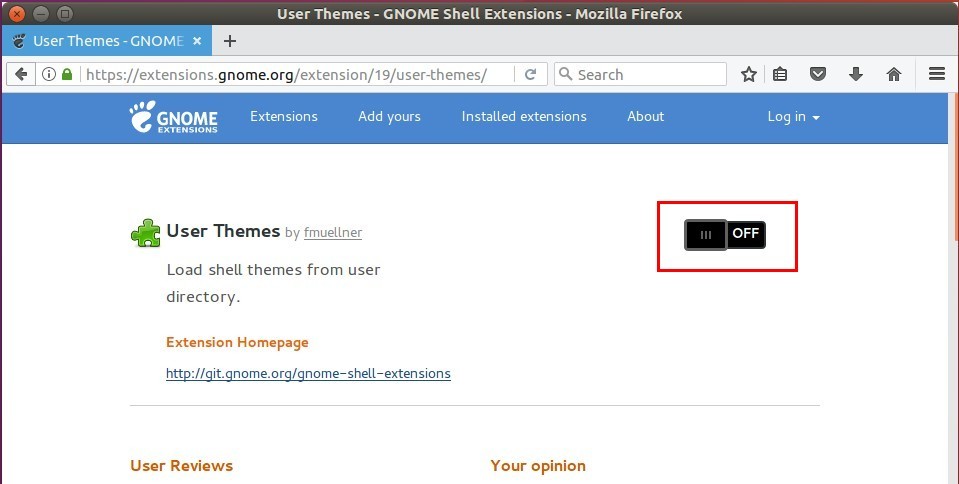
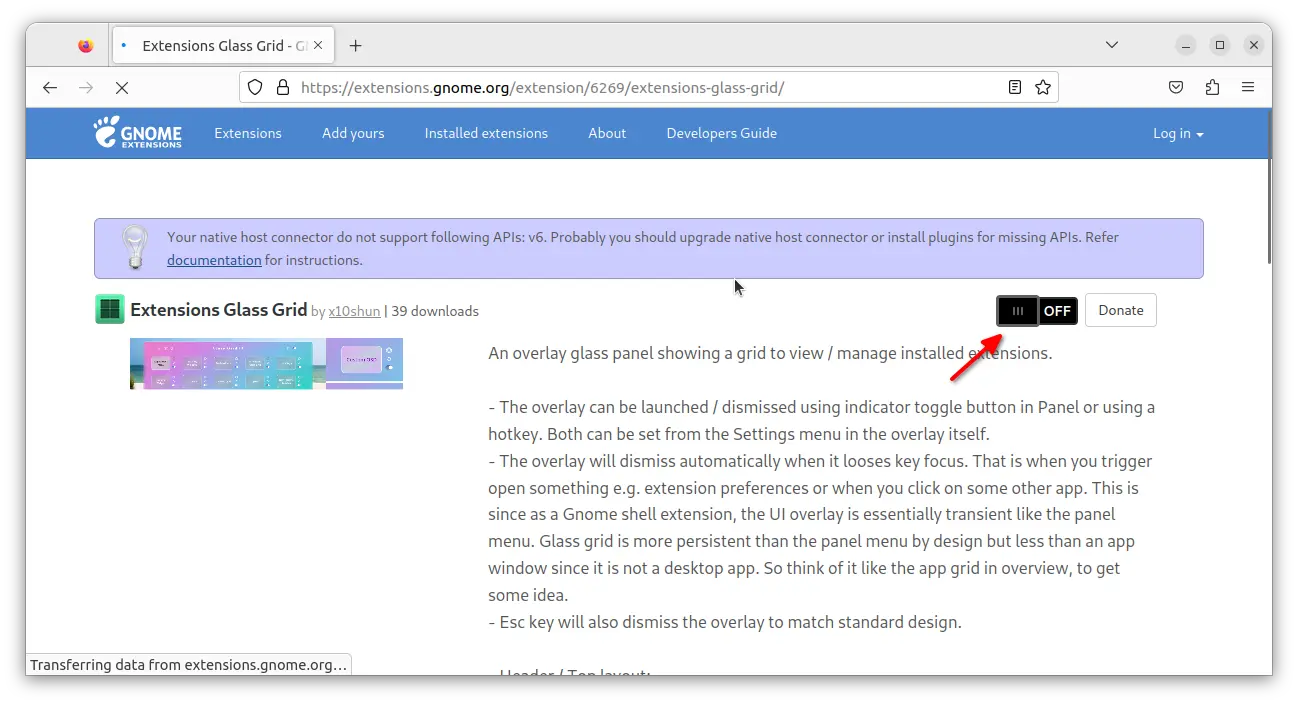
For other Linux with GNOME, just go to link below in your web browser:

Then, use the ON/OFF switch to install it. If you don’t see the toggle switch, then install browser extension and refresh the page.

Once you installed the extensions, either click top-right corner indicator or press Super (Windows Logo key) + E to trigger the grid view and enjoy!

Your favorite GNOME extension is marked as “INCOMPATIBLE“? It might still work!

There are so many extensions to help improve Ubuntu, Fedora, or other Linux’s GNOME desktop experience. Some of them may be outdated for your GNOME version. So, you see “incompatible” instead of on/off switch when try installing via a web browser.

Sometimes, the extension is still compatible, but the Gnome version is not declared. You may try out and see if it works by disabling version validation, before bothering the extension developer.

NOTE: Disable version validation ONLY makes incompatible Gnome extensions install-able. Extensions may refuse to work!

Single command to disable version validation:

For those familiar with Linux commands, open terminal by searching from ‘Activities’ overview screen.

Then, run the single command to will disable version validation when trying to install Gnome extensions:

gsettings set org.gnome.shell disable-extension-version-validation true

Not only for Ubuntu and Fedora, it should also work for all Linux with GNOME desktop.

Disable version validation vid Dconf Editor:

For graphical configuration tool, you may first install Dconf Editor from Ubuntu Software (Gnome Software).

Then, click top-left ‘Activities’, search for and launch the tool.

Finally, navigate to “org/gnome/shell” in the configuration tool, and turn on the slider icon for “disable-extension-version-validation”.

Install incompatible extension via Extension Manager:

Since Ubuntu 22.04, user may simply press Ctrl+Alt+T on keyboard to open terminal. Then run command to install extension manager tool:

sudo apt install gnome-shell-extension-manager

Or, search for and install “Extension Manager” in Ubuntu Software (or Gnome Software).

Then, search for and launch the tool from ‘Activities’ overview.

Finally, navigate to ‘Browse’ tab to search for and install GNOME extensions. Though incompatible extensions are marked as “Unsupported”, user can still click on the button and confirm in pop-up dialog to install it anyway.

Gnome Tweaks, one of the must have apps for configuring Ubuntu, removes GNOME Shell Extensions support by releasing version 40.

Which means in next Ubuntu release which will ship with Gnome 40+, you have to use another tool to manage Gnome Shell Extensions.

If you have tried out Fedora 34, you should already see the prompt at first launch of Gnome Tweaks: “Extensions management has been moved to GNOME Extensions”.

The “new” tool “GNOME Extensions” is available in Ubuntu universe repositories since Ubuntu 20.04 LTS. If you don’t have it, open terminal by pressing Ctrl+Alt+T on keyboard, and run command to install it:

sudo apt install gnome-shell-extension-prefs

Then you can open it from system app launcher.

Different to the extensions tab in Gnome Tweaks, the GNOME Extensions tool displays built-in Gnome Shell extensions and user installed extensions separately.

Besides the slider icons to toggle on/off extensions and gear buttons to change extension settings, there’s a triangle icon after each extension. Clicking on the icon will expand the extension with a brief description as well as the website and remove buttons.

In addition, Fedora users can get the tool by installing gnome-extensions-app package. Other Linux with Gnome Desktop can install the flatpak package.

This is a beginner’s guide shows how to easily extend functionality of GNOME Shell in Ubuntu 20.04 LTS, and Ubuntu 20.10.

Ubuntu by default includes three extensions: Desktop Icons, Ubuntu AppIndicators, and Ubuntu Dock.

Besides installing more from Gnome Shell extension website, you can run a single command to get a collection of extensions that provide additional and optional functionality.

The extensions include:

  • Applications Menu – add classic Gnome 2 menu in top-bar right after Activities.
  • Auto Move Windows – Move applications to specific workspaces when they create windows.
  • Horizontal workspaces – use a horizontal workspace layout.
  • Launch new instance – always launch a new instance when clicking app shortcut in the dash or the application menu.
  • Native Window Placement – Arrange windows in overview in a more compact way.
  • Places Status Indicator – add menu in top-bar to quick access user folders.
  • Removable Drive Menu – add system tray indicator to easy access and unmount removable devices.
  • Screenshot Window Sizer – Resize windows for gnome software screenshots.
  • User Themes – load shell themes from uer directory.
  • Window List – Display a window list at the bottom of the screen.
  • Workspace Indicator – add system tray applet to indicator in which workspace you are.

1. And the commands is (press Ctrl+Alt+T to open terminal and run the command):

sudo apt install gnome-shell-extensions gnome-shell-extension-prefs

2. After running the command, restart Gnome Shell by:

  1. press Alt+F2 on keyboard.
  2. try r in the pop-up ‘Run a Command’ box.
  3. hit Enter.

3. Finally open (or re-open) Extensions tool from app menu. You’ll see a list of new extensions. Enable any of them as you want and enjoy!

(Optional) If you don’t like them, simply run command to remove the package (restart Gnome Shell is required):

sudo apt remove gnome-shell-extensions

NOTE for clean freak: Even if you just need one or a few of the extensions, you can’t remove the package to get rid of the rest from showing in Extensions tool. As a workaround, you can install the extensions you need from extensions.gnome.org.

For Ubuntu 18.04 default Gnome desktop, this quick tutorial is going to show you how to integrates maximized application window with the top panel, by removing the title bar, and moving the title and buttons to the top panel.

All the work can be done via Gnome Shell extension called No Title Bar.

1. Open Ubuntu Software, search for and install No Title Bar extension.

2. The extension takes effect once you installed it. To tweak the appearance, click Extension Settings in Ubuntu Software.

The extension does not work for Gnome 3.30 at the moment, Ubuntu 18.10 users can build it from the source code.

This quick tutorial is going to show beginners how to install and manage Gnome Shell Extensions in Ubuntu 17.10 while it uses Gnome Shell as default desktop environment.

Gnome Shell Extensions are small pieces of code written by third party developers. If you are familiar with Chrome Extensions or Firefox Addons, GNOME Shell extensions are similar to them.

How to Install Gnome Shell Extensions

Gnome maintains a website, extensions.gnome.org, for users to install or upgrade extensions. All extensions there are carefully reviewed for malicious behavior before they are made available for download.

To be able to install Gnome Shell Extensions in Ubuntu 17.10, do following steps:

1. Install add-on for your web browser:

2. Open terminal either via Ctrl+Alt+T, or by searching “terminal” from app launcher. When it opens, run command:

sudo apt install chrome-gnome-shell

Input your password (no visual feedback while typing) when it prompts and hit Enter.

3. Finally go to extensions.gnome.org via your browser, install any Gnome Shell Extension by turning on the switch on the web.

Manage Gnome Shell Extensions

Gnome Tweak Tool has an page for managing installed Gnome Shell Extensions.

Search for and install ‘Gnome Tweaks’ in Ubuntu Software app:

Then launch it and manage installed Gnome Shell Extensions in “Extensions” tab.

This quick tutorial is going to show Gnome Desktop beginners how to enable the ‘Shell theme’ drop-down box in the Gnome Tweak Tool.

A Gnome Shell theme changes shell buttons, colors, panels, etc. The setting is disabled by default in Gnome Tweak Tool, and you’ll see the prompt “Shell user-theme extension not enabled” when you hover the cursor over the alert icon.

As it prompts, you need to enable user-theme extension. While it’s not available by default, install it via following steps:

1. Open Firefox web browser and go to https://extensions.gnome.org:

Click the link text “click here to install browser extension” and follow the pop-ups to install the browser extension:

2. After that, refresh the web page, if you get an error prompt that “native host connector is not detected“,

then open terminal via Ctrl+Alt+T and run command:

sudo apt install chrome-gnome-shell

3. Finally go to https://extensions.gnome.org/extension/19/user-themes/.

Click the switch to turn on and then select install the Gnome Shell extension:

After all, restart Gnome Tweak Tool and you’ll see the Shell theme drop-down box enabled after enabled the User Themes extension.