Archives For November 30, 1999

notification history

This quick tip shows you how to change the position of on screen notifications in Ubuntu 18.04 Gnome desktop.

I’ve written about how to customize on screen notifications in Ubuntu Unity by installing a patched version of Notify OSD daemon.

Ubuntu 18.04 ships with Gnome 3 desktop by default. Desktop appearances can be tweaked by installing Gnome Shell extensions.

1. For those never installed a Gnome Shell extension, click the link below to install some required packages:

2. Panel OSD is a Gnome extensions that allows to move screen notification position, and change time-out delay.

Go to the link below in your web browser and turn on the switch to install the extension:

3. Once installed the extension, install Gnome Tweaks in Ubuntu Software, and configure it in Gnome Tweaks -> Extensions tab.

A patched version of Notify OSD with some extra features to Ubuntu’s on-screen-display notifications is available in Leolik’s PPA.

With the patch and a graphical Notify OSD configuration tool, you can easily tweak the notification bubbles by:

  • Close notification bubble on click
  • Stop fading out when mouse cursor hovers on it.
  • Change notification display timeout.
  • Change notification bubble location
  • Edit the bubble size, background, transparency, etc.
  • Edit the text size, color, etc.

1. Install the patched version of Notify OSD:

Open terminal (Ctrl+Alt+T) and run the commands below one by one to get it from PPA:

sudo add-apt-repository ppa:leolik/leolik

sudo apt update

sudo apt install notify-osd

Or grab the .deb installer from the link below:

Select download and install the latest version of:

  • notify-osd_x.x.x+16.04.x.x.x-0ubuntu1-leolik~ppa0_i386.deb for 32-bit Ubuntu 16.04
  • notify-osd_x.x.x+16.04.x.x.x-0ubuntu1-leolik~ppa0_amd64.deb for 64-bit Ubuntu 16.04

2. Restart notify-osd daemon by running the command below in terminal:

pkill notify-osd

Just close the terminal after running the command since there’s no terminal output.

3. Install a graphical configuration tool for NotifyOSD:

Open terminal (Ctrl+Alt+T) and run the commands below one by one to get it from Webupd8 PPA:

sudo add-apt-repository ppa:nilarimogard/webupd8

sudo apt update

sudo apt install notifyosdconfig

Or grab the .deb installer from the link below:

Select download and install the latest version of:

  • notifyosdconfig_x.x+xxx~ubuntu16.04.1_i386.deb for 32-bit Ubuntu 16.04
  • notifyosdconfig_x.x+xxx~ubuntu16.04.1_amd64.deb for 64-bit Ubuntu 16.04

4. Finally launch the configuration tool and enjoy customizing your on-screen notifications:

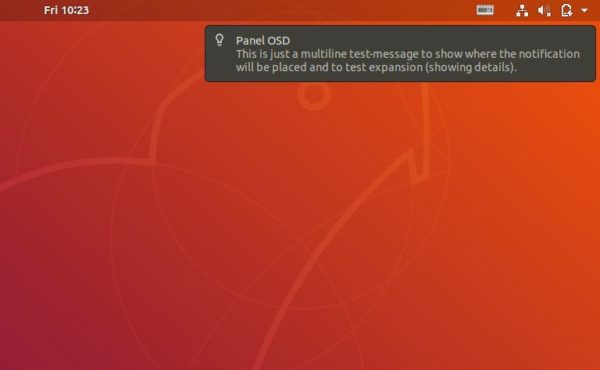
Here is a quick tutorial about how to make VLC media player use Ubuntu desktop notifications in Ubuntu 14.04 Trusty LTS.

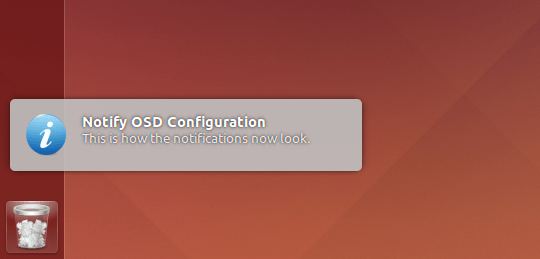
VLC is one of the most widely used media player in Linux desktops. It is well integrated with Ubuntu Unity except that it does not use the native libnotify daemon so that you won’t see any notification bubble that indicates what’s playing. To enable this feature, follow below steps.

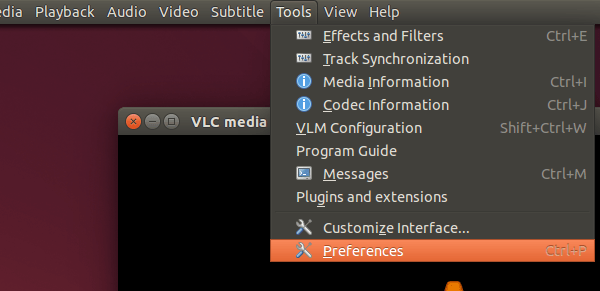
1. Open VLC media player, go to menu Tools -> Preferences.

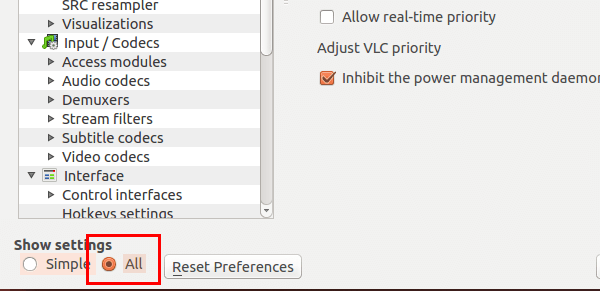
2. On the left bottom, choose All to display all VLC settings.

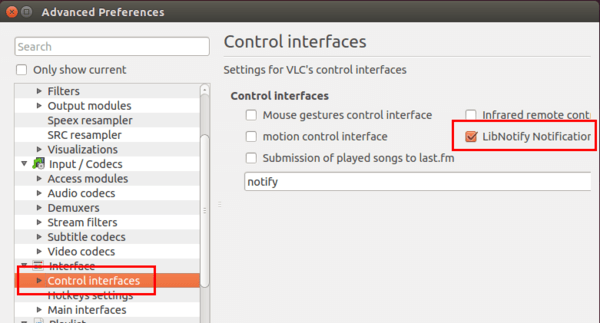
3. Go to Interface -> Control Interface, check the box where it says “LibNotify Notificatior” to make VLC use Ubuntu’s notification daemon.

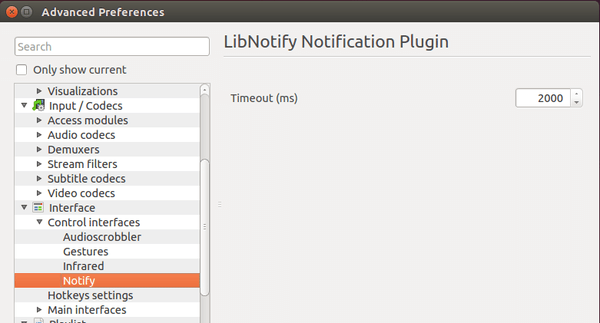
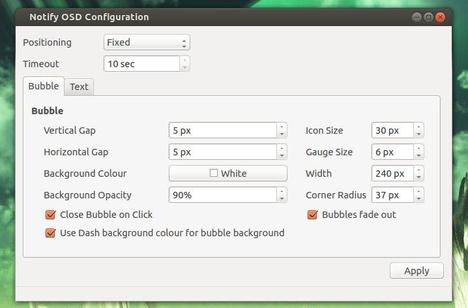
4. Click to expand Control Interface in left sidebar and you can change the notification bubbles timeout under Notify settings.

Restart VLC media player and enjoy!

Want to customize your on screen notification bubbles?

Well, there’s an enhanced version of Notify-OSD available in Launchpad that enables you to:


  • change notification location
  • close bubble on click
  • change color, width, height or other options of bubble
  • add timeout
  • Stops the bubble from fading out when the mouse pointer hovers over it
  • Used Dash background color for bubble background color

To install the Notify-OSD with additional features:

Press Ctrl+Alt+T on keyboard to open the terminal. When it opens, run:

sudo add-apt-repository ppa:leolik/leolik

sudo apt-get update

sudo apt-get install notify-osd

Then restart the daemon to apply the changes:

pkill notify-osd

To install a graphical tool to configure Notify-OSD:

sudo add-apt-repository ppa:nilarimogard/webupd8

sudo apt-get update

sudo apt-get install notifyosdconfig

UPDATE 2015-8: For Ubuntu 15.04, you may install Notify-OSD graphical configuration tool via:

sudo add-apt-repository ppa:gsn/grabbelkiste

sudo apt-get update

sudo apt-get install notifyosdconfig

Launch “NotifyOSD Configuration” from Unity Dash and now you’re able to configure your notification bubbles:

To change the bubble location, run:

gsettings set com.canonical.notify-osd gravity NUMBER

Where the NUMBER can be:

1 – top-right corner
2 – middle-right
3 – bottom-right corner
4 – bottom-left corner
5 – middle-left
6 – top-left corner

Enjoy!