
Quick tutorial shows how to install RabbitVCS, easy version control for Linux, in Ubuntu 14.04/Ubuntu 14.10 for Nautilus, Gedit, Thunar, Nem
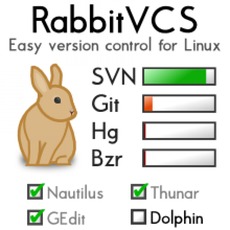
RabbitVCS is a graphical front-end for version control systems available on Linux. It integrates into file managers to provide file context menu access to version control repositories. The project was originally called NautilusSvn, but due to the desire to support file managers in addition to Nautilus and more version control systems, it was renamed to RabbitVCS.

Install RabbitVCS in Ubuntu:
While Ubuntu repositories provide an old version of RabbitVCS, the latest release is always available in its official PPA.
1. To add the PPA, press Ctrl+Alt+T to open terminal, paste the command below and hit enter to run:
sudo add-apt-repository ppa:rabbitvcs/ppa
Type in your user password when it asks and there is no visual feed back.
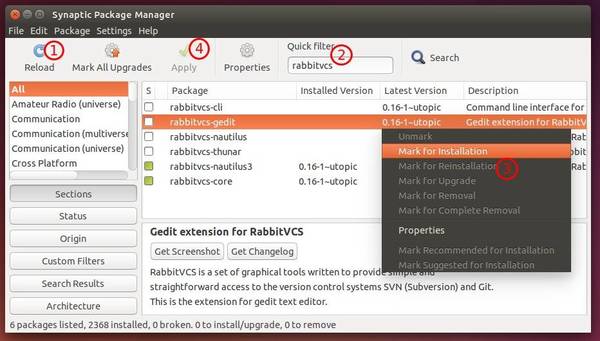
2. After that, install RabbitVCS extension via Synaptic Package Manager (install it from Ubuntu Software Center), and receive future updates by running running regular updates via Software Updater.
- Install and then launch Synaptic from the Unity Dash or App Menu.
- Click the Reload button to update package lists.
- Search rabbitvcs
- Highlight rabbitvcs-nautilus3, rabbitvcs-gedit, or rabbitvcs-thunar
- Finally click the Apply button to install it/them.
and mark for installation.
Once installed, log out and back in.
Install RabbitVCS extension for Nemo:
For Linux Mint Nemo file manager, you can install the extension by running the commands below one by one in terminal:
sudo add-apt-repository ppa:tsvetko.tsvetkov/cinnamon

sudo apt-get update

sudo apt-get install nemo-rabbitvcs
Supports for Linux Mint 17 and 13.


