Archives For November 30, 1999

How to Reset Gnome Desktop in Ubuntu 18.04

Last updated: June 5, 2018

gnome shell

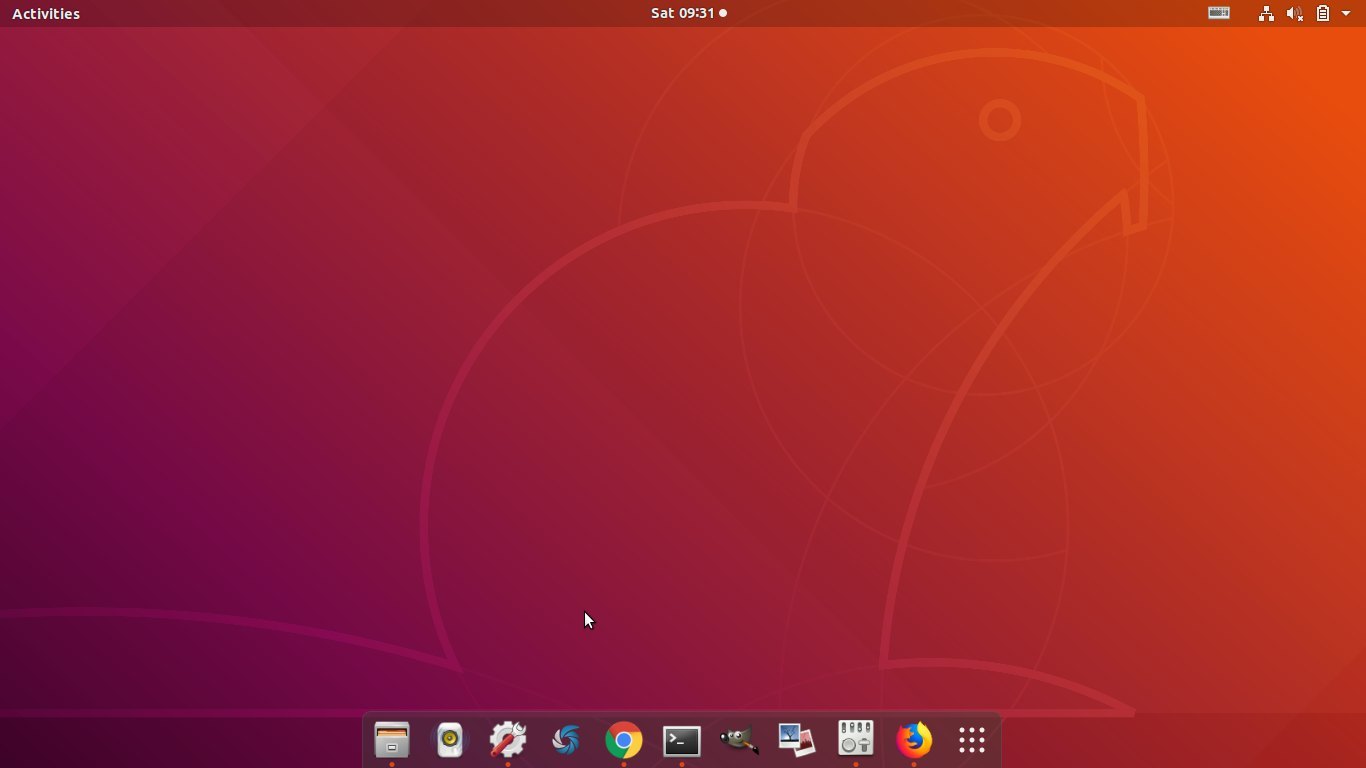
This quick tutorial shows you how to reset Gnome Shell to its original status in Ubuntu 18.04 LTS.

Note following steps will reset most settings to its original status in the default Gnome 3 desktop, but no guarantee of ALL Gnome appearances.

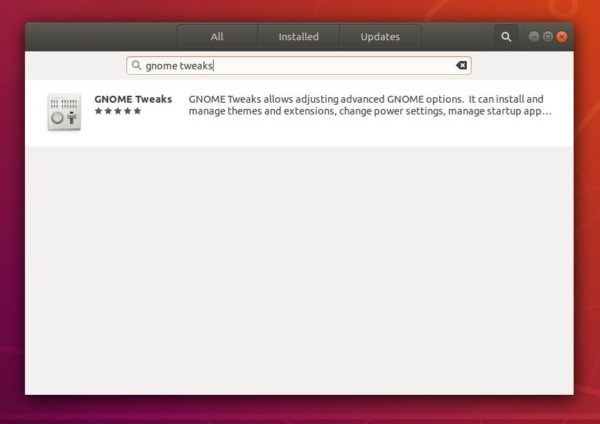
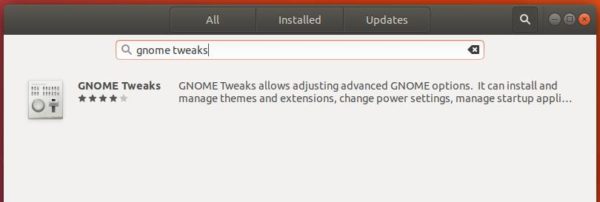
1. As you may already know, there’s a graphical tool Gnome Tweaks that allows to tweak advanced Gnome 3 settings. And it can be installed in Ubuntu Software:

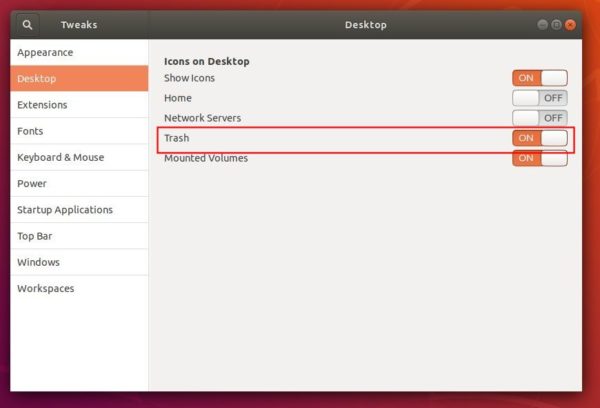
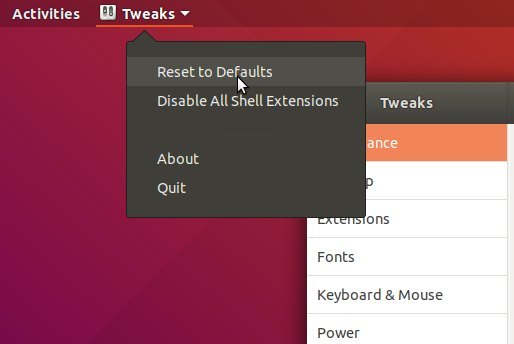
2. Gnome Tweaks offers an option “Reset to Defaults“. It resets desktop theme, icons, fonts, show desktop icons, and some application window settings.

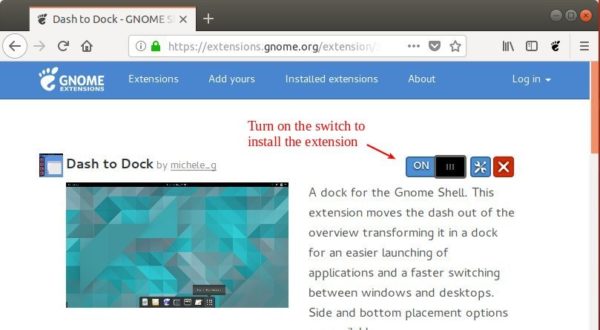
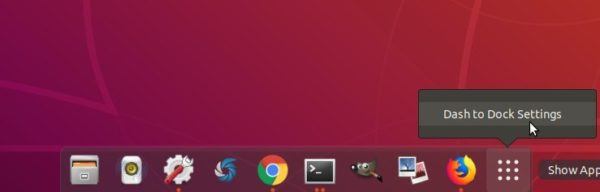
3. Some changes (e.g., Gnome extensions, favorites applications on left launcher, and some dconf database changes) won’t revert back via the Gnome Tweaks option.

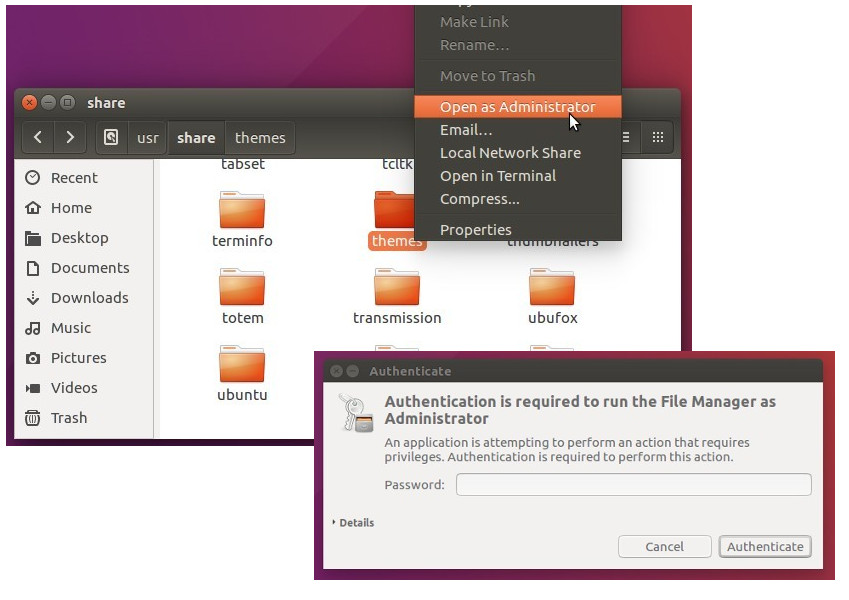
If need, you can run command in terminal (Ctrl+Alt+T) to reset all the settings:

dconf reset -f /org/gnome/

That’s it. Enjoy!

For those who want to change the look and feel of the left panel “Ubuntu Dock” in Ubuntu 18.04, Dash to Dock is a Gnome extension that replaces left panel with Mac OS style Dock application launcher.

Dash to Dock is a popular Gnome extension that Ubuntu Dock (the default left panel) is forked from. With it, you can get Ubuntu 18.04 desktop looks like:

1. First time to install a Gnome extension? Then you need to install an add-on for your web browser:

click install add-on for Google Chrome, Chromium, Vivaldi

click install add-on for Firefox

click install add-on for Opera

Then open terminal (Ctrl+Alt+T) and run command to install native connector get the add-ons to work.

sudo apt-get install chrome-gnome-shell

2. Then go to Dash to Dock extension page in your browser, and turn on the toggle to install it.

The left panel changes to dock launcher once you installed the extension.

To change its appearance, right-click on Show Applications icon or use Gnome Tweak Tool to go to the settings.

This quick tutorial is going to show you how to enable hibernate option in the top-right corner power menu in Ubuntu 18.04. So you’ll get a similar menu as the picture shows:

Test if hibernate works

First of first, you have to make sure hibernate works in command line.

1. Open terminal via Ctrl+Alt+T or by searching for ‘terminal’ from app launcher. When it opens, run command:

sudo systemctl hibernate

Please SAVE all of your work before hitting enter, in case something goes wrong and your open applications and documents cannot be recovered.

2. After you computer turns off, switch it back on. Did your open applications re-open?

If hibernate doesn’t work, take a look at this question on askubuntu.

UPDATE: Hibernate does not work out-of-the-box since Ubuntu 20.04, at least in my case, you have to enable it by adding Kernel parameter in boot menu. See this tutorial for Ubuntu 20.04 & higher.

Enable Hibernate in Menus

If hibernate works in command line, continue enable it in the menus via following steps.

1. Open terminal (Ctrl+Alt+T) and run command to create a configuration file:

sudo gedit /etc/polkit-1/localauthority/50-local.d/com.ubuntu.enable-hibernate.pkla

When the file opens, paste following content and save it.

[Re-enable hibernate by default in upower]
Identity=unix-user:*
Action=org.freedesktop.upower.hibernate
ResultActive=yes

[Re-enable hibernate by default in logind]
Identity=unix-user:*
Action=org.freedesktop.login1.hibernate;org.freedesktop.login1.handle-hibernate-key;org.freedesktop.login1;org.freedesktop.login1.hibernate-multiple-sessions;org.freedesktop.login1.hibernate-ignore-inhibit
ResultActive=yes

2. Restart your computer and click the link to install the gnome extension: Hibernate Status Button.

For those who never installed a gnome extension, see this how to tutorial for details.

The Gnome login screen normally shows a list of available users to log in as. For those who want to disable showing the user list, and manually type a username to login with, below I will show you how.

Open terminal by pressing Ctrl+Alt+T on keyboard, when it opens, run following commands one by one:

1. Run command to get access to root:

sudo -i

Type in your password (no visual feedback while typing) when it prompts and hit Enter.

2. In the terminal, run command to allow gdm to make connections to the X server:

xhost +SI:localuser:gdm

3. Then switch to user gdm, which is required to run gsettings to configure gdm settings.

su gdm -l -s /bin/bash

Update May 2020: For Ubuntu 20.04, you may need to run one more command:

export DISPLAY=:0

4. Finally hide user list from login screen using Gsettings:

gsettings set org.gnome.login-screen disable-user-list true

After that, restart your computer and enjoy!

How to Restore

To restore the change, open terminal and re-do previous steps, except running the last command with:

gsettings set org.gnome.login-screen disable-user-list false

The trash can icon is moved from left launcher to desktop icon since Ubuntu switched back to Gnome Desktop.

For those using files context menu or keyboard shortcut to delete file folders, and getting access to trash can via Files (nautilus file browser), the desktop icon is kinda useless and you may want to remove it.

You can easily remove (hide) the trash can desktop icon by doing following steps:

1. Open Ubuntu Software, search for and install Gnome Tweaks, a Gnome 3 desktop configuration tool.

2. Once installed, launch Gnome Tweaks and navigate to Desktop pane. There you can see the toggles to show or hide some desktop icons.

Simply turn off the toggle for Trash and enjoy!

Touchpad Indicator is system tray applet to configure laptop touchpad settings and actions in Ubuntu desktop.

With Touchpad Indicator, you can easily:

  • Disable / Enable touchpad with indicator menu or keyboard shortcut.
  • Disable touchpad when mouse is plugged.
  • Disable touchpad while typing.
  • Also do basic settings for natural scrolling, tapping, touchpad speed, etc.

How to Install Touchpad Indicator in Ubuntu:

The software is available in the developer’s PPA for all current Ubuntu releases.

Open terminal either via Ctrl+Alt+T or by searching for “terminal” from application launcher. When it opens, do followings steps to install the indicator:

1. Run command to add the PPA.

sudo add-apt-repository ppa:atareao/atareao

Type in your password (no visual feedback while typing due to security reason) when it prompts and hit Enter.

2. Then check updates and install the software by running following commands one by one:

sudo apt-get update

sudo apt-get install touchpad-indicator

Once installed, launch it and you’ll see the applet icon in top-right system tray.

Uninstall:

To remove touchpad indicator, run apt command in terminal with remove flag:

sudo apt-get remove --autoremove touchpad-indicator

To remove PPA repositories, launch Software & Updates and navigate to Other Software tab.

The final beta of Ubuntu 18.04 Bionic Beaver LTS (Long Term Support) was released a few hours ago.

Ubuntu 18.04 Beta 2 features iso images for Ubuntu Desktop, Server, and Cloud products. Also Kubuntu, Lubuntu, Ubuntu Budgie, Ubuntu Kylin, Ubuntu MATE, Ubuntu Studio, and Xubuntu images are available.

The beta includes updated versions of most of core set of packages, including a current 4.15 kernel, and much more. And the final release of Ubuntu 18.04 will be available on April 26.

Notable hanges in Kubuntu 18.04 since the last LTS:

  • Replace Dragonplayer with VLC as default media player.
  • Muon package manager is shipped by default once again.
  • Replace Amarok with Cantata Qt5 as default music player.
  • Drop Telepathy instant messaging client from the defaults.

Notable changes in Xubuntu 18.04 include:

  • Removed the GTK Theme Configuration tool
  • Replaced the Sound Indicator with the Xfce PulseAudio Plugin.
  • Replaced Application indicator with Status Notifier Plugin
  • Replace some desktop applications: Evince -> Atril, File Roller -> Engrampa, GNOME Calculator -> MATE Calculator.

Changes in Ubuntu MATE 18.04 include:

  • MATE desktop 1.20
  • Uses Indicators by default in all layouts.
  • Brisk Menu switches to a dash-style launcher for Mutiny or Cupertino layout.
  • Minimal installation support and more and more other changes.
  • New and updated desktop layouts
  • The xcursor themes have been replaced with new cursours from MATE upstream

Changes in Ubuntu Budgie 18.04 Beta2 include:

  • Introduce Window Shuffler – a brand-new GUI and keyboard based grid tiling
  • Weather Applet now is working again.
  • Budgie Welcome has had a whole series of changes

Notable changes in Ubuntu Studio 18.04 Beta 2 include:

  • Add an option to Ubuntu Studio Controls to set the CPU governor to performance mode
  • Removed zynjacku as this is no longer maintained software
  • Updated versions of main multimedia packages

The beta images for other flavors: Ubuntu Kylin 18.04, LUbuntu 18.04.

The first beta of Ubuntu 18.04 Bionic Beaver LTS (Long Term Support) was released last night.

Ubuntu 18.04 Beta 1 features images for Kubuntu, Ubuntu Budgie, Ubuntu Kylin, Ubuntu MATE, and Xubuntu.

NOTE the pre-releases of Ubuntu 18.04 are not recommended for anyone needing a stable system or anyone who is not comfortable running into occasional, even frequent breakage. They are, however, recommended for those who want to help in testing, reporting, and fixing bugs.

Changes in Xubuntu 18.04 Beta 1 include:

  • Removed the GTK Theme Configuration tool
  • Replaced the Sound Indicator with the Xfce PulseAudio Plugin.
  • Replaced Application indicator with Status Notifier Plugin
  • Replace some desktop applications: Evince -> Atril, File Roller -> Engrampa, GNOME Calculator -> MATE Calculator.

Changes in Kubuntu 18.04 beta 1 include:

  • Replace Dragonplayer with VLC as default media player.
  • Muon package manager is shipped by default once again.
  • Replace Amarok with Cantata Qt5 as default music player.
  • Drop Telepathy instant messaging client from the defaults.

Changes in Ubuntu MATE 18.04 Beta 1 include:

  • MATE desktop 1.20
  • Uses Indicators by default in all layouts.
  • Brisk Menu switches to a dash-style launcher for Mutiny or Cupertino layout.
  • Minimal installation support and more and more other changes.

Changes in Ubuntu Budgie 18.04 Beta1 include:

  • Better font handling for Chinese and Korean users
  • Play mp3 out of the box.
  • New applets available via Budgie settings, Budgie welcome.
  • New exciting GTK+ theme by default called Pocillo
  • Minimal installation.

Future releases of Ubuntu 18.04:

April 5th Final Beta
April 19th Final Freeze / Release Candidate
April 26th Final release of Ubuntu 18.04

Enable “Open as Admin” in Nautilus File Browser

Last updated: February 15, 2018

It’s been a long time last time I wrote about how to enable “Open as root” or “Open as Administrator” in Nautilus’ context menu.

A Nautilus extension called Nautilus Admin has been created for a period of time. It’s a simply Python script that adds some administrative actions to the right-click menu:

  • Open as Administrator: opens a folder in a new Nautilus window running with administrator (root) privileges.
  • Edit as Administrator: opens a file in a Gedit window running with administrator (root) privileges.

To install the Nautilus extension:

The extension is available for all current Ubuntu releases: Ubuntu 14.04, Ubuntu 16.04, Ubuntu 17.10, and Ubuntu 18.04.

1. Simply open “Terminal” either via Ctrl+Alt+T or from app launcher. Then run command:

sudo apt-get install nautilus-admin

Input your password (no visual feedback while typing) when it prompts and hit Enter.

2. Then restart Nautilus via command:

nautilus -q

That’s it. Open nautilus file browser again and enjoy with new context menu options!