
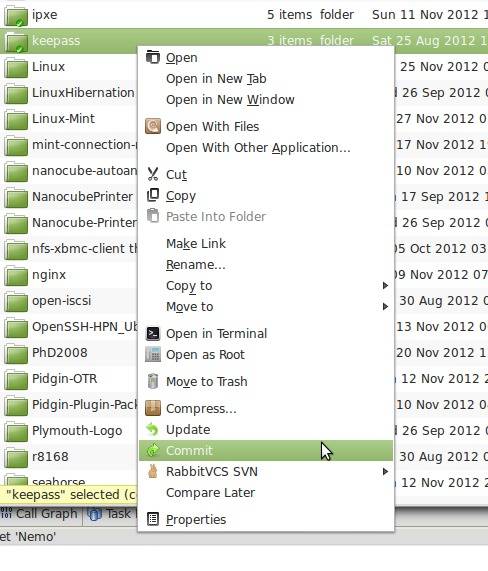
As you may know, RabbitVCS is a graphical front-end for version control systems which supports Nautilus and Thunar. Here’s how to install Nemo extension for RabbitVCS in Linux Mint Cinnamon.
To get started, press Ctrl+Alt+T on your keyboard to open terminal. When it opens, run below command to add the ppa, which supports Linux Mint 13 Maya, 14 Nadia, 15 Olivia, 16 Petra and also Ubuntu 13.10 Saucy, 13.04 Raring, 12.10 Quantal, 12.04 Precise.
NOTE: This PPA contains nightly builds (unstable) for the Cinnamon desktop environment. Use it at your own risk!
sudo add-apt-repository ppa:gwendal-lebihan-dev/cinnamon-nightly
After that, you can install this extension by below commands:
sudo apt-get update; sudo apt-get install nemo-rabbitvcs
Once installed, you may need to log out and back in to get it work.


Thanks a lot!!!
My English is not great as well, but “English is not my mother tongue”… translate the difference between “tongue” and “language”. For post – thanks
Dm, http://en.wiktionary.org/wiki/mother_tongue
In lieu of logging out you can force quit nemo with ‘nemo -q’. When you restart you should see RabbitVCS active.