![]()

This simple tutorial shows how to change the default terminal emulator from Gnome Terminal to the one that you prefer in Ubuntu 24.04, Ubuntu 22.04, Ubuntu 20.04.
The default Gnome Terminal is great, but there are many good alternatives (e.g., tilix). If you prefer to use another one and want to set it as default, so you may press Ctrl+Alt+T to open it.
UPDATE 2025: for Ubuntu 25.04, there’s new xdg-terminal-exec to do the job.
Step 1: Create symbolic link to x-terminal-emulator
Ubuntu so far defaults to x-terminal-emulator, which is a virtual package by default links to Gnome Terminal.
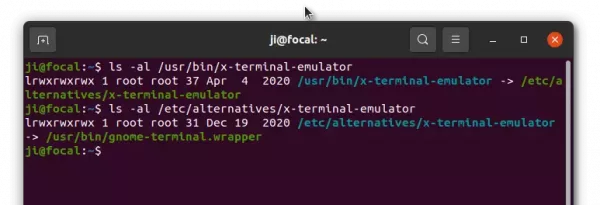

By creating a group of alternatives to the package allows to switch which one to use at any time with a single command.
Firstly, open terminal and run command to create a symbolic link (replace /usr/bin/tilix with your terminal emulator):
sudo update-alternatives --install /usr/bin/x-terminal-emulator x-terminal-emulator /usr/bin/tilix 1
Some terminal emulators may already created the symbolic link automatically after installation, so you can just skip this step.
Step 2: Select your terminal to use as default:
Next, run the command below will output all available alternatives:
sudo update-alternatives --config x-terminal-emulator
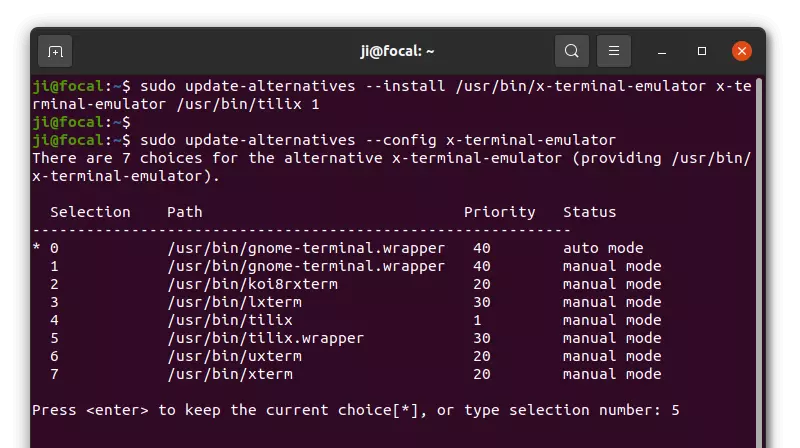
Type the number for the one that you prefer and hit Enter will set it as default terminal.
In the case, I selected 5: ‘/usr/bin/tilix.wrapper’. It’s a Tilix wrapper with command line arguments that created automatically during installation. Step 1,
Restore and remove the alternative link:
To revert back to Gnome Terminal, just re-run the command in Step 2 and choose number 0 or 1.
And to remove the link created via Step 1, use command (replace ‘/usr/bin/tilix’ accordingly):
sudo update-alternatives --remove x-terminal-emulator /usr/bin/tilix
That’s all. Enjoy!