![]()

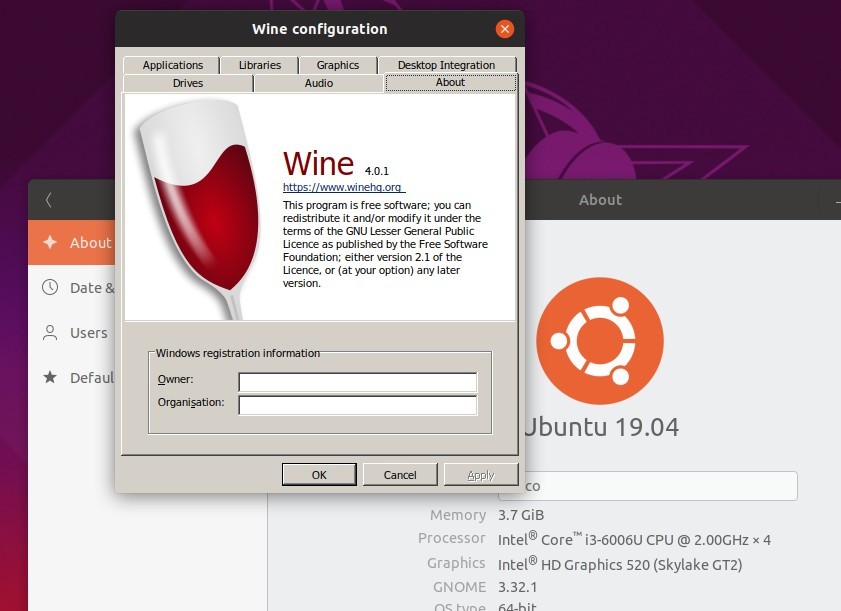
For those sticking to the Wine stable 4.0 series, the first bug-fix release Wine 4.0.1 was released a day ago with numerous bug-fixes.
Wine 4.0.1 brings a total of 44 bug-fixes, including fixes to Theatre of War 3, Windows Media Player, League of Legends, Warcraft 3, Visual Studio 2015, and more.
How to Install Wine 4.0.1 in Ubuntu:
The official apt repository has made the new release package for Ubuntu 16.04, Ubuntu 18.04, Ubuntu 18.10, Ubuntu 19.04, and their derivatives.
Open terminal either via Ctrl+Alt+T or by searching ‘terminal’ from app launcher. When it opens, run following commands one by one to and the repository and install Wine:
1. Add the official wine apt repository for Ubuntu 19.04 via command:
sudo apt-add-repository 'deb https://dl.winehq.org/wine-builds/ubuntu/ disco main'
For other Ubuntu releases, replace disco in the code with
- bionic for Ubuntu 18.04, Linux Mint 19.x
- xenial for Ubuntu 16.04, Linux Mint 18.x
- cosmic for Ubuntu 18.10.


2. Download and install the GPG keyring via command:
wget -nc https://dl.winehq.org/wine-builds/winehq.key && sudo apt-key add winehq.key


3. Finally refresh system package cache and install the latest Wine development package via commands:
sudo apt update

sudo apt install --install-recommends winehq-stable


Note that installing the stable release package will automatically remove the devel release package if any.
Uninstall:
To remove wine dev release, simply run command in terminal:
sudo apt-get remove --autoremove winehq-stable
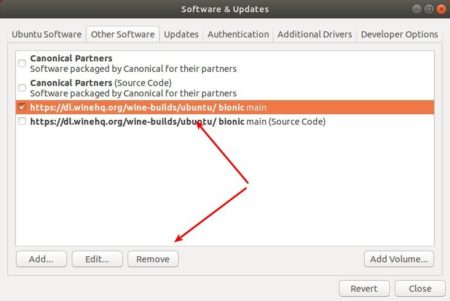
And you can remove the repository via Software & Updates utility under Other Software tab.