
This quick tutorial shows how to install the latest GNU Emacs 26.1 in Ubuntu 16.04, Ubuntu 18.04, Ubuntu 18.10, Linux Mint 18,x, 19.x, and their derivatives.
While Ubuntu ships old versions in its universe repositories and don’t provide future updates, a stable PPA repository maintained by Kevin Kelley contains the 26.1 packages with mailutils, systemd, and xwidgets support for all current Ubuntu releases.

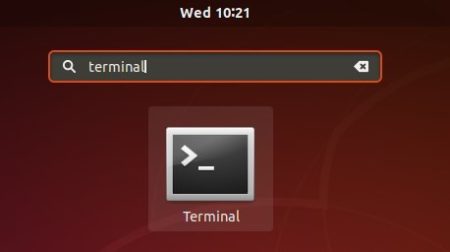
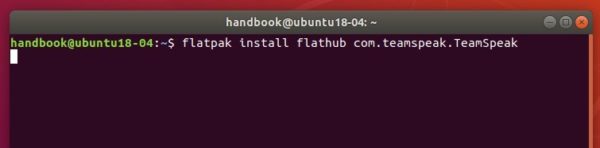
1. Open terminal either via Ctrl+Alt+T keyboard shortcut or by searching for “Terminal” from start menu. When it opens, run command to add the PPA:
sudo add-apt-repository ppa:kelleyk/emacs
Type user password (no asterisk feedback due to security reason) when prompts and hit Enter.


2. Then install Emacs26 either via Synaptic package manager, or by running following commands one by one in terminal:
sudo apt update

sudo apt install emacs26
For text-only interface, replace emacs26 with emacs26-nox in the last command. And Ubuntu 18.04 and higher can skip apt update command.


Once installed, open emacs from your system application launcher and enjoy!

How to Remove:
To remove Emacs26, open terminal and run commands:
sudo apt remove --autoremove emacs26 emacs26-nox
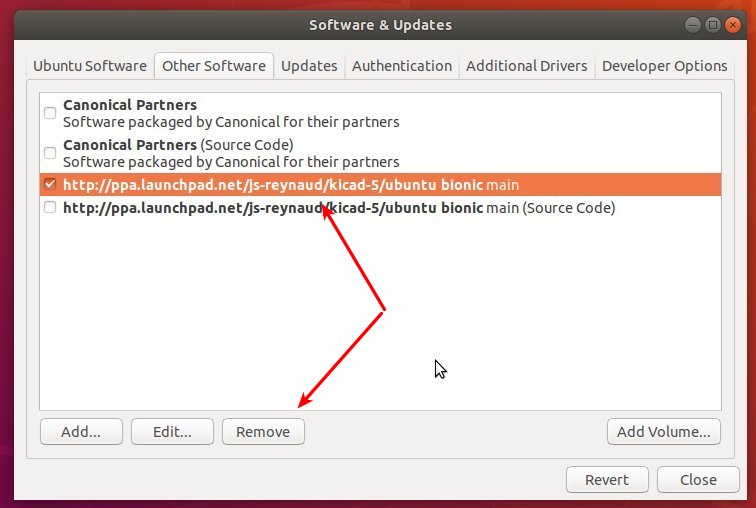
The PPA can be removed by going to Software & Updates -> Other Software tab.