
RawTherapee RAW image editor released version 5.5 last night with exciting new features. Here’s how to install it in Ubuntu 18.10, Ubuntu 18.04.
RawTherapee 5.5 release highlights:
- Filter to remove striping artifacts and banding artifacts for any camera has a PDAF entry in camconst.json.
- Ability to specify custom working color spaces through the
workingspaces.jsonfile. - Unbounded processing – allows you to decide whether out-of-gamut colors should get clipped.
- New Shadows/Highlights tool (replaced previous one).
- Contrast threshold mask which divides an image into areas of high and low detail, allowing the effect of certain tools (Sharpening, Post-Resize Sharpening, Microcontrast, Demosaicing) to be focused where it matters most and to mitigate the effect on areas where it would be undesirable.
- Dual-demosaic algorithms, making use of the new contrast threshold mask, allowing one to use a combination of demosaicing algorithms where one is best for details and the other best for plain areas.
- New color toning methods: Grid and Regions
- Support for Blackmagic and Canon Magic Lantern lj92 encoded files.
- New Soft Light tool which enhances contrast and saturation by emulating the effect of blending an image with a copy of itself in “soft light” blending mode in GIMP.
- New Haze Removal tool to reduce the effects of haze or fog.
- The Resize tool allows you to specify whether you want it to upscale or only downscale.
- New icon and cursor theme. New cameras support, and new input color profiles.
- Other new features, enhancements, and bug fixes.
Download / Install RawTherapee 5.5 in Ubuntu:
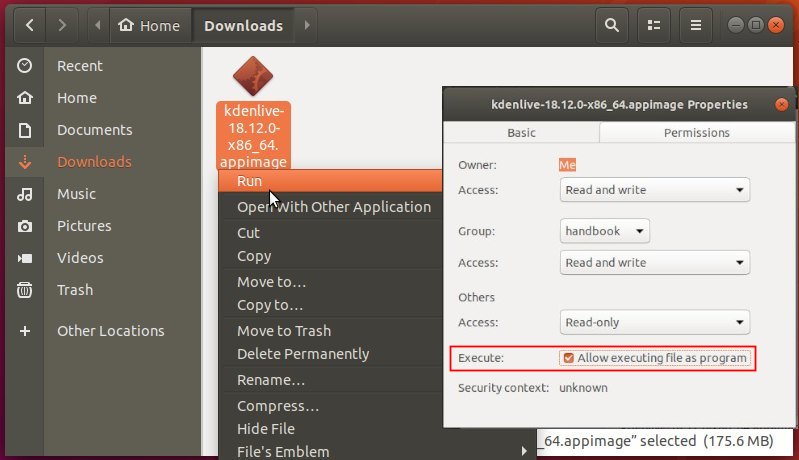
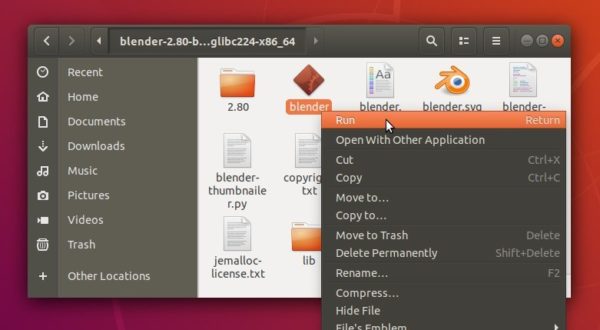
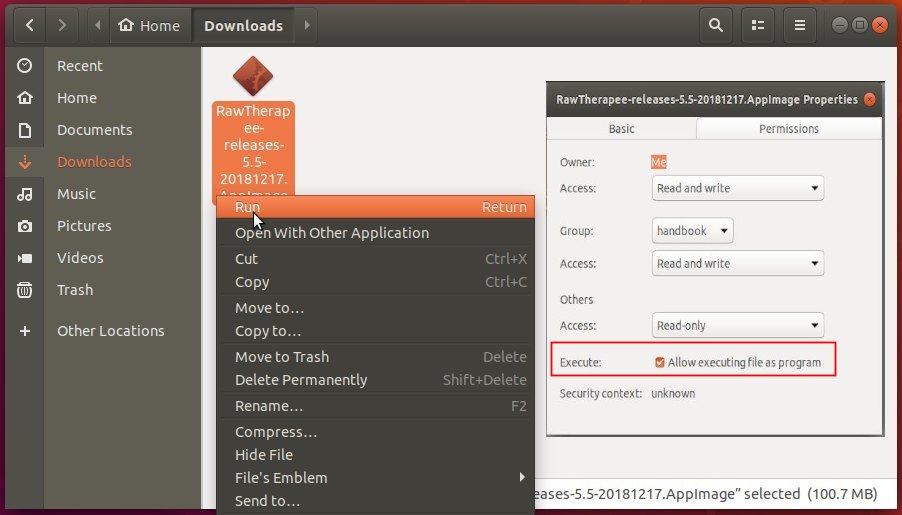
The official Linux Appimage, single executable file to launch the software, is available for download at the link below:
Go to file’s properties, allow executable file as program, and finally run it to launch RawTherapee 5.5.
There are also a few PPA repositories that contain RawTherapee packages for Ubuntu. I’ll update the tutorial once the 5.5 release package is available.
UPDATE: For Ubuntu 18.04, Ubuntu 18.10, Linux Mint 19.x, you can install RawTherapee 5.5 via the unofficial PPA.
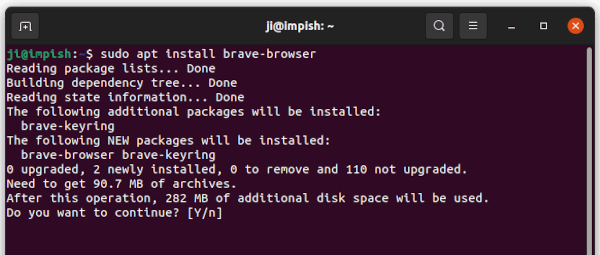
1. Open terminal either via Ctrl+Alt+T keyboard shortcut or by searching for “Terminal” from app launcher. When it opens, run command:
sudo add-apt-repository ppa:dhor/myway
Input your password (no asterisks feedback when typing) when it prompts and hit Enter to add the PPA.


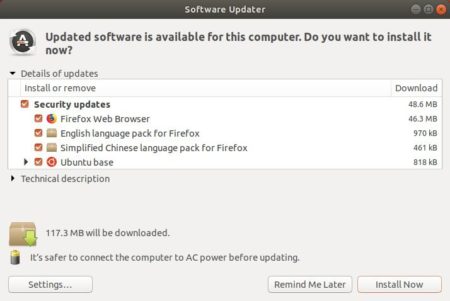
2. After that, upgrade the software via Software Updater if a previous version was installed:
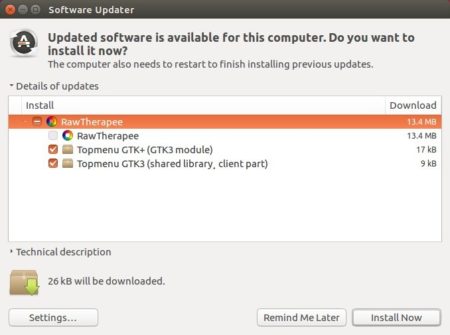

The upgrading process may be kept back if you were installing it from Ubuntu Software.
A workaround is simply running following commands instead to install or upgrade RawTherapee:
sudo apt-get install rawtherapee
How to Remove:
To uninstall the free raw developer, run command in terminal:
sudo apt-get remove --autoremove rawtherapee
And remove the PPA via Software & Updates utility under Other Software tab, by removing the line says “http://ppa.launchpad.net/dhor/myway/ubuntu”.