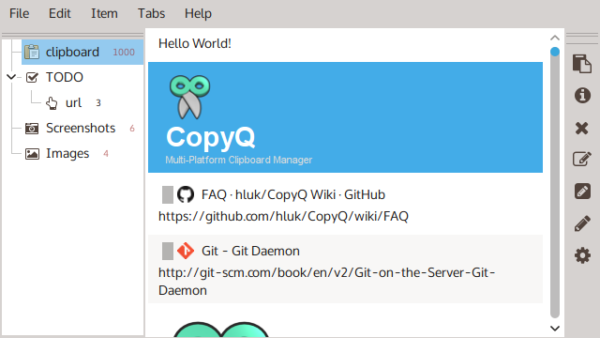
CopyQ, advanced clipboard manager with editing & scripting feature, released version 3.8.0 with new script functions and performance improvements.
CopyQ 3.8.0 release highlights:
- Custom settings from scripts now saved in “copyq-scripts.ini”.
- New script functions onStart and onExit
- New script functions pointerPosition and setPointerPosition
- New script callback onClipboardUnchanged
- Detect encoding for other text formats.
- Clipboard dialog opens much faster and retrieves clipboard data only when
needed. - Faster app start, smaller memory footprint.
- FakeVim improvements and many bug-fixes.
How to Install Copyq 3.8.0 in Ubuntu:
The official PPA repository has made the latest packages for Ubuntu 16.04, Ubuntu 18.04, Ubuntu 18.10, and Linux Mint 18.x, 19.x.
1. To add the PPA, open terminal (Ctrl+Alt+T) from application launcher and run command:
sudo add-apt-repository ppa:hluk/copyq
Type user password (no asterisk feedback due to security reason) when it prompts and hit Enter to continue.

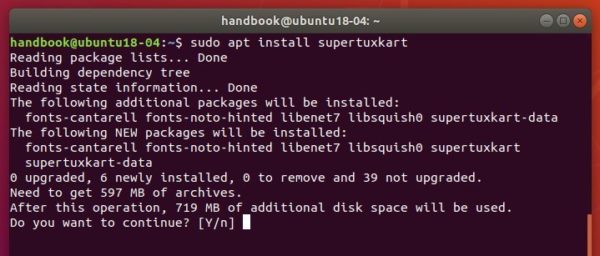
2. After added the PPA repository, install CopyQ either via Synaptic package manager or by running commands in terminal:
sudo apt-get update

sudo apt-get install copyq
Once installed, start the clipboard manager from application launcher and you’ll see the icon in system tray area.
Uninstall:
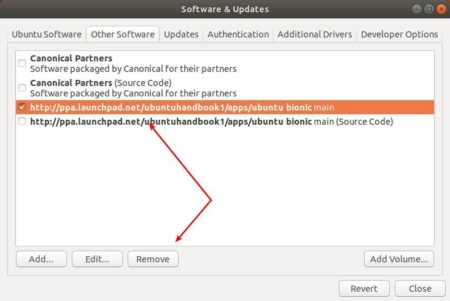
To remove the software, either use Synaptic package manager or run command:
sudo apt-get remove --autoremove copyq
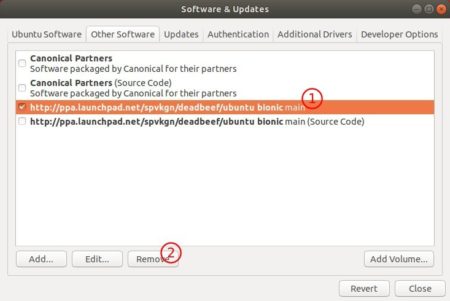
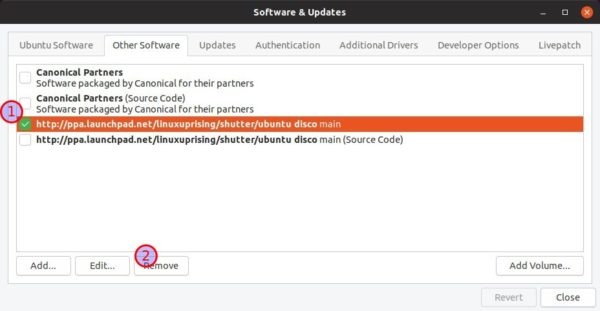
To remove PPA repositories, launch Software & Updates and navigate to Other Software tab.