![]()
Gscan2pdf, GTK tool to produce PDF / DjVu from scanned document, released version 2.3.0 a few hours ago.
While v2.1.3 does not really fixed the issue that time is always set to 0 UTC. Gscan2pdf 2.3.0 fixed it by optionally also include time information in metadata of PDF or DjVU.
The 2.3.0 release also include following changes:
- Reduced “bouncing” effect when dragging OCR output
- Fix update of image viewer/OCR output after deleting a page
- Support different resolutions in x and y directions.
- Make post-scan PNG conversion optional
- Remember size of multiple message window
- Translation updates.

How to Install gscan2pdf 2.3.0 in Ubuntu:
The official Ubuntu PPA has made the new release packages for Ubuntu 16.04, Ubuntu 18.04, Ubuntu 18.10, and their derivatives.
1. Open terminal either by pressing Ctrl+Alt+T on keyboard or searching for ‘terminal’ from software launcher. When it opens, run command to add the PPA:
sudo add-apt-repository ppa:jeffreyratcliffe/ppa
Type user password (no asterisks feedback due to security reason) when it prompts and hit Enter.

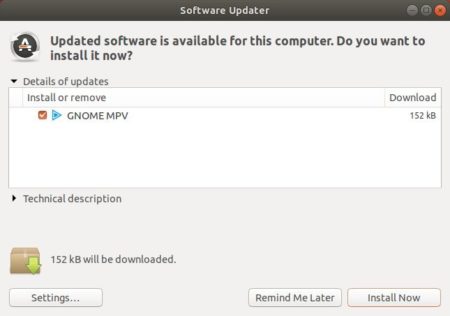
2. For those who have a previous release installed, upgrade it through Software Updater:

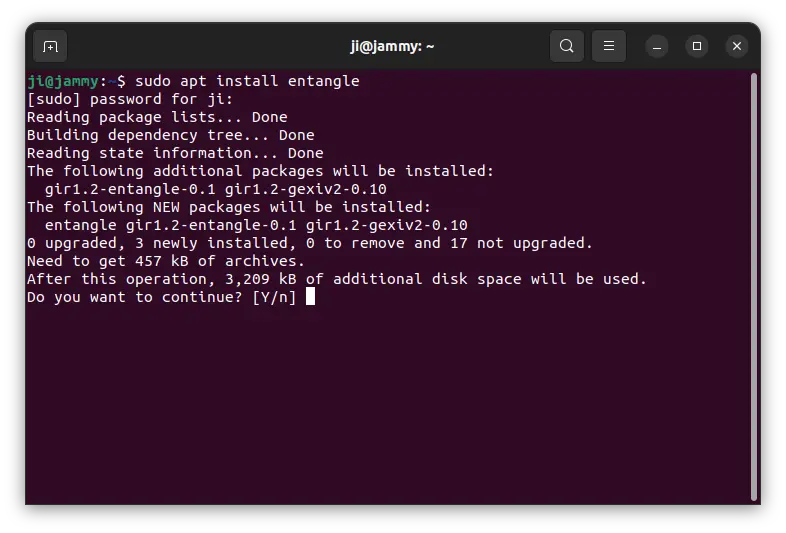
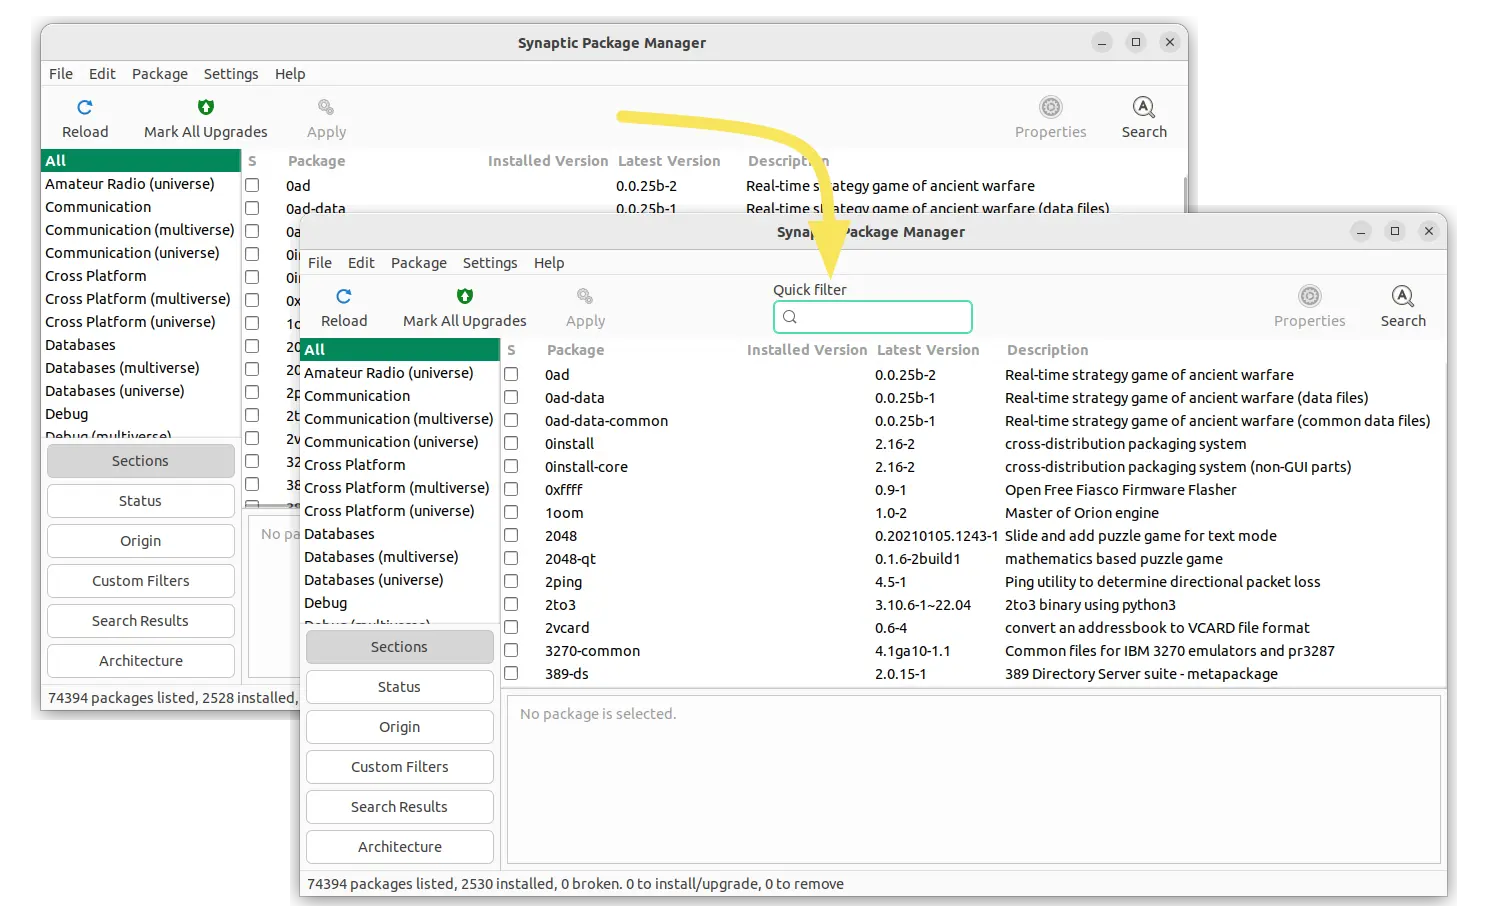
For the first time, you can either install it via Synaptic Package Manager or by running following commands in terminal:
sudo apt-get update

sudo apt-get install gscan2pdf
How to Remove:
To remove gscan2pdf, either use your system package manager or run command:
sudo apt-get remove --autoremove gscan2pdf
And the PPA can be removed via Software & Updates utility, under Other Software tab.