![]()
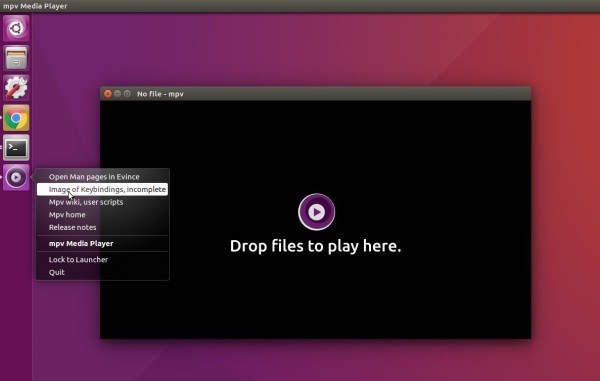
MPV media player reached the 0.28.0 release a few days ago. Here’s how to install it via PPA in Ubuntu 18.04, Ubuntu 16.04.
MPV 0.28.0 requires FFmpeg 3.4 and features initial d3d11 and vulkan support. Other changes include:
- Add DRM_PRIME Format Handling and Display for RockChip MPP decoders
- Add support for Display P3 primaries
- support multiple seekable cached ranges, display cache ranges on OSC
- demux_playlist: support .url files
- dvb: Add multiple frontends support (up to 8)
- dvb: implement parsing of modulation for VDR-style channels config
- hwdec: add mediacodec hardware decoder for IMGFMT_MEDIACODEC frames, rename mediacodec to mediacodec-copy
- lua: integrate stats.lua script (bound to i/I by default)
- add support for nvdec hwaccel
- add android opengl backend
How to Install MPV 0.28.0 in Ubuntu:
MPV does not provide official Linux binaries, but it refers to a third-party PPA which contains the latest packages for Ubuntu 16.04, Ubuntu 18.04, and derivatives.
To install it, open terminal via Ctrl+Alt+T or by searching for “Terminal” from start menu. When it opens, do:
1. add the PPA repository via command:
sudo add-apt-repository ppa:mc3man/mpv-tests
Type in your password (no visual feedback due to security reason) when prompts and hit Enter.

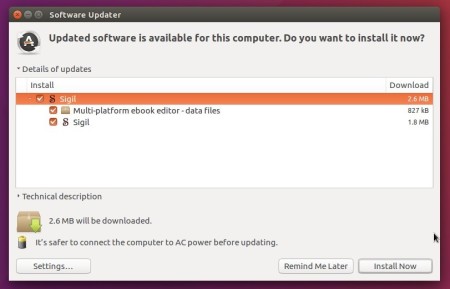
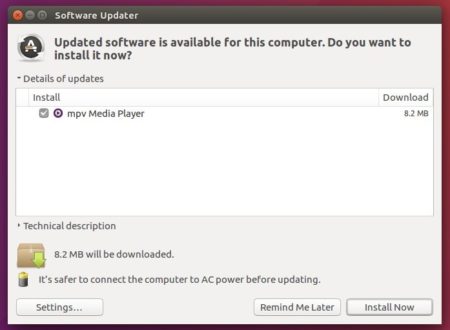
2. If you have a previous release installed, you can now launch Software Updater and upgrade the software after checking for updates:
Or just run commands to install it for the first time:
sudo apt update && sudo apt install mpv
Uninstall:
For any reason, you can remove the PPA easily by going to System Settings -> Software & Updates -> Other Software tab. And remove the player via command:
sudo apt remove mpv && sudo apt autoremove