The open-source network analyzer Wireshark 2.4.3 was released days ago on Nov 30. The stable PPA finally built the packages for all current Ubuntu releases.
Wireshark 2.4.3 is a bug-fix release. Following bugs has been fixed in the release:
- The IWARP_MPA dissector could crash.
- The NetBIOS dissector could crash.
- The CIP Safety dissector could crash.
- “tshark -G ?” doesn’t provide expected help.
- File loading is very slow with TRANSUM dissector enabled.
- SSL Dissection bug.
- Wireshark crashes when exporting various files to .csv, txt and other ‘non-capture file’ formats.
- RLC reassembly doesn’t work for RLC over UDP heuristic dissector.
- HTTP Object export fails with long extension (possibly query string).
- 3GPP Civic Address not displayed in Packet Details.
- PEEKREMOTE dissector does not decode 11ac MCS rates properly.
- Wireshark Crash when trying to use Preferences | Advanced.
- Read the release note for more.
How to Install Wireshark 2.4.3 in Ubuntu:
Wireshark has a stable PPA with the latest packages for Ubuntu 14.04, Ubuntu 16.04, Ubuntu 17.04, and Ubuntu 17.10, though the title says only Ubuntu 17.10.
1. To add the PPA, open terminal from Unity Dash / App Launcher, or via Ctrl+Alt+T shortcut keys, and then run command:
sudo add-apt-repository ppa:wireshark-dev/stable
Type in your password (no visual feedback due to security reason) when it asks and hit Enter.

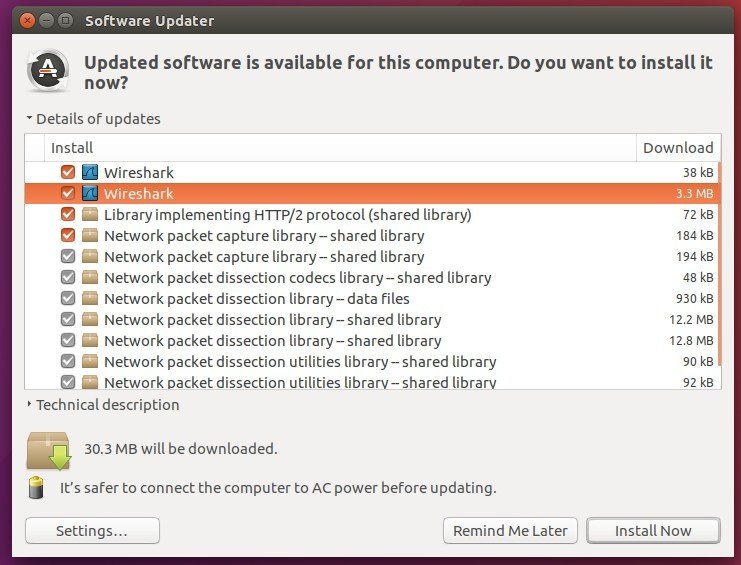
2. For those who have a previous release installed, launch Software Updater (or Update Manager) to upgrade it to the latest:
Or run the commands below in terminal to install / upgrade wireshark:
sudo apt-get update

sudo apt-get install wireshark
How to restore:
To restore to the stock version of Wireshark in Ubuntu main repositories, purge the PPA via ppa-purge tool:
sudo apt-get install ppa-purge && sudo ppa-purge ppa:wireshark-dev/stable