![]()
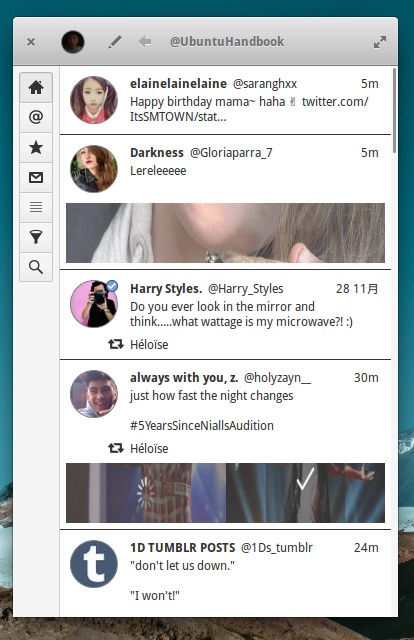
Corebird, Linux native GTK+3 twitter client, has reached the 1.1 release with lots of enhancments and bug fixes.
Changes in Corebird 1.1 according to the release note:
- Tweets now get hidden/shown more correctly
- Corebird now saves an application-wide list of snippets that you can use to insert common phrases or longer unicode emoticons. It can be found in the application settings in the “Snippets” tab.
- Corebird now supports showing quote tweets in timelines as well as creating quote tweets. This replaces the old “Quote” item for tweets which would simply copy the original tweet’s text.
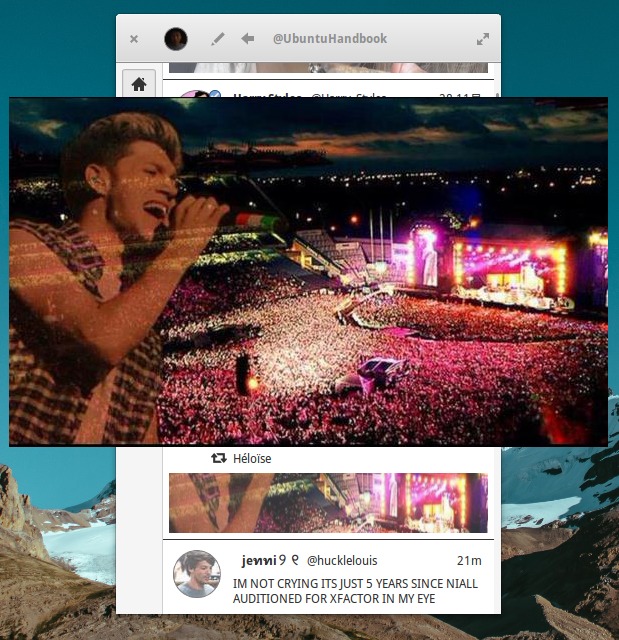
- Media links and trailing hashtags can now be hidden via the “Tweets” tab in the application settings.
- Profiles can now also show followers and followees
- Twitter removed the 140 char limit on Direct Messages and so did we
- Lots of other small enhancments and bug fixes
 |
 |
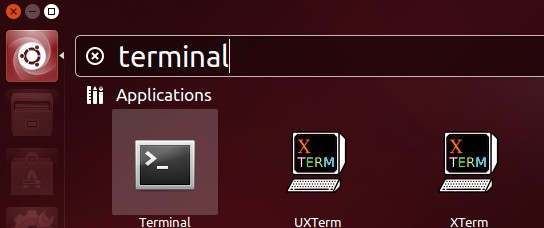
Corebird 1.1 now requires GTK >=3.16. Ubuntu 15.10 user can install the new release from PPA by running below commands one by one in terminal (Ctrl+Alt+T):
sudo add-apt-repository ppa:ubuntuhandbook1/corebird

sudo apt-get update

sudo apt-get install corebird
For those who don’t want to add PPA, grab the installer package from this page.
- “corebird_1.1-1~15.10_amd64.deb” for 64-bit OS
- “corebird_1.1-1~15.10_i386.deb” for 32-bit OS