![]()
Variety wallpaper changer sees a new release. Here’s how to install it in Ubuntu 15.10, Ubuntu 15.04 and their derivatives.
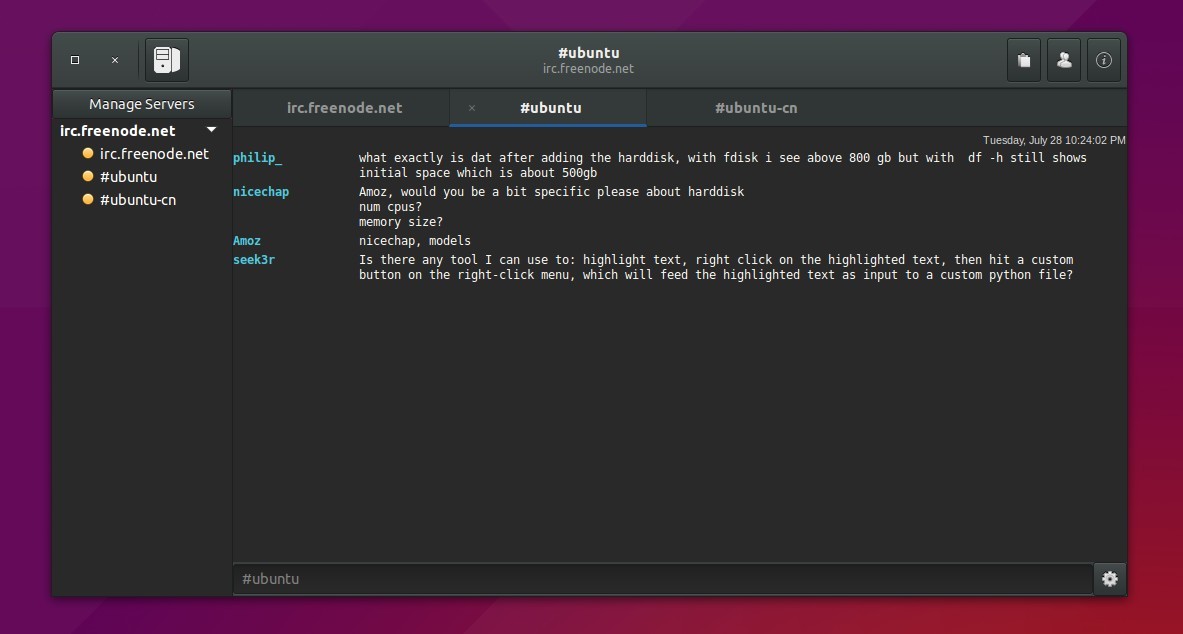
Variety is an automatic wallpaper changer that rotates your desktop wallpaper on a regular basis using local images or images downloaded from various online sources. It runs quietly on the background. To control it, use the indicator applet on the system tray.
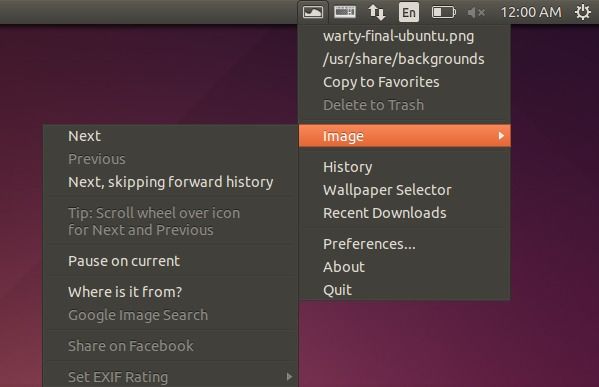
variety wallpaper changer indicator on panel
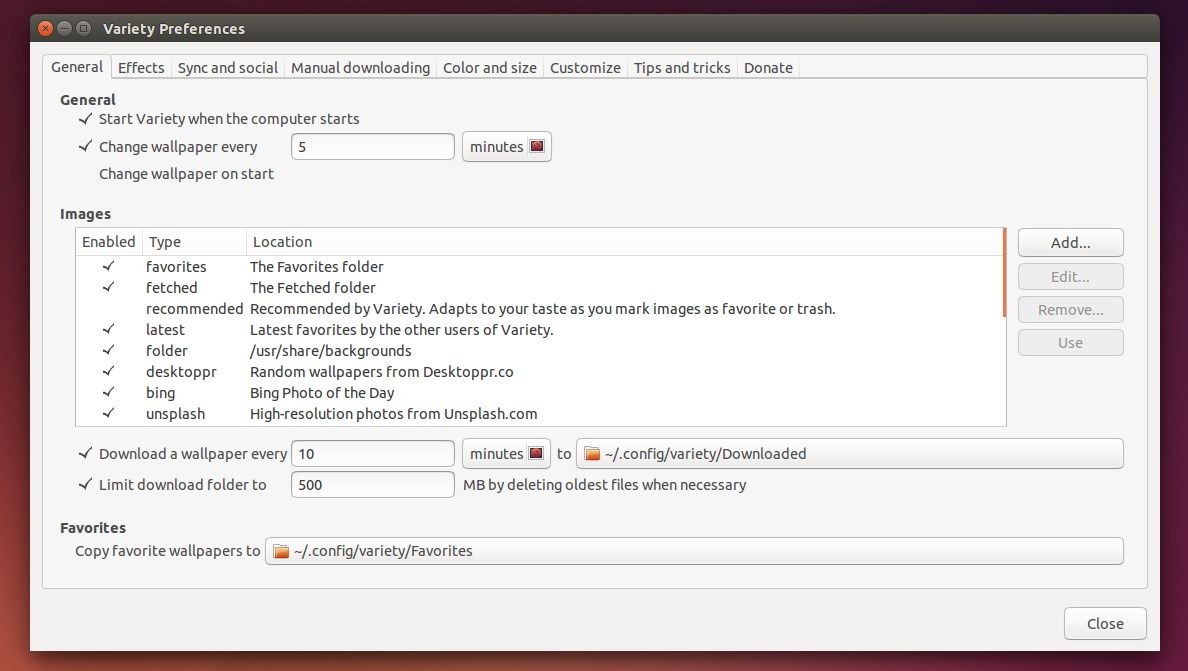
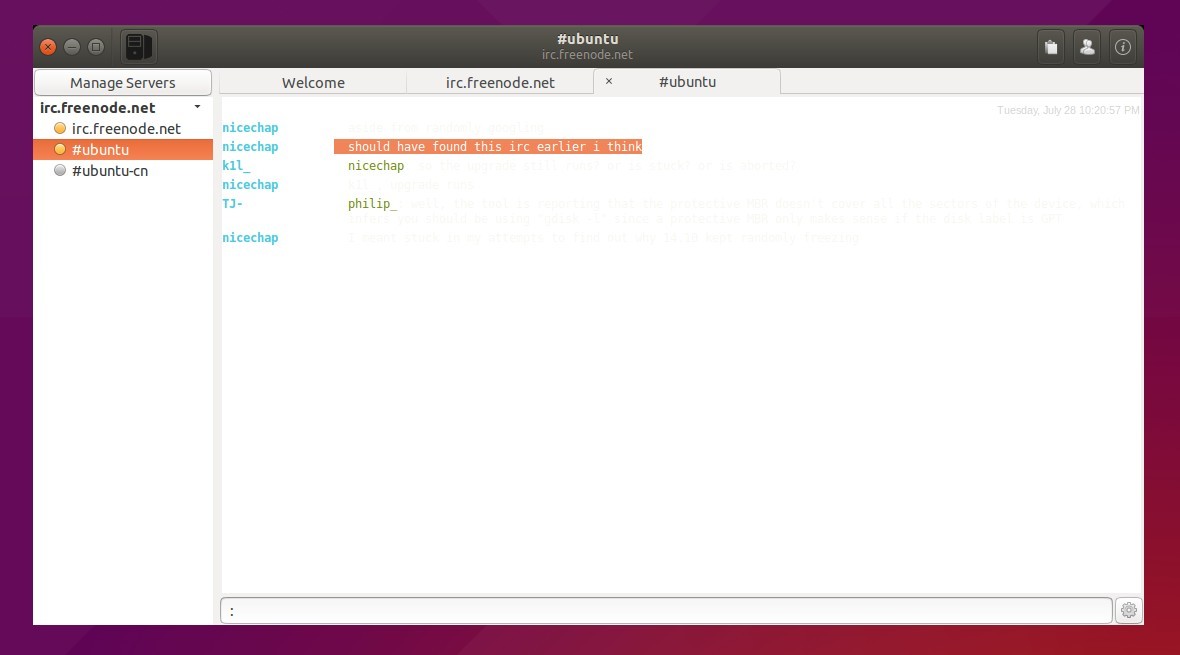
variety wallpaper changer settings window
The latest Variety 0.5.4 was released a few days ago with UI fixes, dependency updates, and some other improvements.
Since the default Unity desktop doesn’t provide a built-in wallpaper changer, you may try Variety in Ubuntu via below steps:
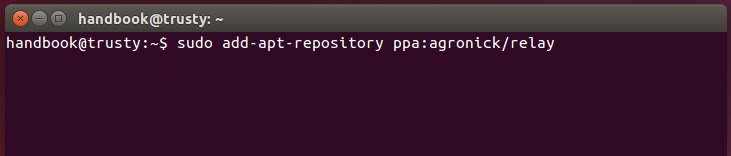
1. Add the deverloper’s PPA. Open terminal from the Dash or via Ctrl+ALt+T shortcut keys. When it opens, run command:
sudo add-apt-repository ppa:peterlevi/ppa

2. Then you can search for and install variety package via Synaptic Package Manager after clicking Reload button.
Or just run below commands one by one in terminal to refresh system package cache and install the package:
sudo apt-get update

sudo apt-get install variety
For those who don’t want to add PPA, grab the .deb installer from launchpad page.
3 (Optional) To remove this application, use Synaptic Package Manager or run below command in terminal:
sudo apt-get remove variety
Also remove/disable PPA through “Other Software” tab of the “Software & Updates” utility (search it from the Dash).