![]()
BitTorrent, the cross platfrom P2P file synchronization tool, now provides official Linux packages for Debian-based and RPM-based systems. Here’s how to install and use it in Ubuntu (tested in 15.10 wily).
Install BitTorrent Sync:
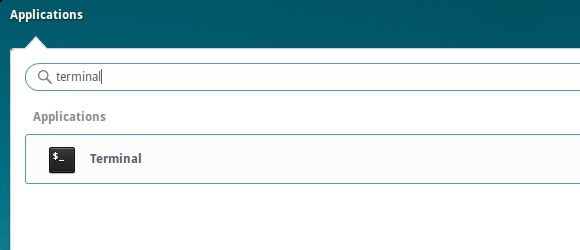
Launch terminal from App Launcher, or via Ctrl+Alt+T shortcut key. When it opens, paste below commands one by one and hit run:
1. Add btsync official Linux repository:
sudo sh -c 'echo "deb http://linux-packages.getsync.com/btsync/deb btsync non-free" > /etc/apt/sources.list.d/btsync.list'
Type in password (no visual feedback when typing) when it asks and hit Enter to continue.

2. Install the public key so that your system will trust the packages from that repository:
wget -qO - http://linux-packages.getsync.com/btsync/key.asc | sudo apt-key add -
3. Update your system cache and finally install btsync:
sudo apt-get update

sudo apt-get install btsync
How to Use BT sync:
There’s already a few great tutorials about setting up Btsync in Ubuntu around the web. And below is a brief how-to:
First create a shared folder and set its permissions, here I created a folder shared_folder under the root of my current user:
cd && mkdir shared_folder

sudo chown YOUR_USER:btsync shared_folder

sudo chmod 2775 shared_folder

sudo usermod -a -G btsync YOUR_USER
Then start the btsync service:
sudo service btsync start
You may replace start with stop, enable, disable, or status to control Btsync.
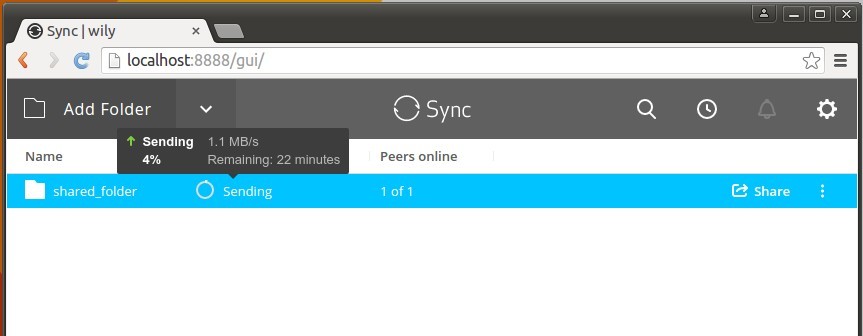
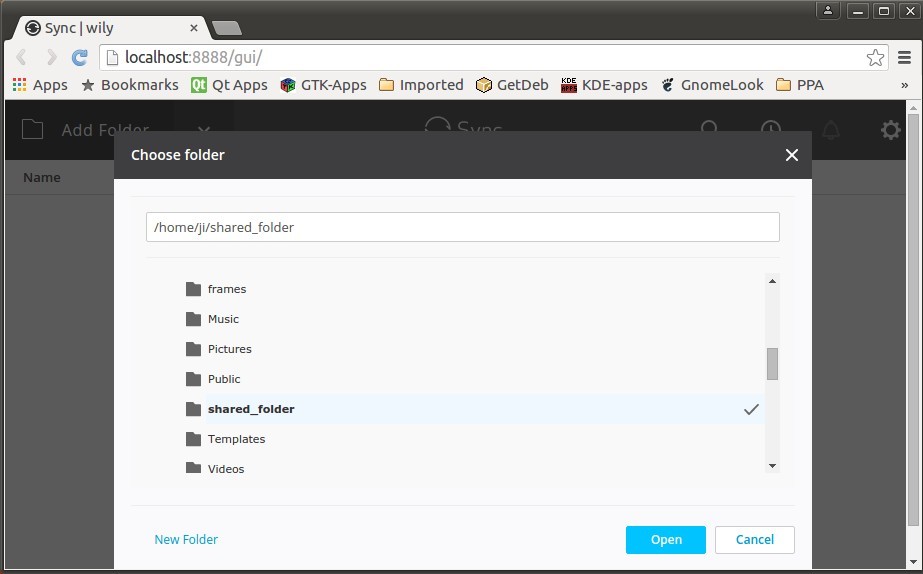
Now go to localhost:8888 in your web browser and add the previous created folder:
Finally share the link, key, or QRcode with your friends and enjoy!