![]()
Nomacs image viewer has finally reached v2.0 with plugins support and other new features. It’s available in its official PPA for Ubuntu 14.10, Ubuntu 14.04, and Ubuntu 12.04.
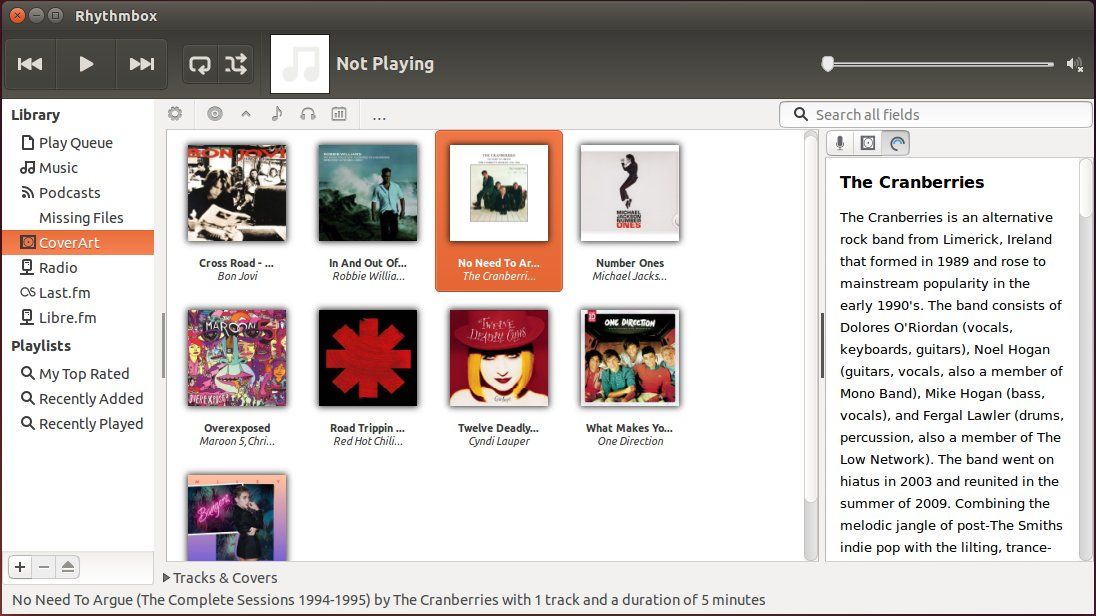
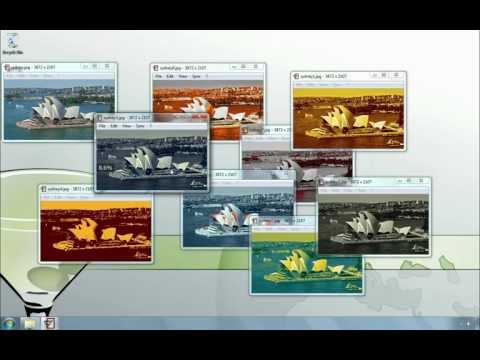
Nomacs is small, fast image viewer that handles the most common image formats including RAW images. Additionally it is possible to synchronize multiple viewers. A synchronization of viewers running on the same computer or via LAN is possible. It allows to compare images and spot the differences (e.g. schemes of architects to show the progress).
Nomacs features:
- VIEWING: most common formats (including RAW), thumbnail preview, framless view, slideshow, and more.
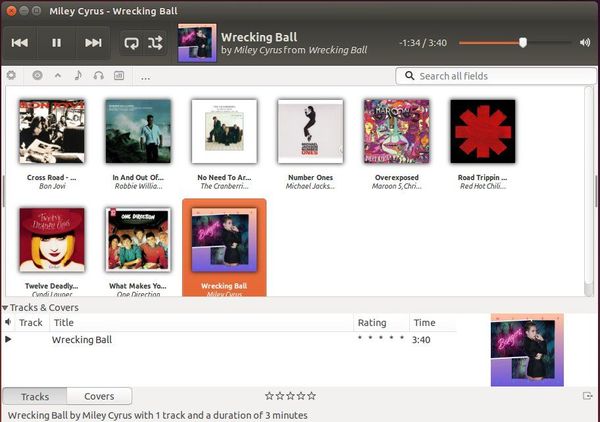
- EDITING: crop, resize, rotate, drag and drop images, color adjustments, multi page TIFF export, and more.
- SYNCHRONIZATION: synchronize multiple instances.
See the video about the viewer:
New features in Nomacs 2.0:
- nomacs now supports plugins (windows only for now)
- Recent Files/Folders on start-up
- Threaded file loading/saving
- UPnP support that allows for detecting nomacs in WLAN networks
- Remote control via WLAN/LAN
- Fading for fullscreen/slideshow
- Option for syncing all actions
- Auto file updating (without locks)
- Full exif support on linux (fixes issue #192)
- White list to automatically connect with your computers
- Gamma correction on down sampling (fixes #322)
- New (improved) cacher
- Improvements in the Thumbnail Preview
Install Nomacs 2.0 in Ubuntu:
Press Ctrl+Alt+T on keyboard to open the terminal. When it opens, run the commands below one by one:
sudo add-apt-repository ppa:nomacs/stable

sudo apt-get update

sudo apt-get install nomacs
The above will add the nomacs stable PPA and install the latest packages in your system.
Don’t like Ubuntu PPAs? Grab the .deb package directly from the Launchpad Page.