Looking for Microsoft Sticky Notes alternative app for Linux Desktop? Here I’m going to introduce some for you.
Sticky Notes is useful to write your sudden idea, to-do lists, and important messages on computer screen. There are quite a few free open-source sticky notes apps for Linux Desktop. And, here are some of them still work in 2024.
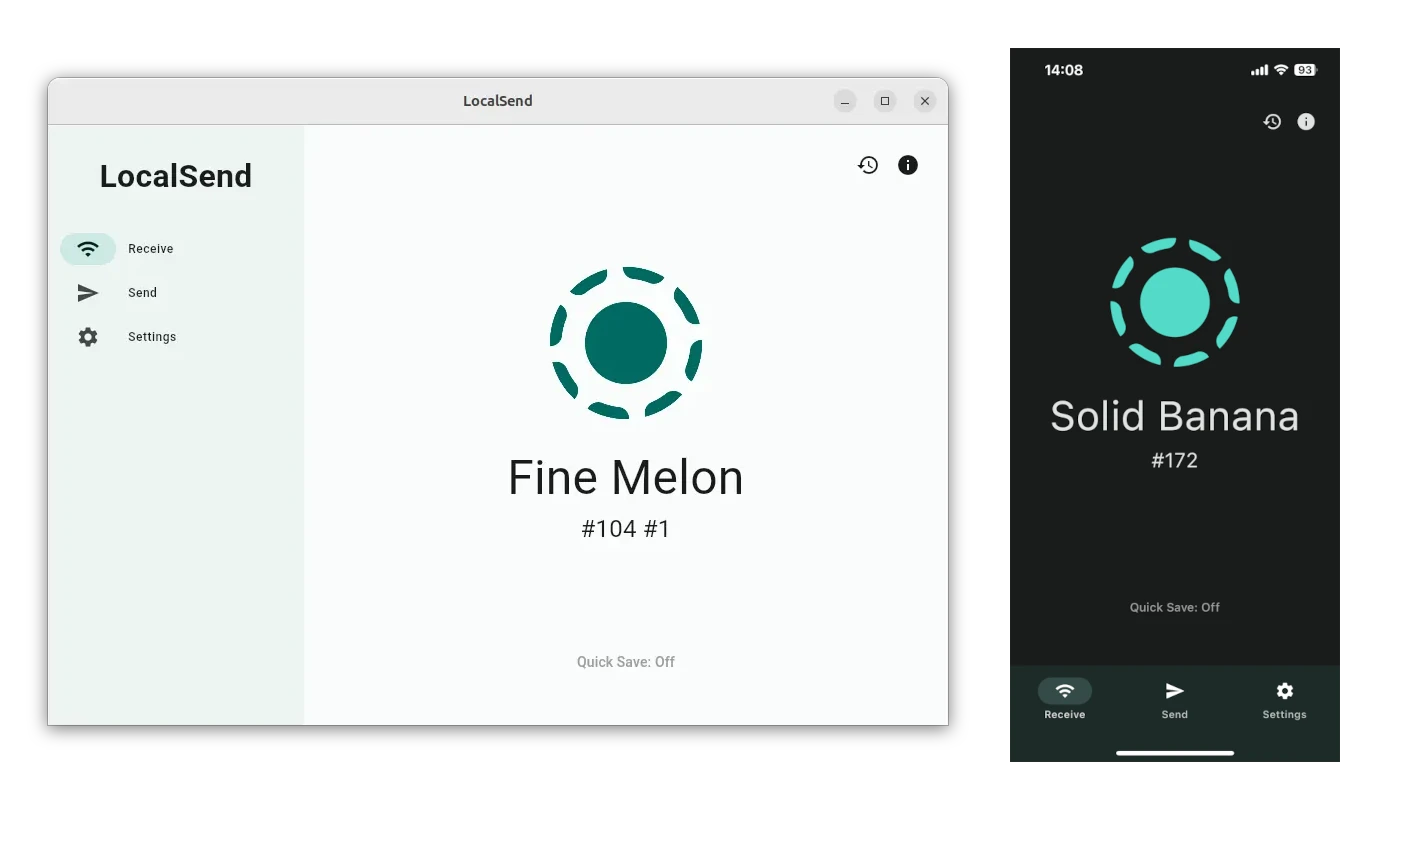
Looking for an app to transfer files and send messages over local network? LocalSend is good choice that works for most devices.
LocalSend is a free and open source application which promotes itself as alternative to Apple’s AirDrop. It’s a cross-platform app that allows to securely send files and messages over local network without an internet connection.
It works in Linux, Windows, macOS, Android, iOS, and Fire OS. Meaning you can use the file transfer app in most PC and mobile devices. And, the app doesn’t require an internet connection or external servers. It uses REST API for secure communication. All data is sent securely over HTTPS, and the TLS/SSL certificate is generated on the fly on each device.
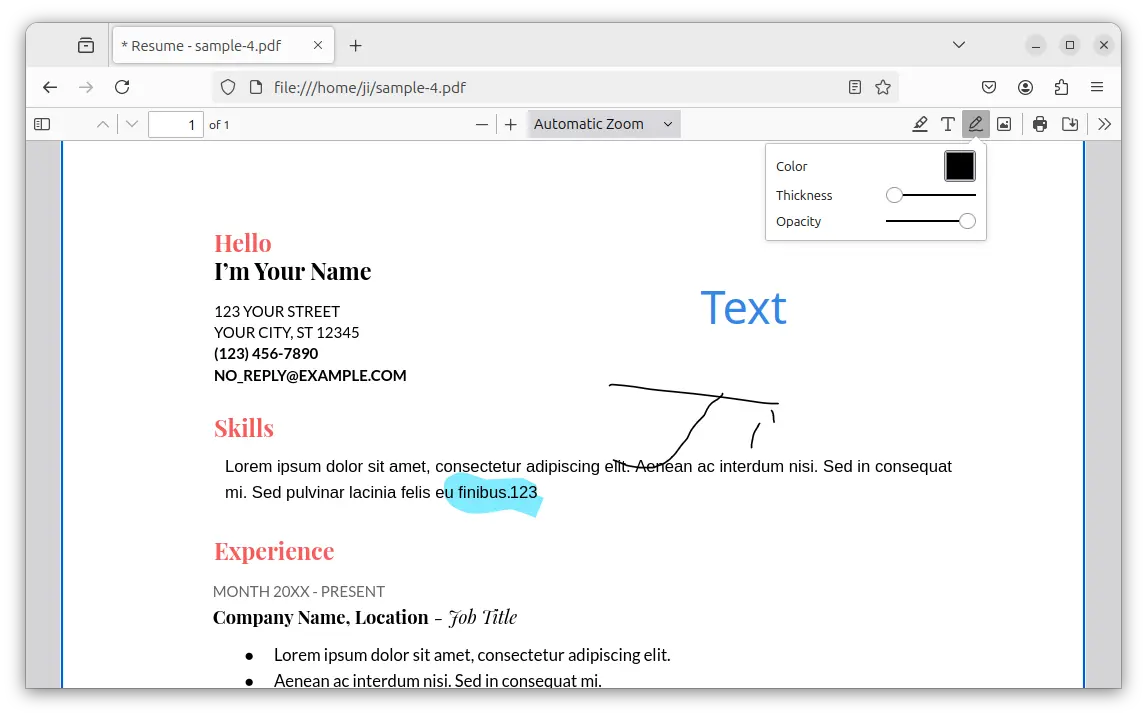
Looking for an app to sign, annotate, or edit PDF files in Ubuntu Linux? Here I’m going to introduce some for you!
PDF, stands for Portable Document Format, is a file format that’s popular for office use. Besides using Adobe Acrobat, Linux has quite a few applications that can edit this file format.
Looking for lightweight Linux Distributions that play smoothly on old PC or laptop with low end specs? Here are some of them for you!
Advanced users can always install and set up a lightweight desktop environment manually on top of current OS. However, for beginners and those who don’t want to take time customizing the desktop, then a ready to use distribution is a better choice.
In Linux world, XFCE, MATE, LXQt/LXDE are commonly used desktop environments for lightweight distributions, though there are also many others for choice. And, here are 9 of them for beginners.
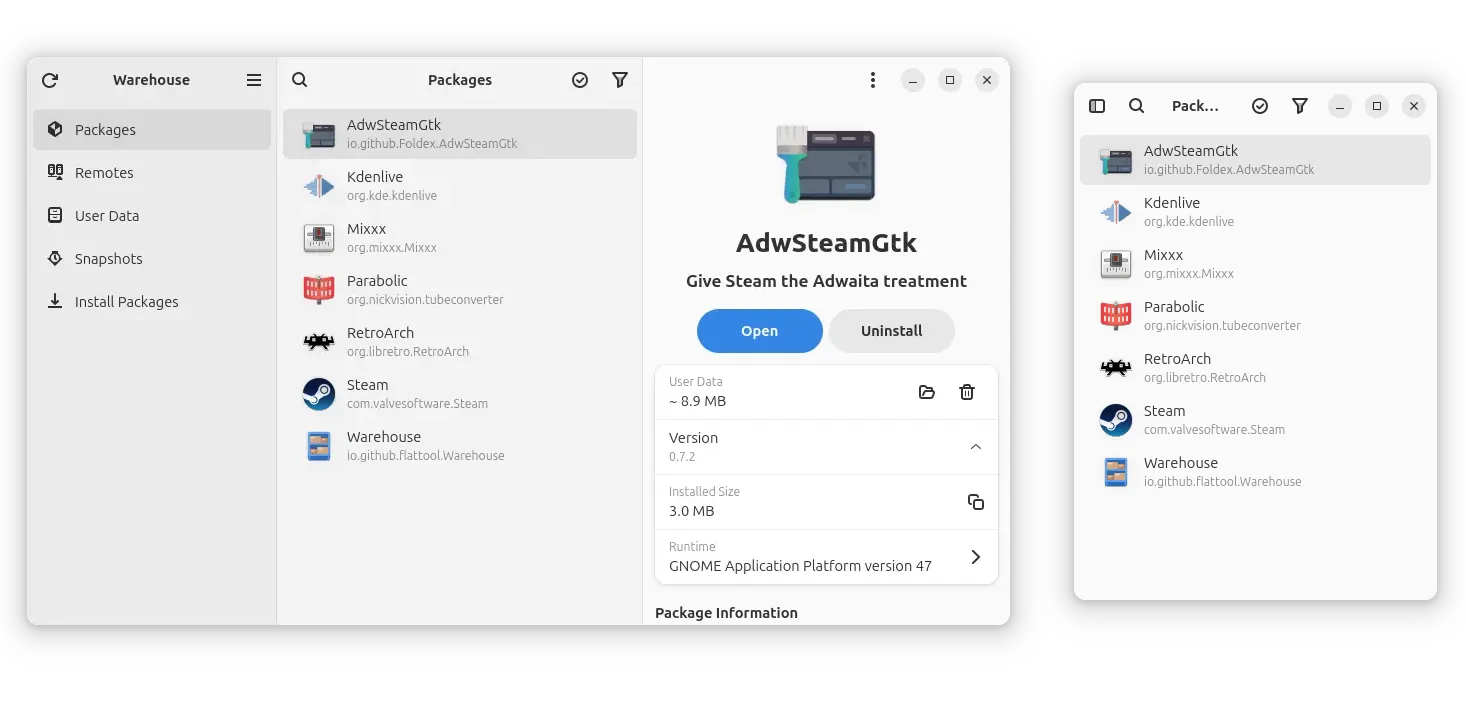
Have many Flatpak app packages installed on your Linux desktop or mobile? Here’s an app to install, remove, downgrade, and manage app data with a simple graphical interface.
Flatpak is getting popular in today’s Linux, and some (e.g., Linux Mint, Fedora, and Pop!_OS) even have it support out-of-the-box. User can install (or uninstall) a Flatpak package by either using system package manager or running a Linux command in terminal. And, there’s a popular graphical tool Flatseal to manage permissions for each app package.
For users who want to get more controls for their Flatpak app packages, there’s a free open-source tool warehouse available for choice.
Looking for a download manager for Ubuntu, Fedora, or other Linux with GNOME Desktop? Try Varia!
There are quite a few downloading apps for Linux Desktop. And, uGet is one of them that I prefer, which is however not updated for a few years.
For GNOME, the default desktop in Ubuntu and Fedora Workstation, there’s now a new download manager called Varia. It’s based on aria command line download utility, which is lightweight, super fast (support downloading from multi-sources in parallel), and supports HTTP/HTTPS, FTP, SFTP, BitTorrent and Metalink.
Varia is written in Python programming language, and uses GTK4 + Libadwaita for its user interface, that’s modern and well integrated with GNOME Desktop.
Prompt, the container-oriented terminal emulator, now is re-named to Ptyxis!
GNOME Developer Christian Hergert announced the Prompt terminal emulator a few months ago. It “marries the best of GNOME Builder’s seamless container support, the beauty of GNOME Text Editor, and the robustness of VTE.” described in the blog post.
Due to name confusion to other product, the terminal emulator now has a new name called “Ptyxis”, according to this post “The extremely nice people at Panic let me know they had a product that might be confused with Prompt and I agreed it could be confusing.”
Network diagnostic is useful when you getting internet connection issue. And, here’s a brand new graphical tool for Linux beginners.
It’s PingPath, a free open-source tool written mostly in C, and use GTK4 toolkit for its user interface.
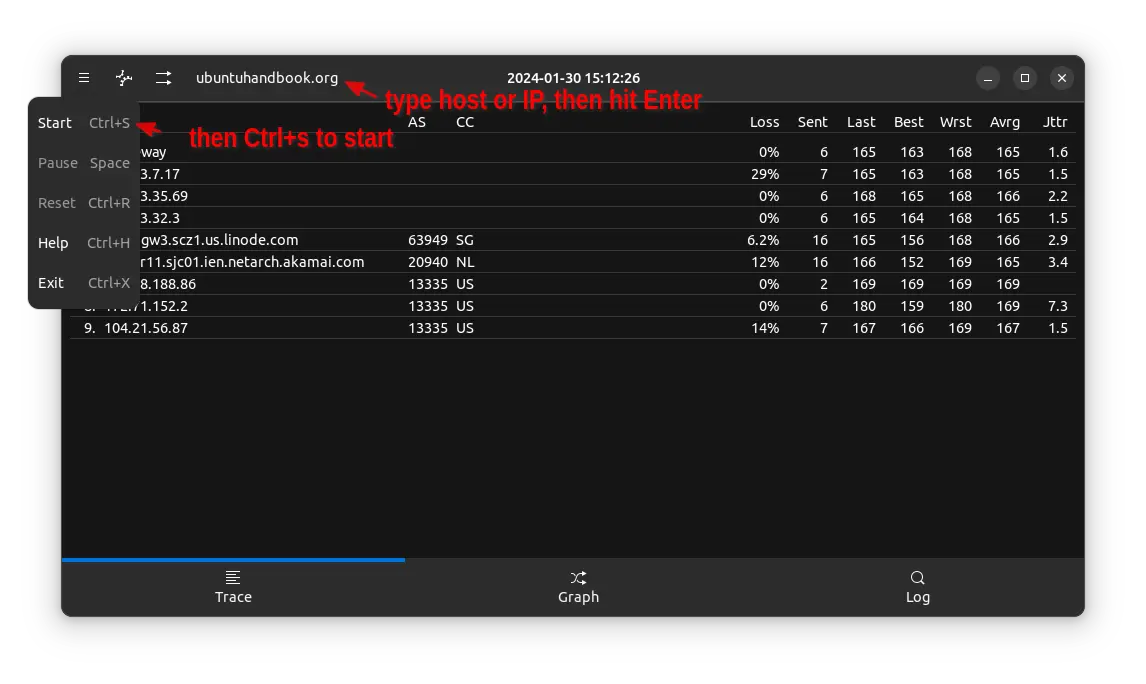
PingPath uses the popular command line tool ping to send ICMP ECHO_REQUEST to networks hosts. Simply type the host-name or IP address in header input box, hit Enter, then press Ctrl+S to get started.
It will then show you all the host IPs (if you start with host-name), as well as their autonomous system numbers and country code. For each, it shows the real time information about
numbers of pings set.
loss in percentage.
best, worst, last, and average delay in milliseconds.
as well as ping jitter (variation in delay).
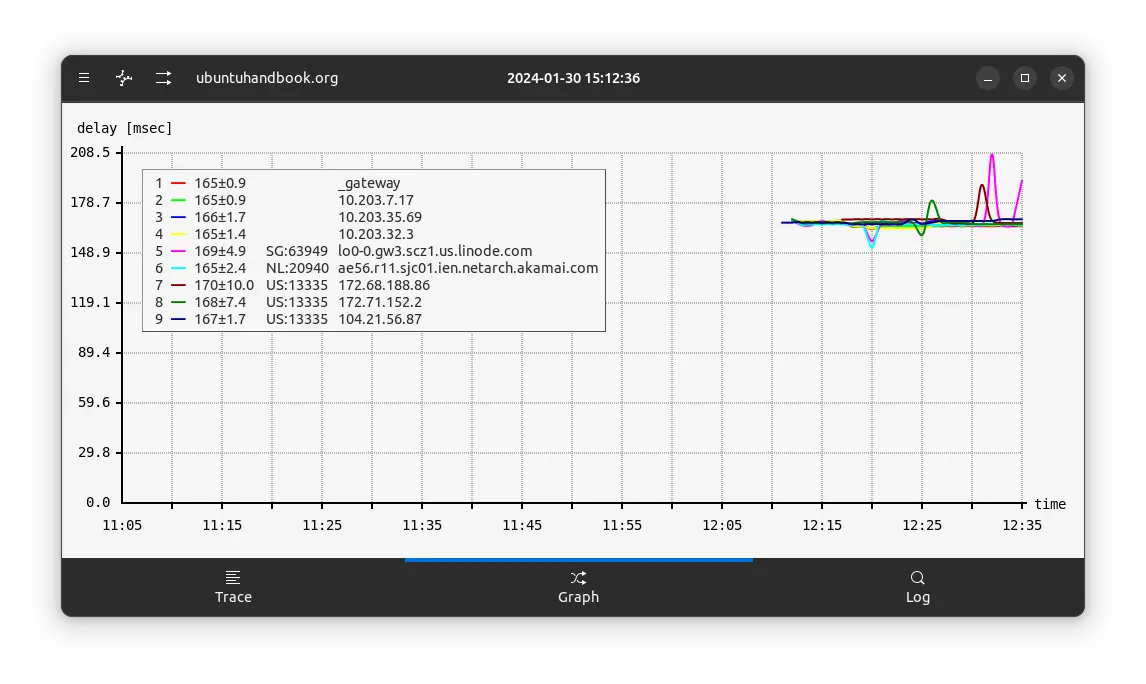
Besides digital information, it also has a Graph tab to show all the info in graph lines with or without legend. This makes it easier to identify connectivity problems, measure network latency between your machine and the destination host.
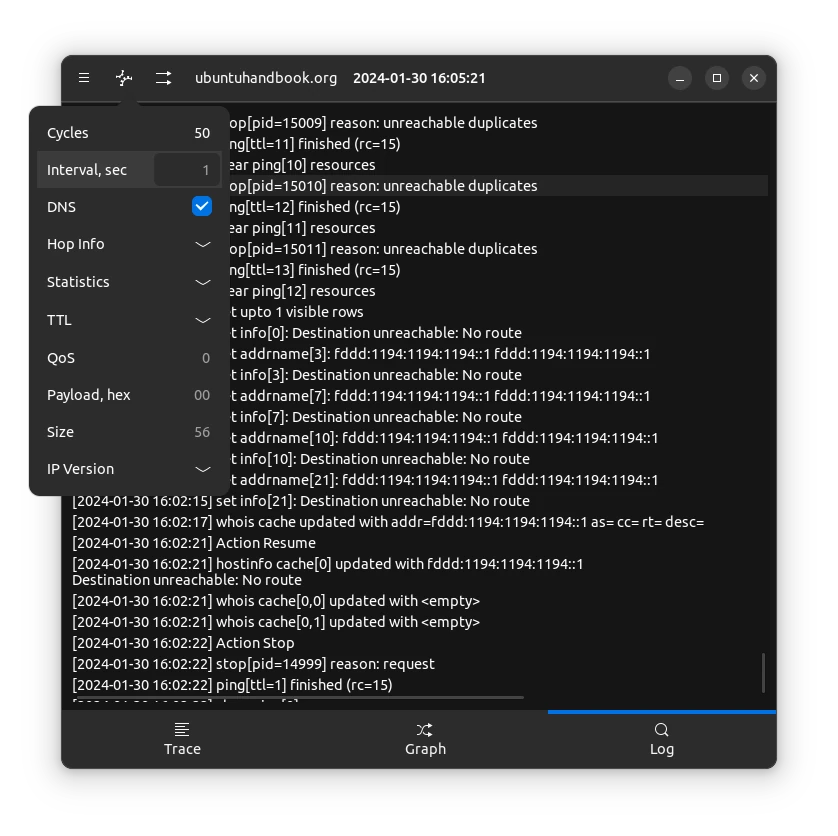
The app by default sends 100 packets with 1 seconds time interval. You can change the numbers and other settings using the header-bar button menus.
How to Install PingPath in Ubuntu
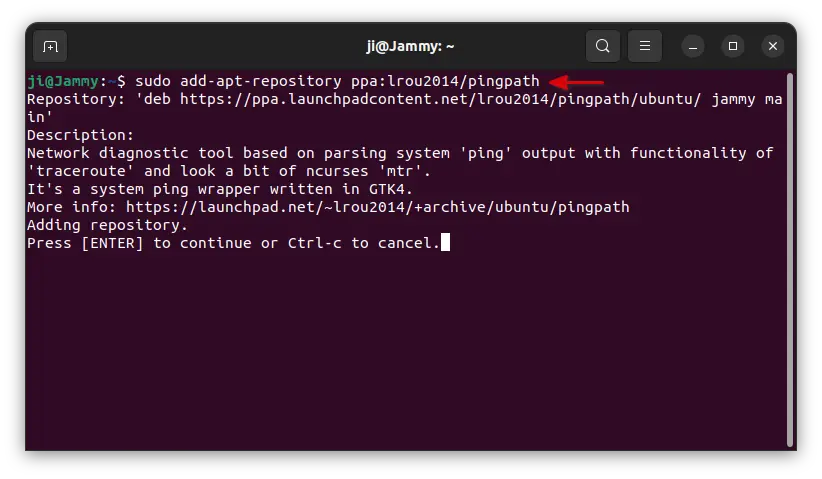
The tool has an official PPA which so far supports for Ubuntu 22.04, Ubuntu 23.10, and Ubuntu 24.04.
1. First, press Ctrl+Alt+T on keyboard to open terminal. When it opens, run command to add the PPA:
sudo add-apt-repository ppa:lrou2014/pingpath
Type user password for sudo authentication, and hit Enter to continue.
2. If you’re following this tutorial on Linux Mint, then you may either use Software Manager or manually refresh package cache by running command:
sudo apt update
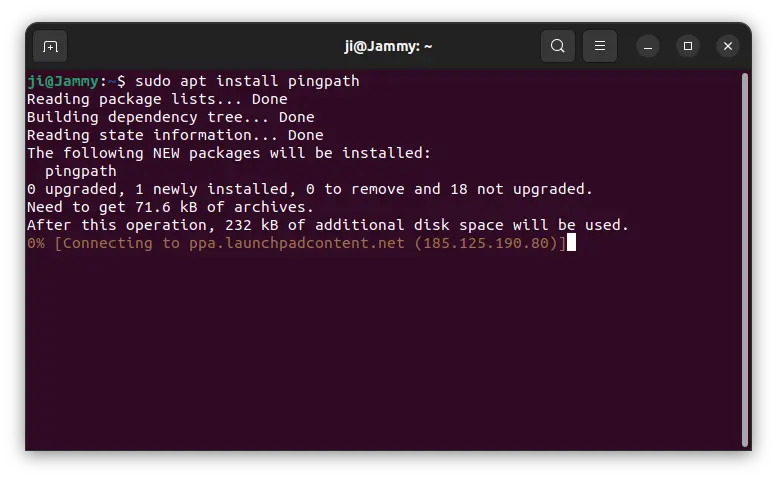
3. Finally, install the network diagnostic tool by command:
sudo apt install pingpath
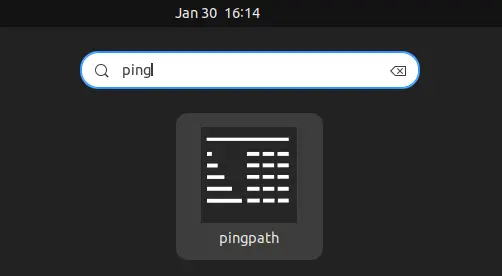
Once installed, search for and launch it from either start menu or Gnome overview screen depends on your desktop environment, and enjoy!
Uninstall:
To uninstall the tool, open terminal (Ctrl+Alt+T) and run command:
sudo apt remove --autoremove pingpath
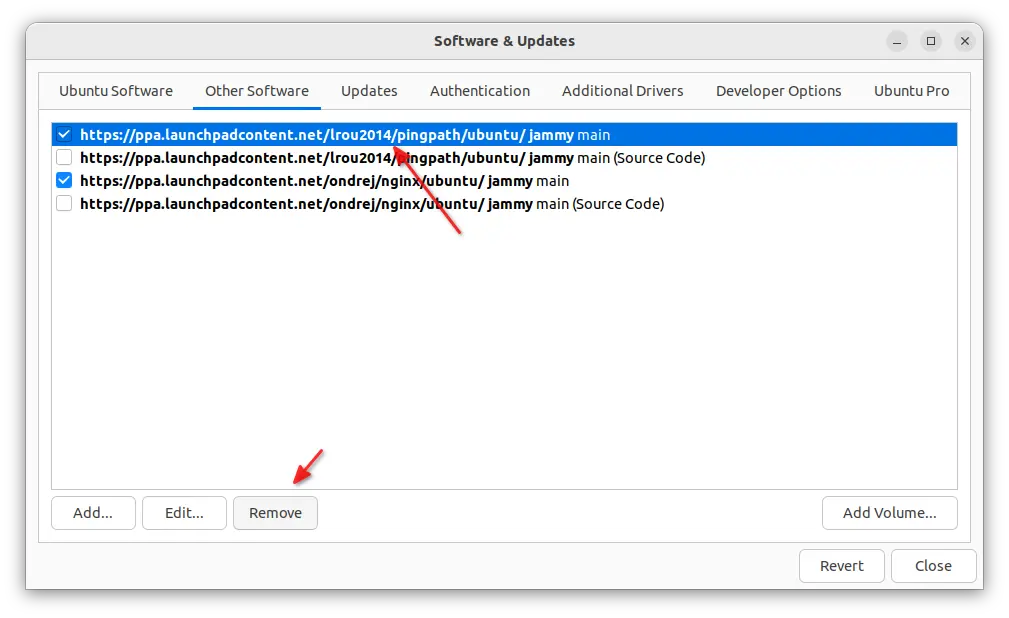
And, remove the PPA, either by running the command below in terminal:
Looking for an alternative to macOS Dropover utility? Collector is the one for Linux Desktop!
It’s a free and open-source tool to make drag & drop easier. Without having to open side-by-side windows, just paste or drag whatever content into the small app window, stash, gather, and then move all items to destination at once.
This is useful if you have many files to move, but they are saved in different locations. Just drag’n’drop them into Collector, then preview and/or edit them, finally drag’n’drop to destination folder at once.
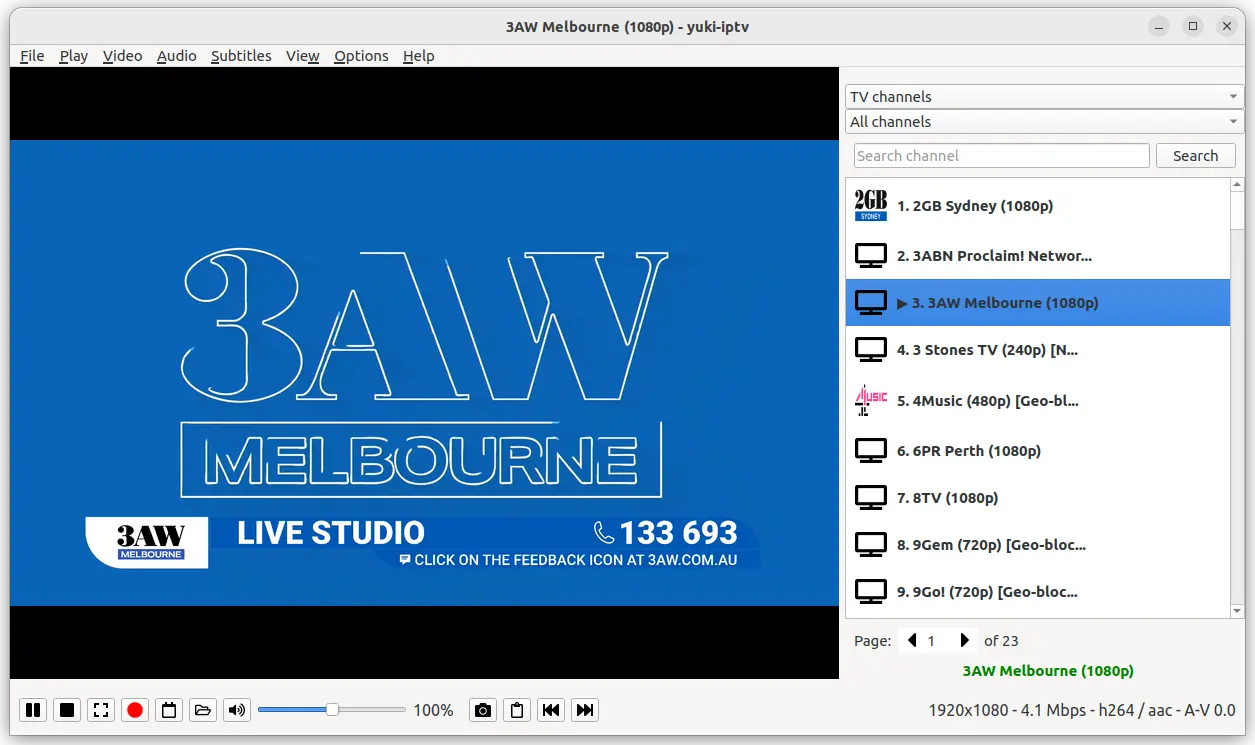
Linux is getting more IPTV player applications in recent years. Here I’m going to introduce yuki-iptv, a new one with EPG support.
Personally, I prefer hypnotix which is developed by Linux Mint team, since it has a large list of built-in TV channels. But if you want more features, then yuki-iptv is a good choice to try out.
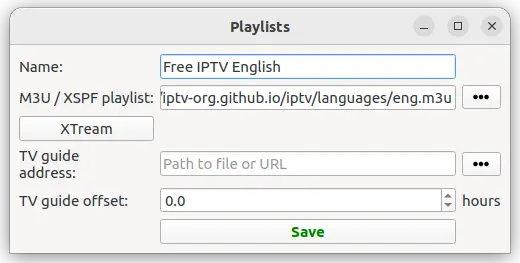
The IPTV player does NOT provide any content or TV channels. User has to manually add M3u / M3u8 / XSPF playlists (see github.com/iptv-org/iptv) and/or TV guide address via config dialog.
Yuki-iptv add playlist
Besides basic M3u / M3u8 / XSPF playlists support, the app also support viewing unencrypted streams UDP (multicast), HTTP, HLS (M3u8), XTream API, as well as TV program (EPG) support in XMLTV and JTV formats.