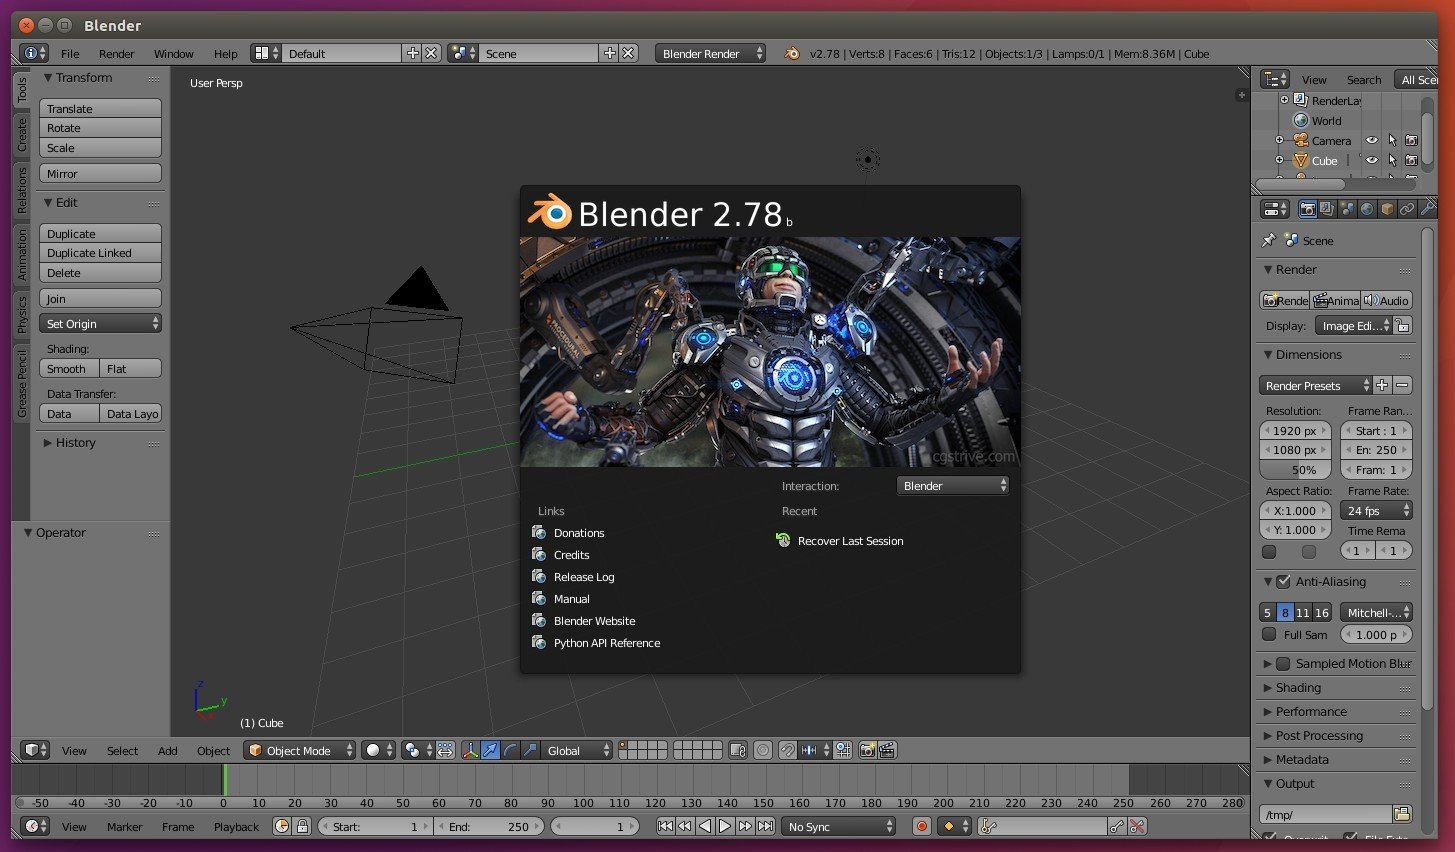
Blender 2.78b, a 2.78a release-compatible update was announced yesterday with important speedups, especially in Cycles and for Dependency graph.
BLender 2.78b comes with Cycles Speedups that were announced last month. Most notable will be faster rendering of Motion blur with hair, which has a 5-10 time speedup – important for production rendering. Also there are various bug-fixes.
How to Install Blender 2.78b in Ubuntu:
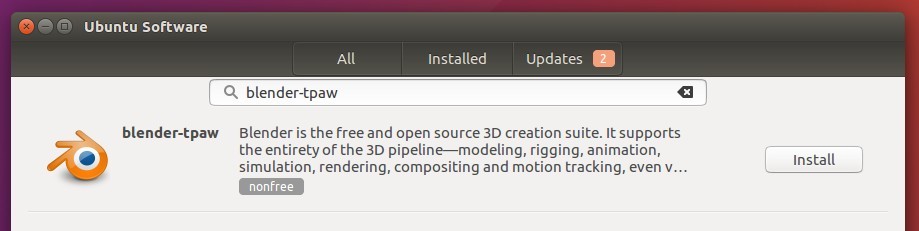
Blender is now available as SNAP package, first install snapd via command sudo apt install snapd in terminal, then you’re able to search for and install blender-tpaw in Ubuntu Software.
For those who don’t like the SNAP version, Blender 2.78b is also available in Thomas Schiex’s PPA, supports for Ubuntu 14.04, Ubuntu 16.04, Ubuntu 16.10, and derivatives.
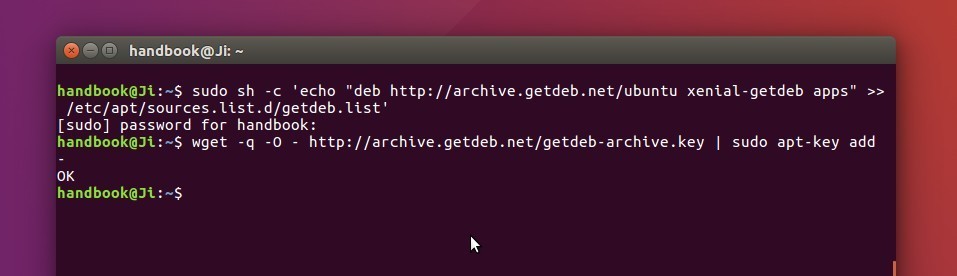
1. Open terminal (Ctrl+Alt+T) and run command to add the PPA:
sudo add-apt-repository ppa:thomas-schiex/blender
Type in your password (no visual feedback) when it prompts and hit enter.

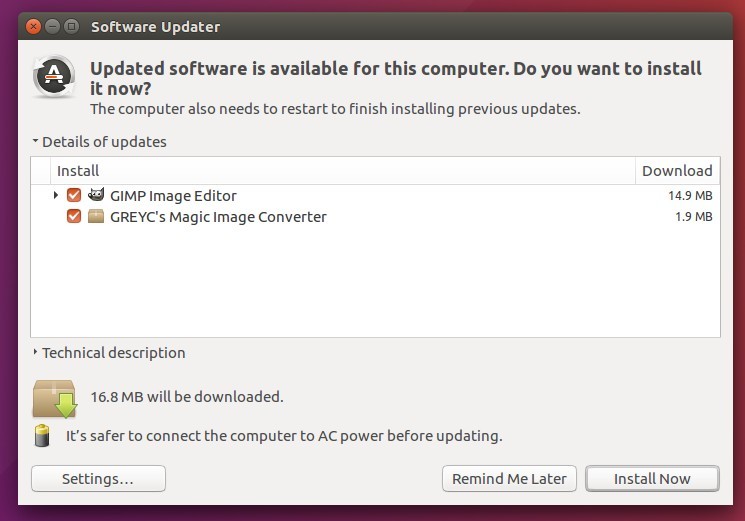
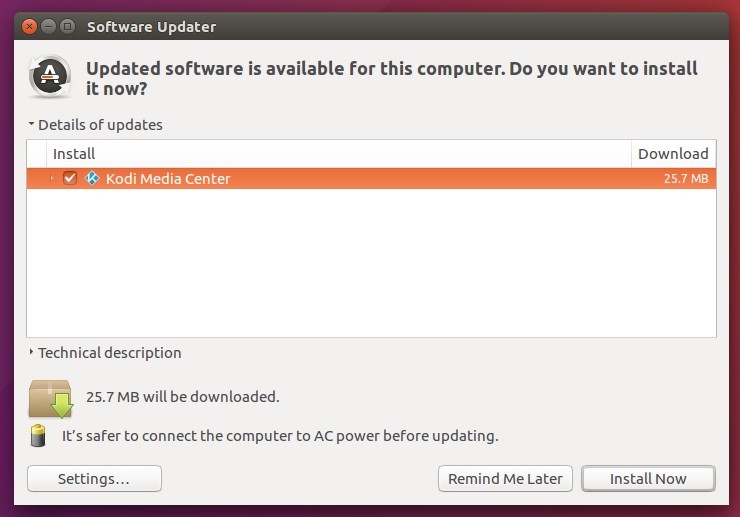
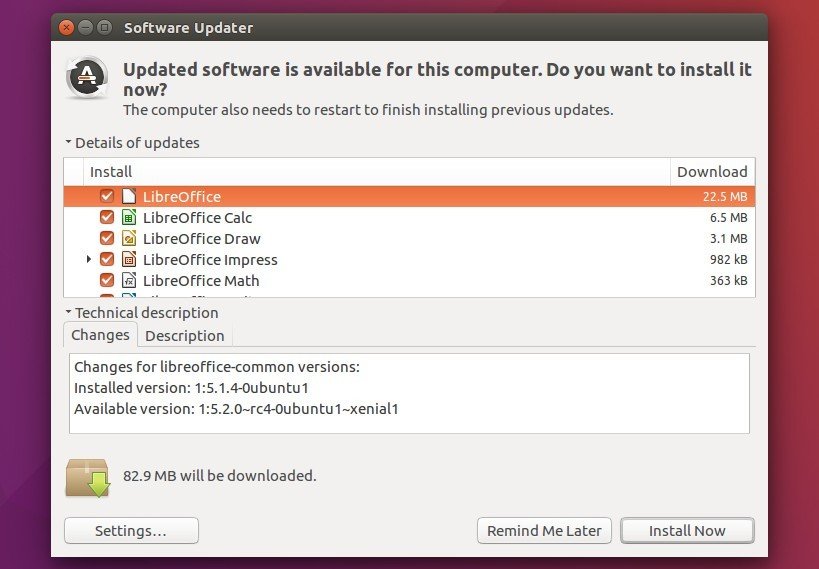
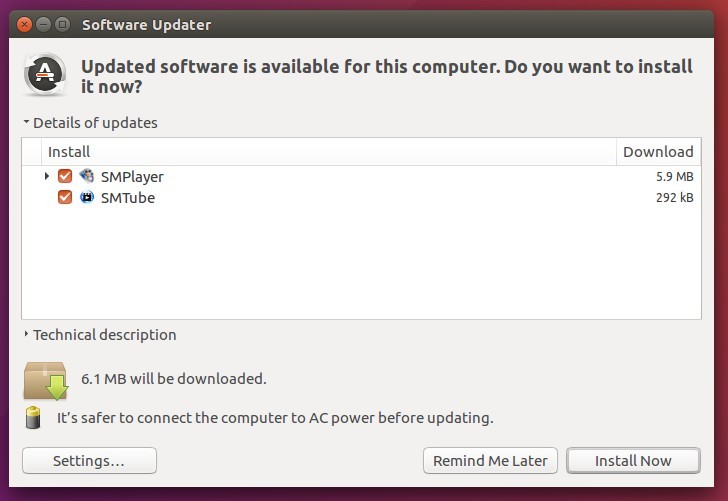
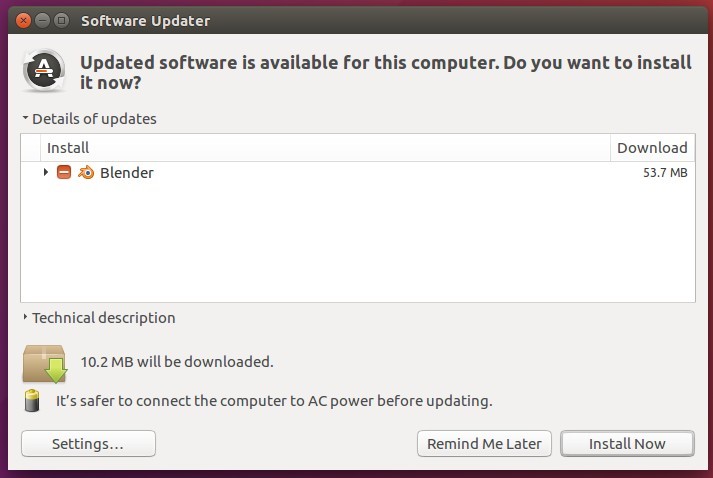
2. Then you can upgrade Blender from an existing version via Software Updater (or Update Manager) after checking for updates.
Or install blender package either via Synaptic Package Manager or via commands:
sudo apt-get update

sudo apt-get install blender
Uninstall:
If you installed blender from PPA repository, run the following command in terminal to remove the PPA and downgrade Blender to the stock version available in Ubuntu main repositories.
sudo apt-get install ppa-purge && sudo ppa-purge ppa:thomas-schiex/blender