UPDATE May 2024: .NET 8 is finally made into Ubuntu 22.04 main repository!! Just open terminal (Ctrl+Alt+T) and run 2 commands one by one to install:
sudo apt update
sudo apt install dotnet8
Microsoft announced .NET 8 a few days ago. Here’s a step by step guide shows how to install it in Ubuntu 22.04 LTS (Also works in Ubuntu 20.04).
.NET 8 is a new LTS release with 3 years support. It features new code generator “Dynamic Profile-Guided Optimization” (PGO), AVX-512 instruction set, out-of-the-box AI features, first preview of .NET Aspire, native AoT, and various other changes. See the release note for details.
And, here are 2 ways to install the .NET 8 in current Ubuntu 22.04 LTS. They are Microsoft’s official repository and Ubuntu PPA.
Option 1: Install .NET 8 SDK/Run-time via official repository
Ubuntu has included the new release package into system repository for Ubuntu 23.10 and next Ubuntu 24.04.
Don’t know if it will be backported to Ubuntu 22.04 LTS repository, but here you can install it through Microsoft’s official apt repository. And, the repository also supports Ubuntu 20.04!
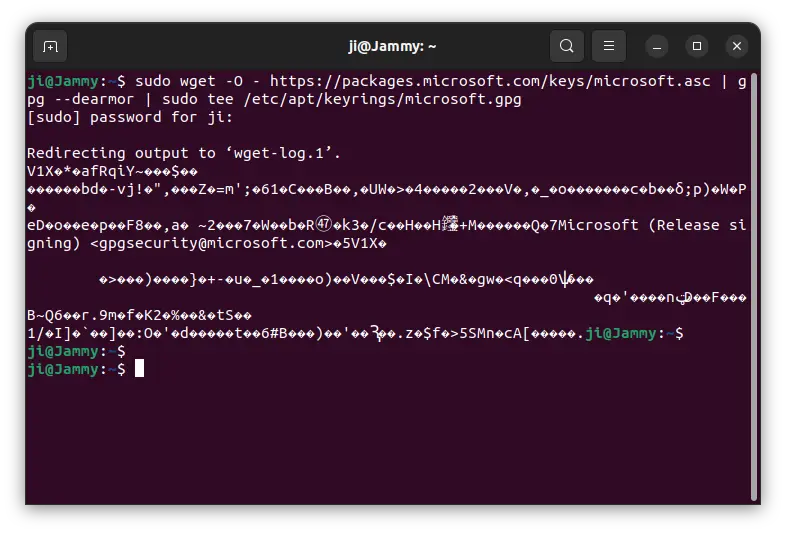
1. install the key
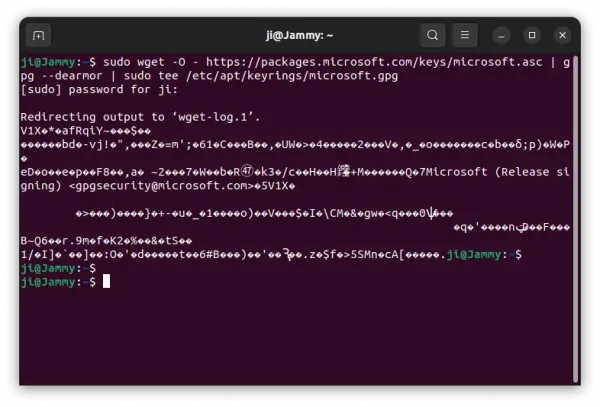
To add the Microsoft repository, you have to first download & install the key file.
To do so, press Ctrl+Alt+T on keyboard to open terminal. When terminal opens, run single command:
sudo wget -O - https://packages.microsoft.com/keys/microsoft.asc | gpg --dearmor | sudo tee /etc/apt/keyrings/microsoft.gpg
This command will download the key, dearmor it (so it’s unreadable code, see the screenshot), and save to ‘/etc/apt/keyrings’ directory.
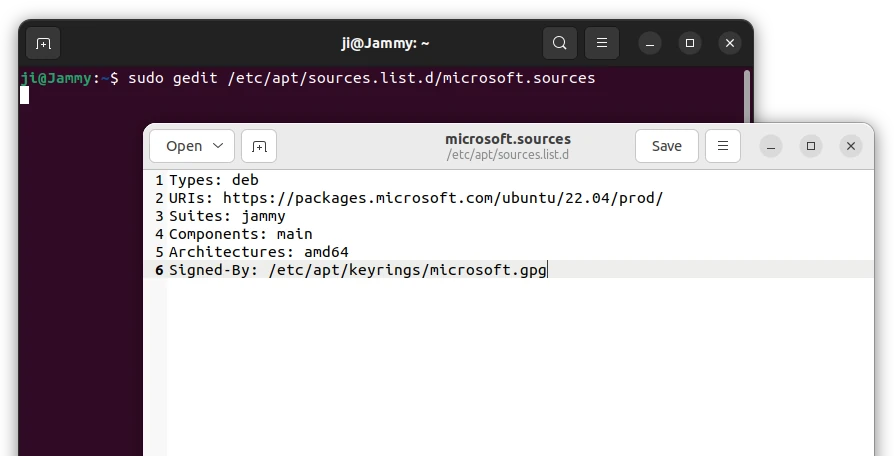
2. Add the Microsoft repository
Next, in terminal window, run command to create & edit the sources file:
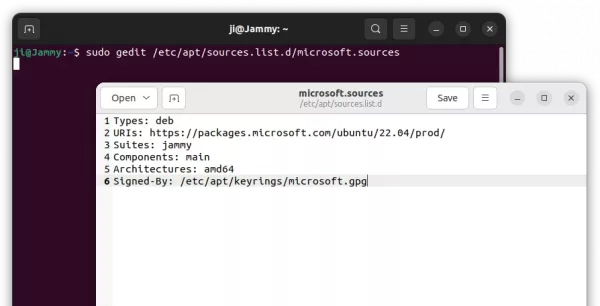
sudo gedit /etc/apt/sources.list.d/microsoft.sources
Depends on your desktop environment, replace gedit with mousepad for XFCE, pluma for MATE, or nano that works in most cases.
When the file opens, add following lines and save it.
Types: deb
URIs: https://packages.microsoft.com/ubuntu/22.04/prod/
Suites: jammy
Components: main
Architectures: amd64
Signed-By: /etc/apt/keyrings/microsoft.gpg
For Ubuntu 20.04, replace 22.04 with 20.04, and jammy with focal.
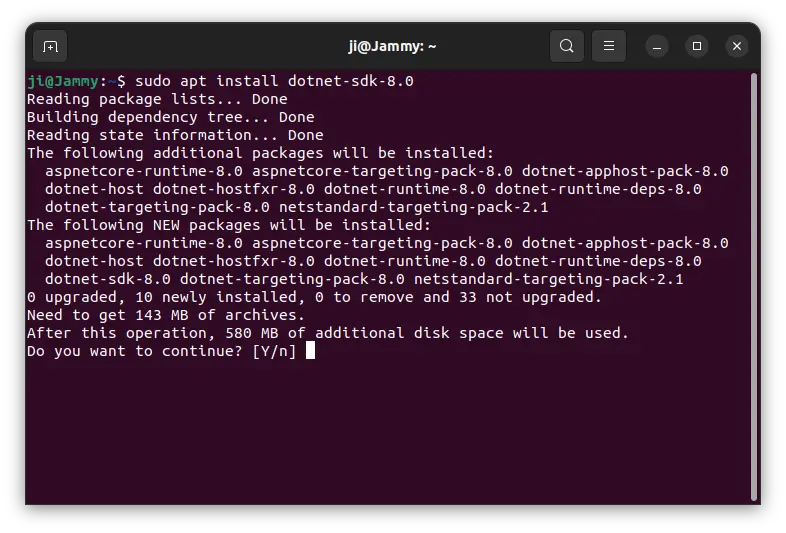
3. Install .NET 8
Finally, update system package cache by running command:
sudo apt update
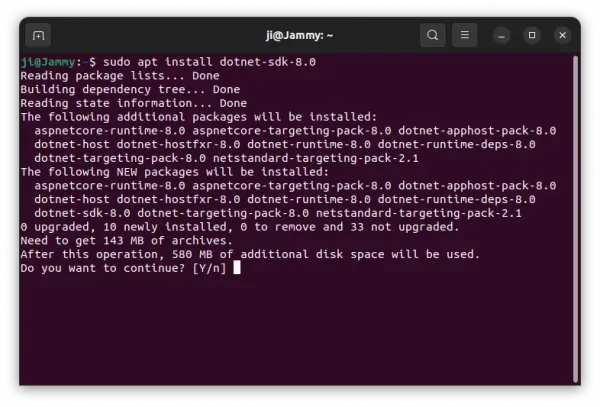
And, install .NET 8 SDK, runtime:
sudo apt install dotnet-sdk-8.0
I’m not .NET developer, but you can try dotnet --version after installation to verify.
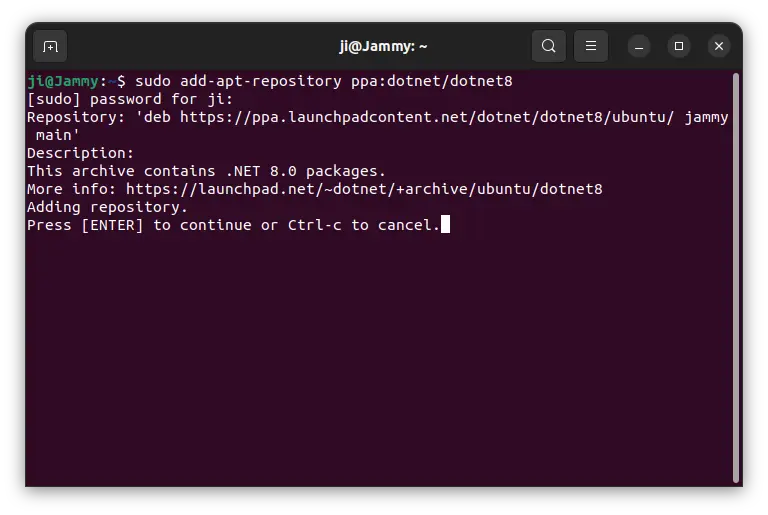
Option 2: Install .NET 8 from Ubuntu PPA
For choice, .NET 8 is also available to install through an Ubuntu PPA. It so far supports Ubuntu 22.04 on amd64 (Intel/AMD) and arm64 (e.g., Raspberry Pi) devices.
This is a third-party PPA, but maintained by the same people who maintain the .NET8 package in Ubuntu’s system repository for 23.10 & 24.04.
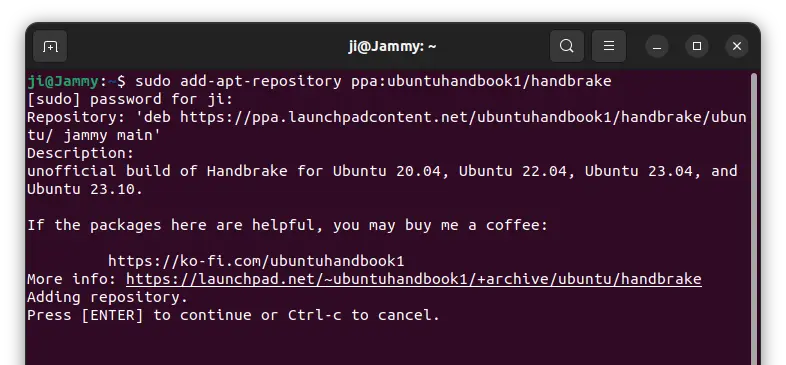
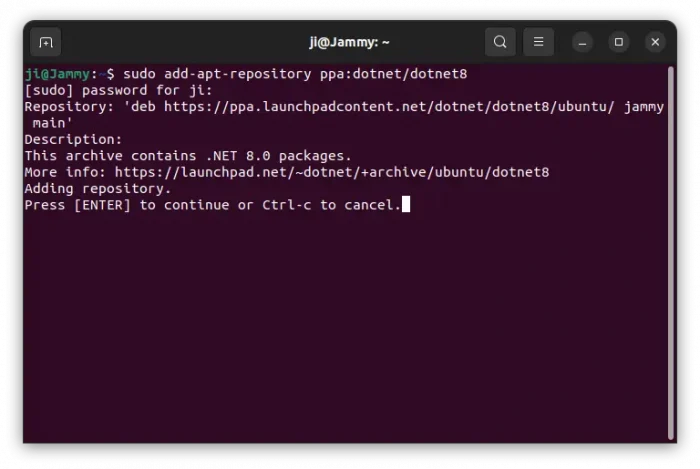
1. First, press Ctrl+Alt+T on keyboard to open terminal. When it opens, run command to add the PPA:
sudo add-apt-repository ppa:dotnet/dotnet8
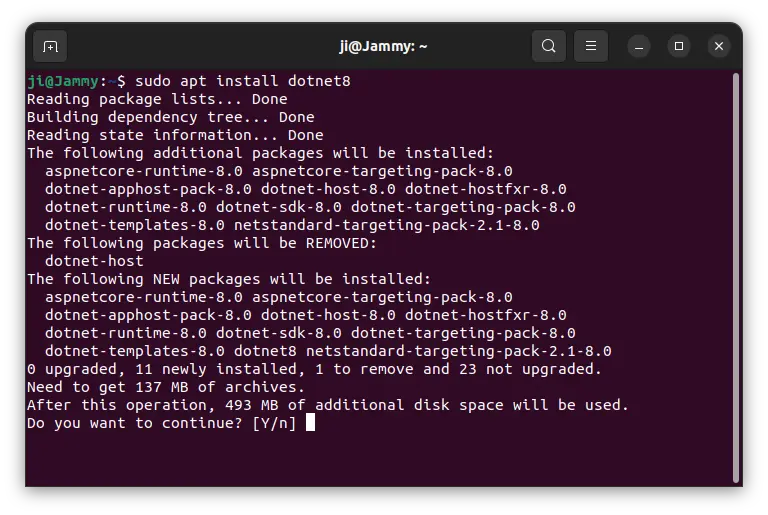
2. Linux Mint 21 users need to manually refresh the package cache after adding PPA, by running command:
sudo apt update
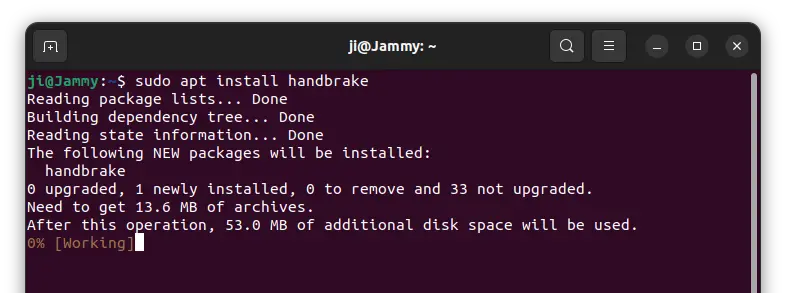
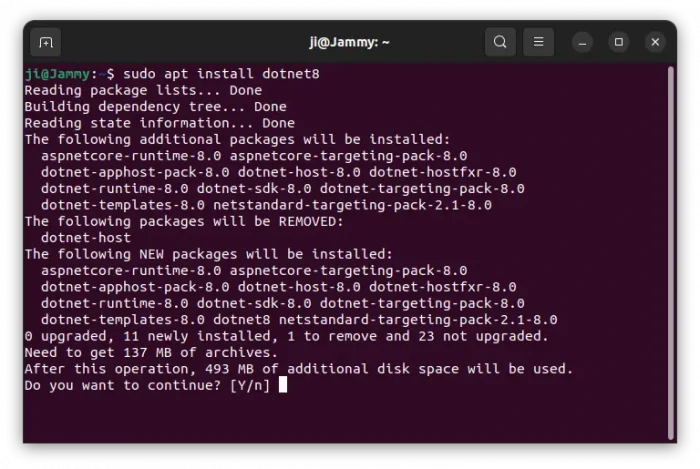
3. Finally, just run command to install .net8:
sudo apt install dotnet8
The command will install the host, sdk, runtime, as well as other packages automatically as dependencies.
Uninstall .NET 8
To remove .NET 8, open terminal (Ctrl+Alt+T) and run command:
sudo apt remove --autoremove aspnetcore-runtime-8.0 dotnet-sdk-8.0 dotnet-runtime-8.0 dotnet8
And, remove the Microsoft repository by running the 2 commands below to delete sources and key files:
sudo rm /etc/apt/keyrings/microsoft.gpg
sudo rm /etc/apt/sources.list.d/microsoft.sources
Finally, run sudo apt update to refresh cache.
If you installed the package from Ubuntu PPA, also run the apt remove command above to uninstall. Then, use the command below to remove the PPA:
sudo add-apt-repository --remove ppa:dotnet/dotnet8