![]()
This tutorial shows how to install the latest version of KeePassXC password manager (v2.7.10 so far) and keep it up-to-date in Ubuntu 24.04, Ubuntu 22.04, and Ubuntu 20.04
The popular KeePassXC password manager now is at 2.7.0 release series with many exciting new features. Here’s are some of them according to the release note:
- Entry tagging
- Unlock via Windows Hello and macOS Touch ID
- Auto-Type overhaul.
- Improvements to Secret Service integration (Linux)
- Change the crypto backend from libgcrypt to Botan
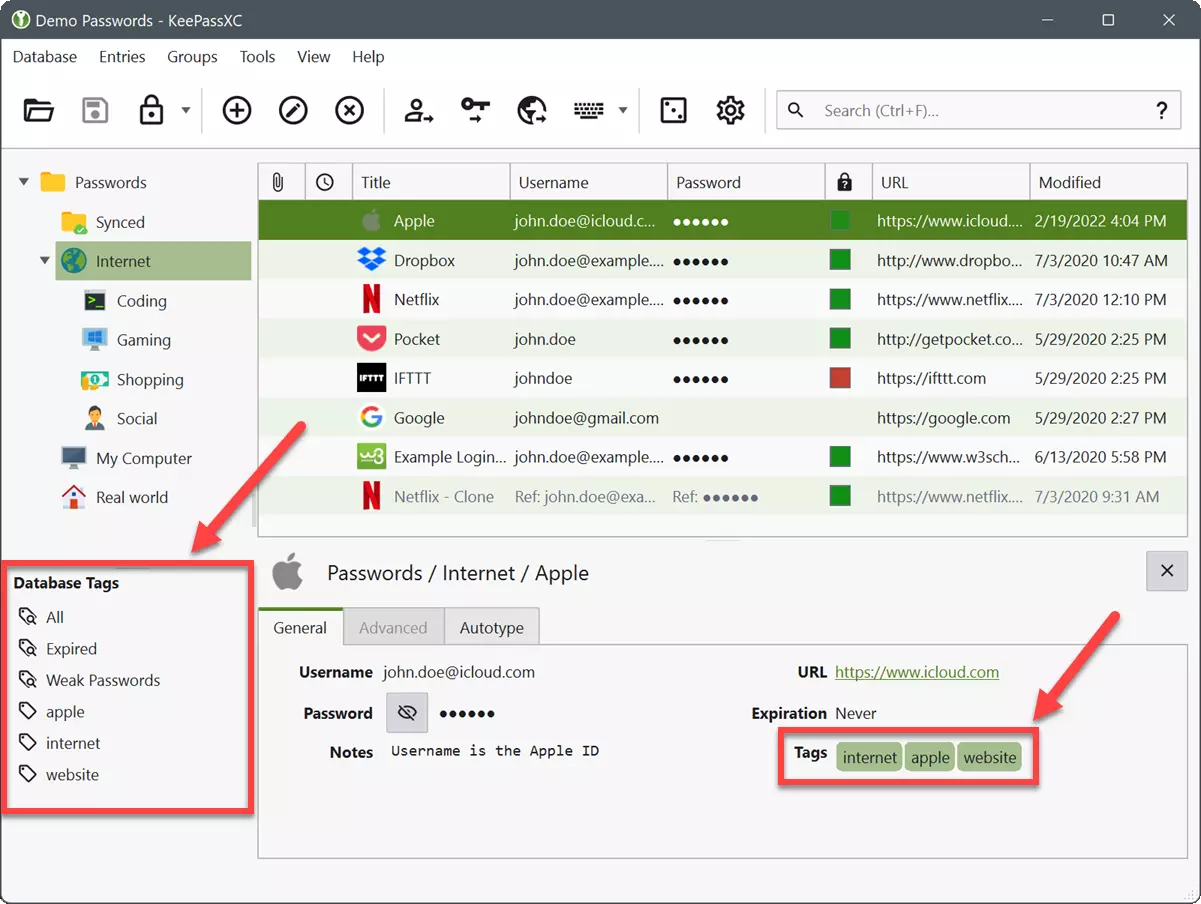
KeePass 2.7 Entry tags
To get the most recent KeePass in Ubuntu, you have 4 choices:
- Snap package – runs in sandbox environment.
- AppImage – no installation required. Just run to launch the app.
- Ubuntu PPA – contains native
.debpackage. - Flatpak package – runs in sandbox environment.
All of them are official! Choose one that you prefer.
Option 1: KeePassXC Snap package
Snap is the easiest way to install the app in Ubuntu, however, it runs in sandbox and so far it’s a bit lag behind. The snap is at v2.7.8 while the latest has reached v2.7.9.
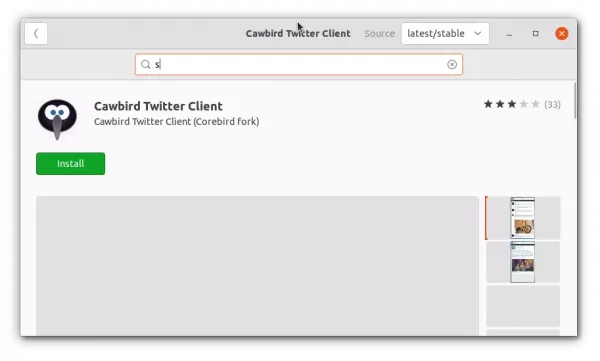
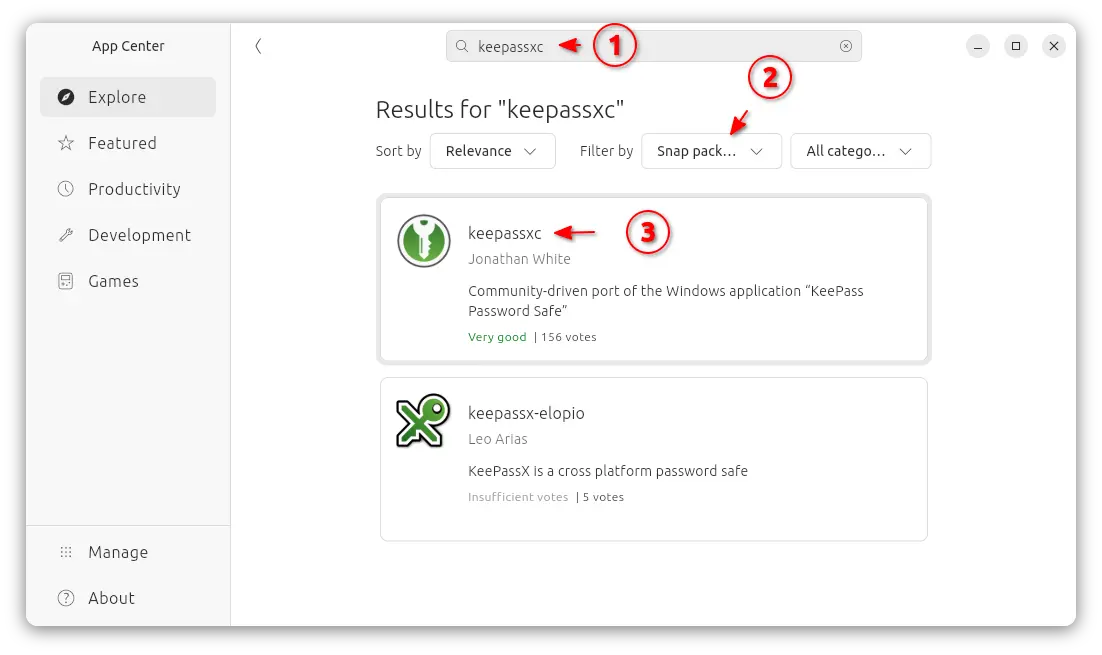
To install it, just launch App Center (or Ubuntu Software), then search and click install KeePassXC filtered by Snap package.
Or, press Ctrl+Alt+T on keyboard to open terminal, and run command to install the package:
sudo snap install keepassxc
Snap package installs updates automatically, though you may run the command below to check updates manually:
sudo snap refresh keepassxc
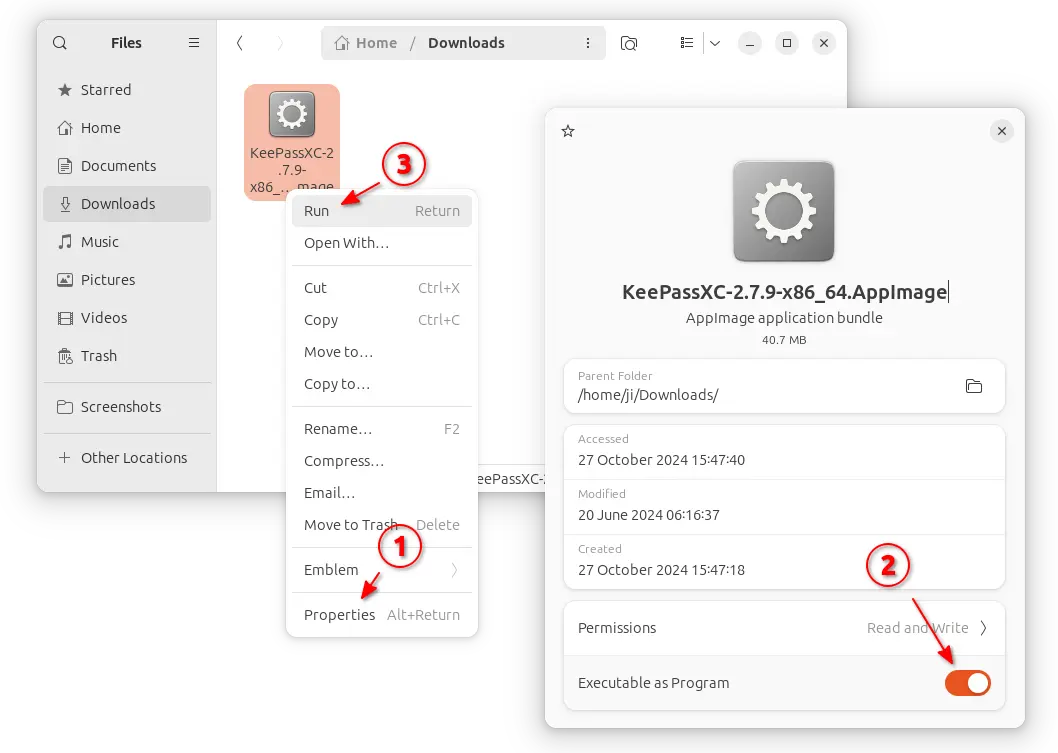
Option 2: KeePassXC AppImage package
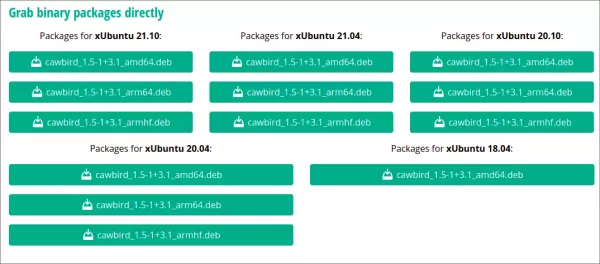
The software website provides Linux package via AppImage. It’s available to download via the link button below:
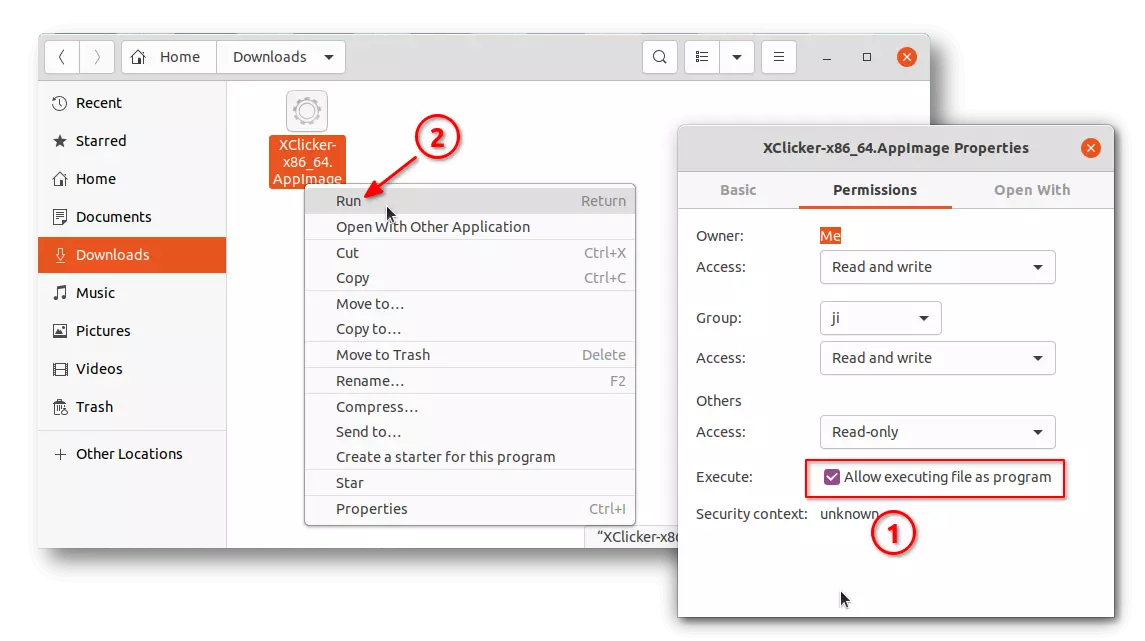
No installation required, after downloaded the AppImage, just go to its ‘Properties’ dialog, enable “Executable as Program” permission. Finally, click Run will launch the password manager.
NOTE: Ubuntu 22.04 and higher does NOT support AppImage out-of-the-box, due to miss libfuse2 library. Open terminal (Ctrl+Alt+T) and run command to get it:
sudo apt install libfuse2
Option 3: Install KeePassXC via Ubuntu PPA
For native .deb package, the official PPA contains the package for Ubuntu 20.04, Ubuntu 22.04, Ubuntu 24.04. So far, it supports amd64, arm64, armhf, and riscv64 CPU architecture types.
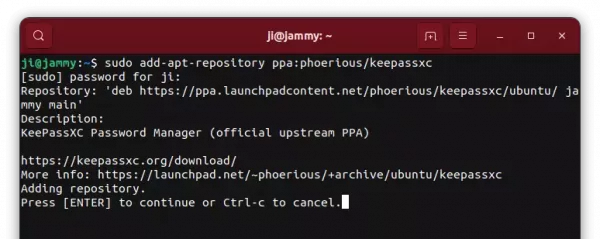
1. Add the PPA
Firstly, press Ctrl+Alt+T on keyboard to open terminal window. When it opens, paste the command below and hit Enter to add PPA:
sudo add-apt-repository ppa:phoerious/keepassxc
Type user password (no asterisk feedback) and hit Enter to continue.

2. Update package cache.
Ubuntu now automatically refresh package cache while adding PPA, but some Ubuntu based systems (e.g., Linux Mint) does NOT.
To manually refresh system package cache, run command:
sudo apt update
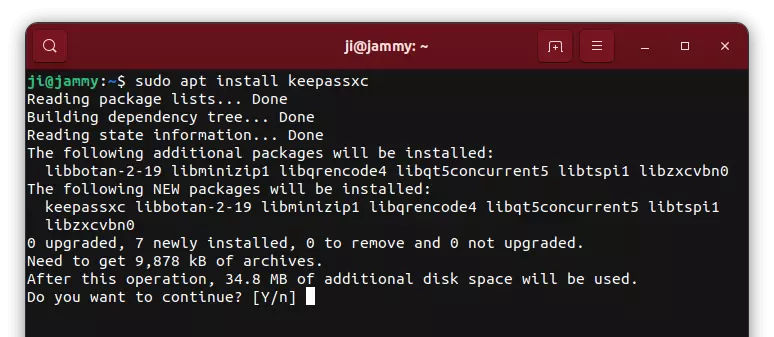
3. Install / upgrade KeePassXC
Finally, install the password manager by running command in terminal:
sudo apt install keepassxc
If you already have an old version of the package installed, then just launch “Software Updater” to check and install updates.
Option 4: Install KeePassXC via Flatpak package
Flatpak is another universal Linux package format that runs in sandbox. KeePassXC is available to install as Flatpak package through the Flathub repository. So far, it supports code>amd64, arm64 CPU architecture types.
For Linux Mint 21/22, and Fedora Workstation (with 3rd party repository enabled), simply search for and install the package from either Software Manager or GNOME Software.
While Ubuntu and other Linux can install the package by following steps below one by one:
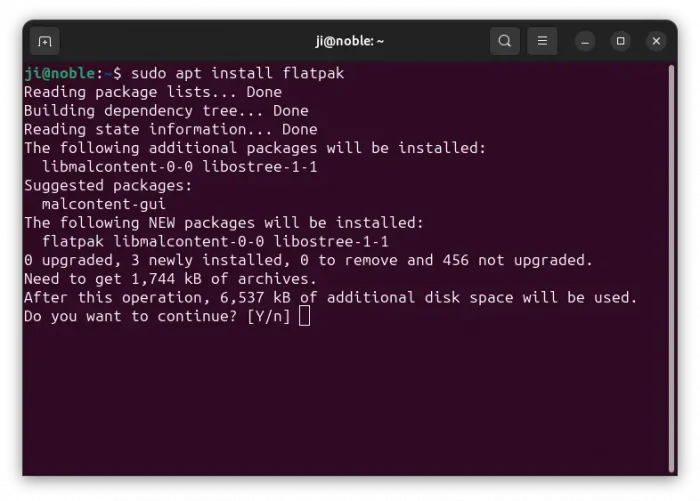
- First, open terminal (Ctrl+Alt+T) and run command to enable Flatpak support:
sudo apt install flatpak
Old Ubuntu 18.04 user may need to add this PPA first for most recent daemon package.
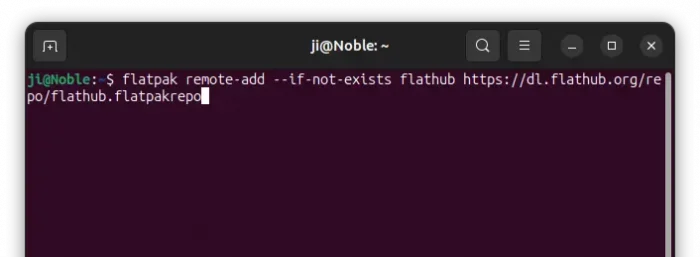
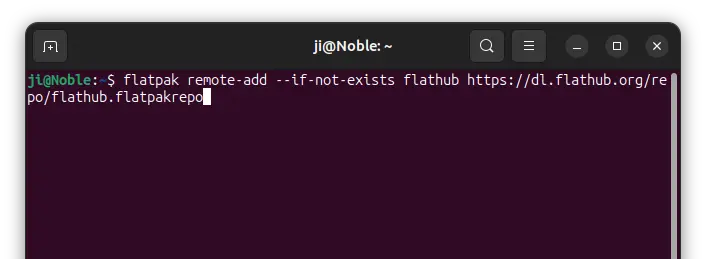
- Then, add the Flathub repository which hosts the software package:
flatpak remote-add --if-not-exists flathub https://dl.flathub.org/repo/flathub.flatpakrepo
For other Linux, follow the official setup guide to enable Flatpak support.
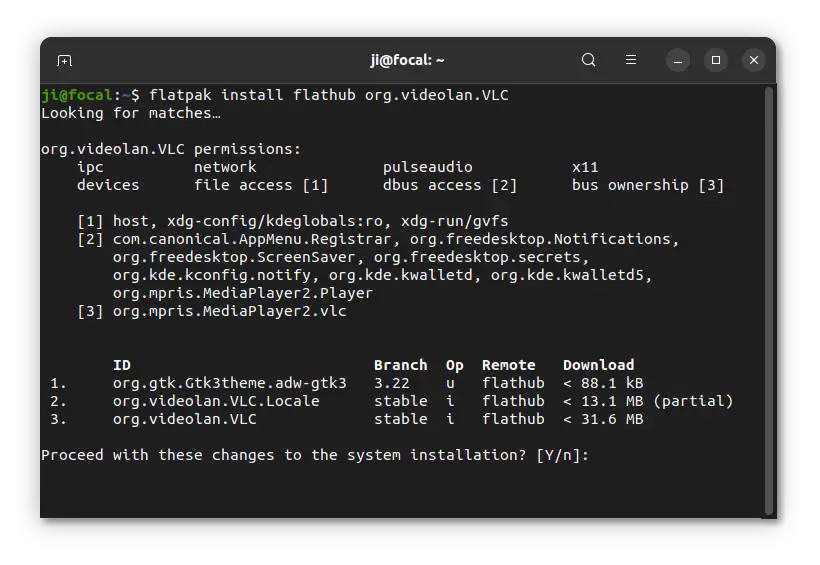
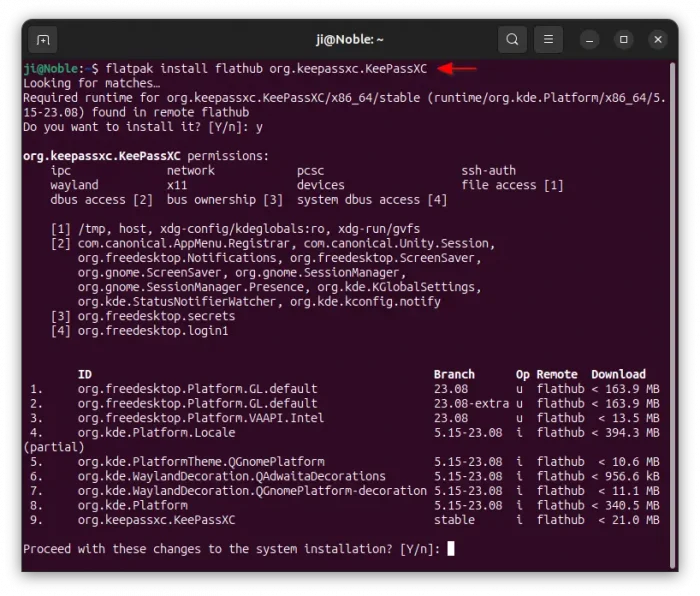
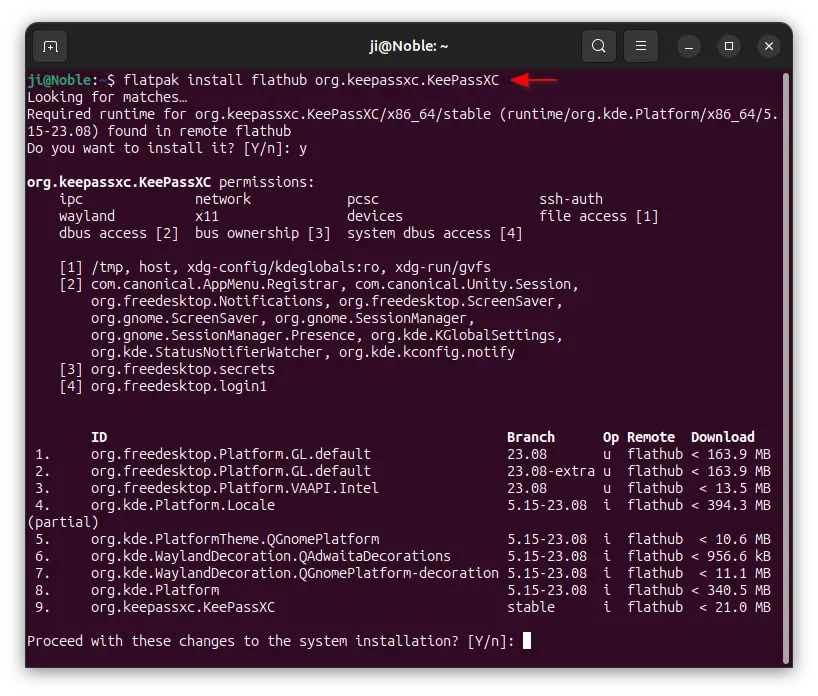
- Finally, run command to install the password manager as Flatpak package:
flatpak install flathub org.keepassxc.KeePassXC
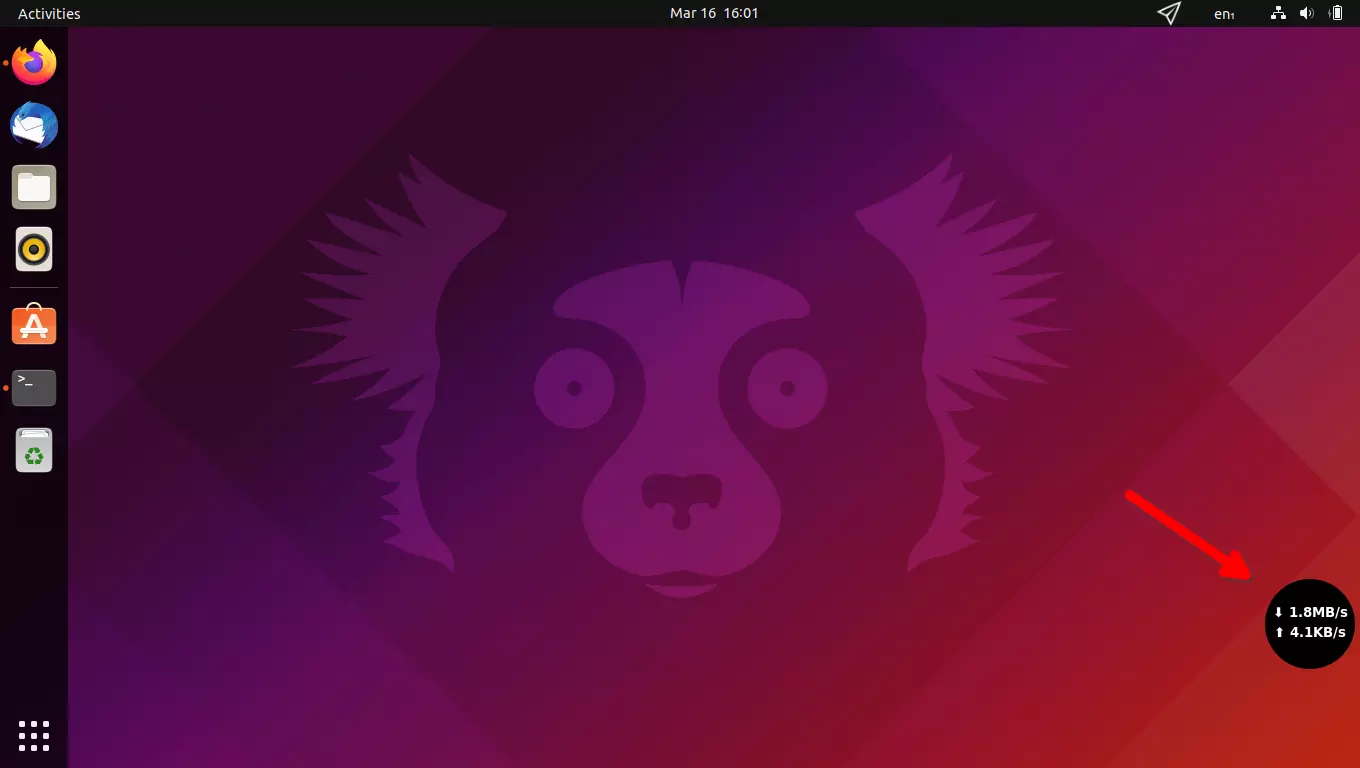
As it runs in sandbox, it also needs lots of downloads for run-time libraries as the screenshot below shows you.

After installed the package, search for and launch the app from either start menu or GNOME overview depends on your desktop.
If app icon not visible, try either log out and back in, or run the command below instead to launch it:
flatpak run org.keepassxc.KeePassXC
And, to check updates for the Flatpak package, use command:
flatpak update org.keepassxc.KeePassXC
Uninstall KeePassXC:
For any reason, you may remove the password manager by running one of the commands below in terminal:
- To remove the snap package, either use App Center (or Ubuntu Software) or run command in terminal:
sudo snap remove --purge keepassxc
- To remove the native .deb package, use command:
sudo apt remove --autoremove keepassxc
And, remove the Ubuntu PPA by using command:
sudo add-apt-repository --remove ppa:phoerious/keepassxc
- For the Flatpak package, use the command below instead to uninstall:
flatpak uninstall --delete-data org.keepassxc.KeePassXC
Also run
flatpak uninstall --unusedto clear useless runtime libraries.