Archives For November 30, 2017

Free and open-source Matroska software MKVToolNix v21.0.0 was released days ago. The biggest change is that mkvinfo’s GUI portion has been removed.

New features and enhancements in MKVToolNix 21.0.0:

  • mkvmerge: track statistics tags: the TagDefault element will not be written anymore as it was always set to the default value 1 anyway.
  • mkvmerge, MKVToolNix GUI: JSON files can now contain C++-style line comments outside of strings (e.g. something like this: // this is ignored). Such comments, even though not part of the official JSON specifications, are now ignored when reading JSON files.
  • MKVToolNix GUI: chapter editor: opening a Matroska file without chapters in it will now open the file in an empty chapter editor instead of showing an error message.
  • MKVToolNix GUI: an “info” tool has been added, replacing the functionality of mkvinfo’s GUI. The functionality is not on par yet but will be for release v22.

For the bug-fixes and other changes, see the release note.

How to Install MKVToolNix 21.0.0 in Ubuntu:

The official apt repository offers the latest packages for Ubuntu 16.04, Ubuntu 17.10 so far.

Open terminal via Ctrl+Alt+T or by searching it from app launcher. When it opens, do following steps:

1. Run command to add the repository:

sudo sh -c 'echo "deb https://mkvtoolnix.download/ubuntu/ $(lsb_release -sc) main" >> /etc/apt/sources.list.d/bunkus.org.list'

Replace $(lsb_release -sc) with xenial for Linux Mint 18.x. And input your password (no visual feedback while typing) when it prompts and hit Enter.

2. Then install the key:

wget -q -O - https://mkvtoolnix.download/gpg-pub-moritzbunkus.txt | sudo apt-key add -

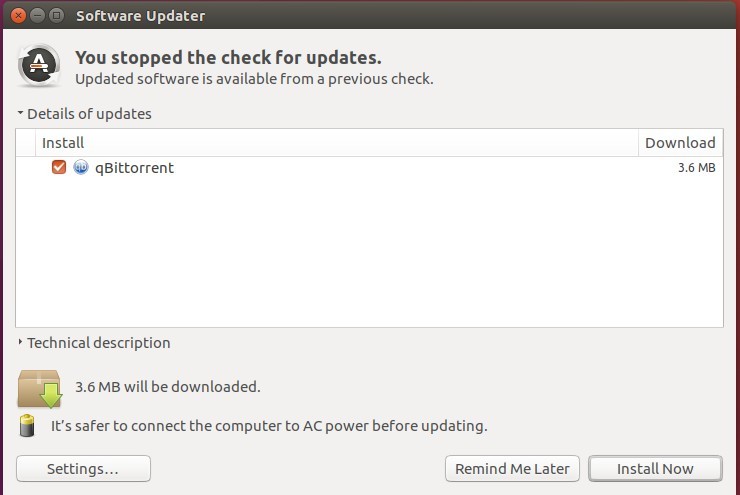
3. Finally either upgrade the software via Software Updater (Update Manager):

or run command to install the software packages:

sudo apt-get update

sudo apt-get install mkvtoolnix mkvtoolnix-gui

Uninstall:

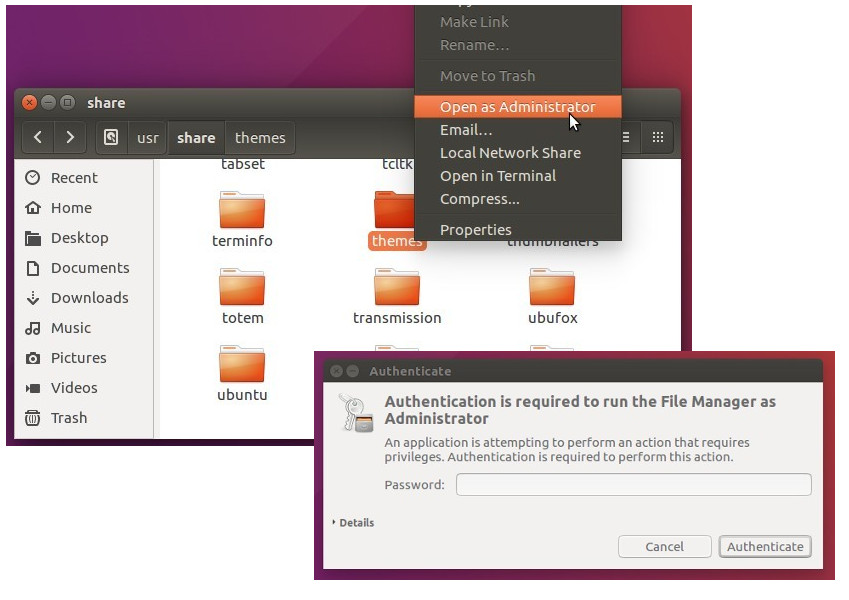
To remove the repository, launch Software & Updates utility and navigate to Other Software tab.

To remove MKVToolNix, use Synaptic Package Manager or run following command:

sudo apt-get remove --autoremove mkvtoolnix mkvtoolnix-gui

Wireshark network analyzer reached 2.4.5 release a few days ago. Lots of vulnerabilities and bugs has been fixed in the release.

Wireshark 2.4.5 has fixed following issues:

  • The IEEE 802.11 dissector could crash.
  • Multiple dissectors could go into large infinite loops.
  • The UMTS MAC dissector could crash.
  • The DOCSIS dissector could crash.
  • The FCP dissector could crash.
  • The SIGCOMP dissector could crash.
  • The pcapng file parser could crash.
  • The IPMI dissector could crash.
  • The SIGCOMP dissector could crash.
  • The NBAP disssector could crash.
  • AutoScroll does not work.
  • Unable to create Filter Expression Button for a yellow filter.
  • Other fixes and updated protocol support. See release note.

How to Install Wireshark in Ubuntu:

Wireshark has a stable PPA with the latest packages for Ubuntu 14.04, Ubuntu 16.04, and Ubuntu 17.10.

You may first check the PPA link for package version before doing following steps.

1. To add the PPA, open terminal from Unity Dash / App Launcher, or via Ctrl+Alt+T shortcut keys, and then run command:

sudo add-apt-repository ppa:wireshark-dev/stable

Type in your password (no visual feedback due to security reason) when it asks and hit Enter.

2. For those who have a previous release installed, launch Software Updater (or Update Manager) to upgrade it to the latest:

Or run the commands below in terminal to install / upgrade wireshark:

sudo apt-get update

sudo apt-get install wireshark

How to restore:

To restore to the stock version of Wireshark in Ubuntu main repositories, purge the PPA via ppa-purge tool:

sudo apt-get install ppa-purge && sudo ppa-purge ppa:wireshark-dev/stable

Hugin panorama stitcher has reached the 2018.0.0 release. Here’s how to install it in Ubuntu 16.04, Ubuntu 17.10.

Hugin 2018.0 is mainly a bug fix release and introduce some minor new features.

  • Several improvements for optimizer tabs:
    • mark deselected images
    • allow changing optimizer variables for all selected images at once
    • option to ignore line cp
  • hugin_stacker: New tool to stack overlapping images with several averaging modes (e.g. mean, median).
  • Added option to disable auto-rotation of images in control point and mask editor.
  • Nona, verdandi and hugin_stacker can now write BigTIFF images (for files >4 GB). The output of BigTIFF has to manually activated on the command line.
  • Added expression parser to GUI: This allows to manipulate several image variables at once.
  • Add user-defined assistant and expose it in the GUI. It allows to set up different assistant strategies without the need to recompiling.

How to Install Hugin 2018.0 in Ubuntu:

The new release has been made into Ubuntu 18.04 main archive. For Ubuntu 16.04 and Ubuntu 17.10, you can install it temporarily via following steps while Hugin PPA is not updated.

1. Open terminal either via Ctrl+Alt+T or by searching ‘terminal’ from app launcher. When it opens, run command to add PPA:

sudo add-apt-repository ppa:ubuntuhandbook1/apps

Input your password (no visual feedback while typing) when it prompts and hit Enter to continue.

2. Then run commands to check updates and install Hugin 2018:

sudo apt-get update

sudo apt-get install hugin

or upgrade it via Software Updater if a previous release was installed.

Uninstall:

To remove PPA, launch Software & Updates and navigate to ‘Other Software’ tab.

To remove Hugin panorama stitcher, run command in terminal:

sudo apt-get remove --autoremove hugin hugin-tools

Wallpaper Downloader is a java software to automatically download you favorite wallpapers from internet and set as desktop background every few minutes.

With the software, you can:

  • Automatically download wallpapers from:
    • Wallhaven.cc
    • Devianart
    • Bing daily wallpaper
    • Social Wallpapering
    • WallpaperFusion
    • DualMonitorBackgrounds.
  • Download wallpapers with given keywords.
  • Download wallpapers with given time interval
  • Changes desktop wallpaper with given time interval.
  • Single click to move favorite wallpapers to another directory.

How to Install Wallpaper Downloader in Ubuntu:

1. For users (Ubuntu 16.04 only) never installed a snap package, open terminal (Ctrl+Alt+T) and run command to install snapd:

sudo apt-get install snapd snapd-xdg-open

2. As a snap package, you can search for and install the package in Ubuntu Software:

or run single command to install the snap package:

snap install wallpaperdownloader

(Optional) If you don’t like the software, simply run command to remove the snap:

snap remove wallpaperdownloader

In addition, the software also has an official PPA with traditional deb packages for all current Ubuntu releases.

Audacity 2.2.2 Released! (How to Install / Upgrade)

Last updated: February 22, 2018

Audacity audio editor 2.2.2 was released two days ago with some improvements and several bug-fixes. Here’s how to install it in Ubuntu 16.04, Ubuntu 17.10, and Ubuntu 18.04.

Audacity 2.2.2 release highlights:

  • Easier zooming in and out with mousewheel, new Zoom Toggle command, and context menu for vertical rulers.
  • Easy access to change keyboard bindings of menu commands by holding Shift key
  • Detection of dropout errors while recording with overburdened CPU
  • Improved contrasts in Light and Dark themes
  • Half-wave display option
  • Several bugs/annoyances in 2.2.1 are now fixed
  • See Release Notes for details.

How to Install Audacity 2.2.2 in Ubuntu:

The Audacity team does not offer pre-compiled Linux binaries. Other than building from source, a third-party PPA is available with Audacity 2.2.2 packages for Ubuntu 16.04, Ubuntu 17.10, and Ubuntu 18.04.

1. Open terminal via Ctrl+Alt+T or by searching for ‘terminal’ from app launcher. When it opens, run command:

sudo add-apt-repository ppa:ubuntuhandbook1/audacity

Input your password (no visual feedback while typing) when it prompts and hit Enter to add the PPA.

2. If you have a previous version installed, you can upgrade Audacity via Software Updater after adding the PPA.

or run following commands one by one to check updates and install (or upgrade) audacity 2.2:

sudo apt-get update

sudo apt-get install audacity

Uninstall:

To remove the PPA repository, launch Software & Updates utility and navigate to ‘Other Software’ tab.

To remove Audacity audio software, either use system package manager or run command in terminal:

sudo apt-get remove --autoremove audacity audacity-data

PhotoQt, a free open-source Qt5 image viewer supports for touch-screen, slideshow, and uploading to imgur.com, reached the 1.6 release earlier today.

PhotoQt 1.6 features:

  • Re-structuring of code, taking better advantage of QML property bindings
  • Hide most elements behind Loader items for faster start-up
  • Add proper touchscreen support
  • Add uploading of images to imgur.com
  • Add copy images to clipboard
  • Add ability to freely move main image
  • Add split ‘ThumbnailKeepVisible’ setting into 1) always visible, 2) visible when image not zoomed
  • Add Export/Import configuration and shortcuts
  • Add handle case of directory passed on command line (instead of image)
  • Add Transparency marker option
  • Add one shortcut for multiple functions
  • Redo ‘Open File’ element, more versatile and reliable
  • Open File now has two hover preview modes: quick (uses thumbnail) or full
  • Left pane of Open File element can be hidden (hides if nothing is there or window is resized rather small)
  • New ‘loading image’ indicator

How to Install PhotoQt in Ubuntu:

The developer offers a PPA repository with the latest packages for Ubuntu 16.04 and Ubuntu 17.10.

1. Open terminal either via Ctrl+Alt+T or by searching for ‘terminal’ from app launcher.

When it opens, run command to add the PPA:

sudo add-apt-repository ppa:lumas/photoqt

Input your password (no visual feedback while typing) when it prompts and hit Enter to continue.

2. Then install the image viewer either via Synaptic package manager or by running commands in terminal:

sudo apt-get update

sudo apt-get install photoqt

Uninstall:

To remove the software, either use Synaptic or run command:

sudo apt-get remove --autoremove photoqt

You can remove PPA repositories via “Software & Updates” utility under “Other Software” tab.

ONLYOFFICE Desktop Editors can now be installed in Ubuntu easily via Snap package, the universal Linux app packaging format, though it’s in candidate channel for testing so far.

ONLYOFFICE Desktop Editors are free open-source office editors for text documents, spreadsheets and presentations working offline. The software features:

  • Work with all popular formats – DOC, DOCX, ODT, RTF, TXT, PDF, HTML, EPUB, XPS, DjVu, XLS, XLSX, ODS, CSV, PPT, PPTX, ODP, FODS, FODT, FODP.
  • View, create and edit documents of any size and complexity.
  • Extend editing capabilities with the pre-installed plugin set (e.g. insert special symbols, YouTube videos, ClipArt, create templates and more).
  • Automate your routine activities with macros.
  • Ability to switch to online mode to collaborate with your teammates in real time.

1. For Ubuntu 16.04 users never installed a snap, you need to install snapd first via command:

sudo apt-get install snapd snapd-xdg-open

Input your password (no visual feedback while typing) when it prompts and hit Enter to continue.

2. To install the office suite, open terminal via Ctrl+Alt+T or by searching it from app launcher, and run command:

snap install --candidate onlyoffice-desktopeditors

The snap has been tested on Ubuntu 16.04, Solus OS, and Fedora 27. For any issue, report on Github page.

Uninstall:

To remove the snap, run command in terminal:

snap remove onlyoffice-desktopeditors

SMPlayer media player 18.2.2 was released earlier today. It has been made into PPA repository for all current Ubuntu releases.

SMPlayer 18.2.2 features:

  • The option Open -> URL can now also load YouTube playlists.
  • New option in Preferences -> Subtitles to select the opacity of the background of the subtitles (available when the “border style” is set to “opaque box”).
  • The options to select the preferred number of track for audio and subtitles are back.
  • (mpv) Now the direct3d is the default video output for Windows, since some users reported problems with the gpu output.

How to Install SMPlayer 18.2.2 in Ubuntu:

For Ubuntu 14.04, Ubuntu 16.04, Ubuntu 17.10, Ubuntu 18.04, and derivatives, do following steps to install or upgrade SMPlayer via PPA.

1. Search for and launch “terminal” from application launcher. When it opens, run command:

sudo add-apt-repository ppa:rvm/smplayer

Input your password (no visual feedback while typing) when it asks and hit Enter.

2. Then upgrade SMPlayer using Software Updater (or Update Manager):

or run commands in terminal to install (or upgrade) the media player:

sudo apt-get update

sudo apt-get install smplayer smtube smplayer-themes

Uninstall:

To remove SMPlayer, run command in terminal:

sudo apt-get remove --autoremove smplayer smtube smplayer-*

And remove the PPA via “Software & Updates” utility under Other Software tab.

qBittorrent 4.0.4 was released earlier today with numerous bug-fixes. Here’s how to install it in Ubuntu 16.04, Ubuntu 17.10, Ubuntu 18.04.

qBittorrent 4.0.4 contains a few new features and lots of bug-fixes include:

  • Add source field in Torrent creator.
  • Torrent creator: raise maximum piece size to 32 MiB
  • Add a force reannounce option in the transfer list context menu.
  • Fix sorting of country flags column in Peers tab.
  • Fix natural sorting when the common part of 2 strings ends partially in a number which continues in the uncommon part.
  • Fix application of speed limits on LAN and μTP connections.
  • Make peer information flags in peerlist more readable.
  • Fix gui issues on high DPI monitor.
  • Fix dialog and column size on high DPI monitors.
  • Fix constant status of ‘[F] Downloading’.
  • Fix translation context.
  • Separate subnet whitelist options into two lines.
  • Don’t set application name twice.
  • Set default file log size to 65 KiB and delete backup logs older than 1 month.
  • And see more changes for web UI, RSS, Windows and Mac OS editions.

How to Install qBittorrent 4.0.4 in Ubuntu

The official PPA has built the new release packages, available for install/upgrade in Ubuntu 16.04, Ubuntu 17.10, Ubuntu 18.04, and derivatives.

1. To add the PPA, open terminal (Ctrl+Alt+T) and run:

sudo add-apt-repository ppa:qbittorrent-team/qbittorrent-stable

2. To upgrade from a previous release, launch Software Updater and you’ll see qBittorrent available for upgrade after checking for updates.

Or run commands below to install /upgrade it from terminal:

sudo apt update && sudo apt install qbittorrent

3. (Optional) To uninstall the 4.0.4 release and revert to the stock version of qBittorrent in Ubuntu repository, do:

sudo apt install ppa-purge && sudo ppa-purge ppa:qbittorrent-team/qbittorrent-stable

Thanks for reading. Happy new year!

Enable “Open as Admin” in Nautilus File Browser

Last updated: February 15, 2018

It’s been a long time last time I wrote about how to enable “Open as root” or “Open as Administrator” in Nautilus’ context menu.

A Nautilus extension called Nautilus Admin has been created for a period of time. It’s a simply Python script that adds some administrative actions to the right-click menu:

  • Open as Administrator: opens a folder in a new Nautilus window running with administrator (root) privileges.
  • Edit as Administrator: opens a file in a Gedit window running with administrator (root) privileges.

To install the Nautilus extension:

The extension is available for all current Ubuntu releases: Ubuntu 14.04, Ubuntu 16.04, Ubuntu 17.10, and Ubuntu 18.04.

1. Simply open “Terminal” either via Ctrl+Alt+T or from app launcher. Then run command:

sudo apt-get install nautilus-admin

Input your password (no visual feedback while typing) when it prompts and hit Enter.

2. Then restart Nautilus via command:

nautilus -q

That’s it. Open nautilus file browser again and enjoy with new context menu options!