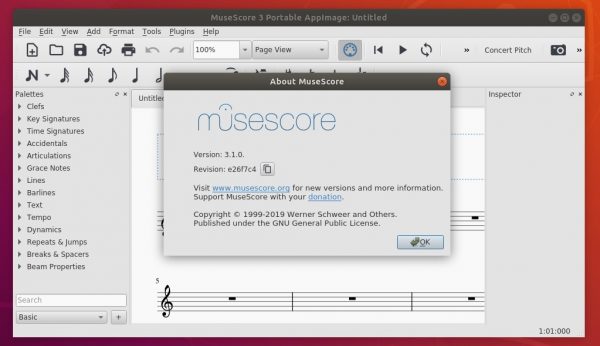
The open-source music notation software MuseScore 3.1 was released today with new features and significant improvements. Here’s how to install it in Ubuntu.
MuseScore 3.1 release highlights:
- Single-note dynamics.
- Ignificant improvements to automatic placement and layout
- Automatic placement no longer prevent user from moving elements
- Fretboard diagrams improvements including:
- Multiple dots per string
- Partial and multiple barres
- Different dot shapes (especially useful for Ted Greene diagrams)
- Ability to not show nut
- Customizable distance between strings and frets
- Chord symbols for diagrams
- New commands Edit > Paste Half Duration and Edit > Paste Double Duration
- New command Tools > Unroll Repeats
How to Install MuseScore 3.1 in Ubuntu:
Appimage:
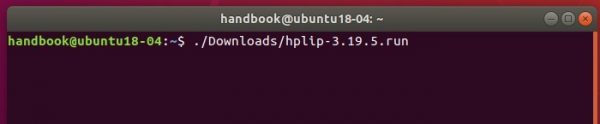
For non-install, single executable appimage, it’s available at the link below:
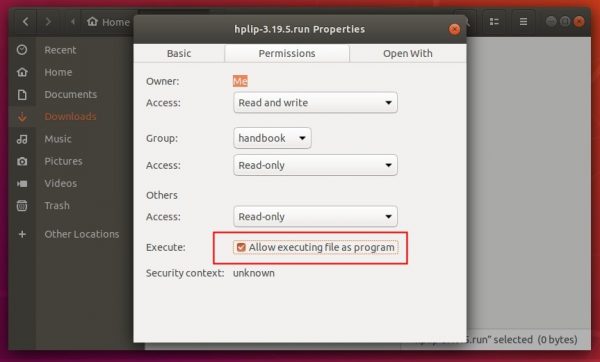
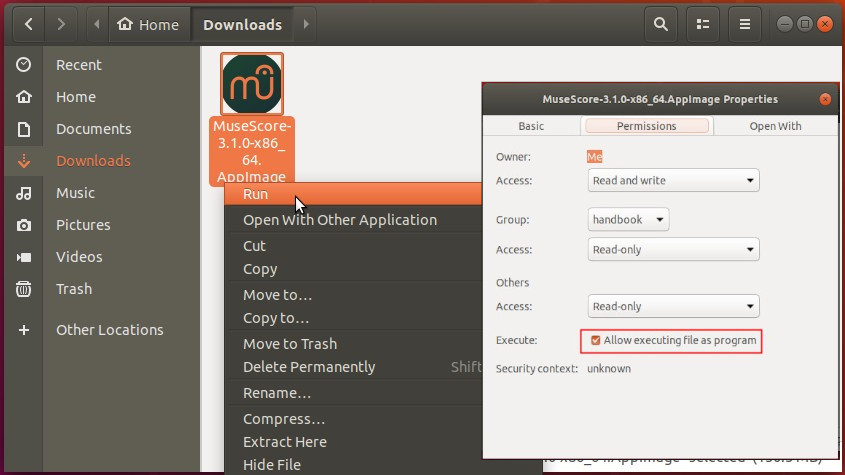
Right-click the Appimage, go to Properties -> Permissions -> tick the box says ‘Allow executing file as program’, finally run it to launch MuseScore 3.1:
Install MuseScore via PPA:
The official MuseScore3 PPA maintains the latest packages for Ubuntu 18.04, Ubuntu 18.10, Ubuntu 19.04, and derivatives.
The 3.1 release package will usually available in 2 or 3 days.
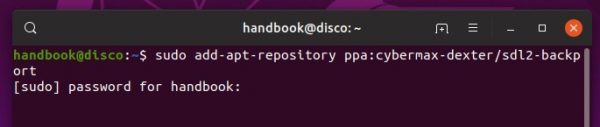
1. Open terminal either via Ctrl+Alt+T keyboard shortcut or by searching for ‘terminal’ from application menu. When it opens, run command to add the PPA:
sudo add-apt-repository ppa:mscore-ubuntu/mscore3-stable
Type user password (no asterisk feedback due to security reason) when it asks and hit Enter to continue.

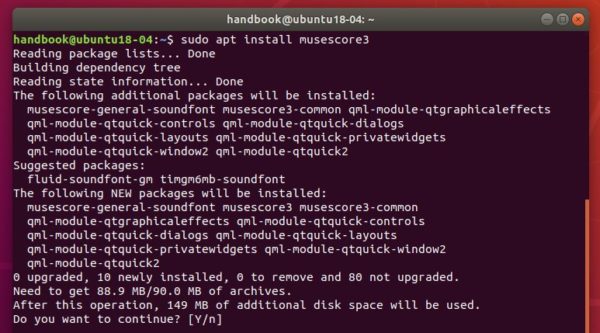
2. Then install MuseScore 3 via command:
sudo apt install musescore3
Linux Mint 19 may need to refresh package cache by running command sudo apt update first.
Once installed, launch the software from application menu and enjoy!

Uninstall:
To remove the software, run command in terminal:
sudo apt remove --autoremove musescore3
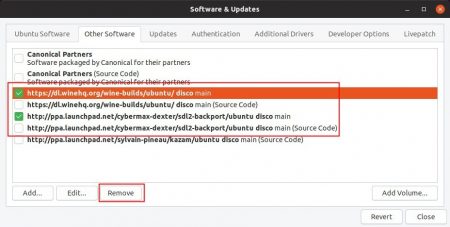
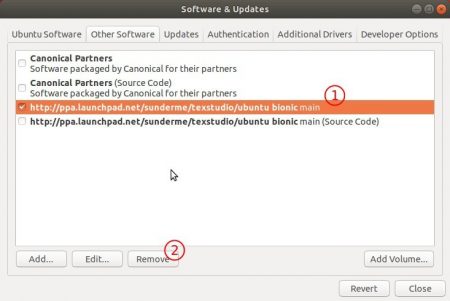
To remove the PPA, go to Software & Updates -> Other Software tab.