As a Chinese user, I have never used iBus PinYin in Ubuntu. For me, one of the first things to do after a new Ubuntu installation is to install a Input Method.
As I know, there are two best Chinese IM for Ubuntu:
- Fcitx – A flexible Input Method framework
- Sogou PinYin – the most popular Chinese IM.
Install and Setup Fcitx:
Fcitx is an open-source and powerful IM framework that provides: Google PinYin, ShuangPin, SunPinYin, Wubi, ZhengMa, Hong Kong and TaiWan Traditional Chinese input methods, and more.
1. Fcitx is available in Ubuntu universe repository, so you can easily install it by opening terminal (Ctrl+Alt+T) and run:
sudo apt install fcitx fcitx-googlepinyin fcitx-table-wbpy fcitx-pinyin fcitx-sunpinyin
By typing sudo apt install fcitx- and hit TAB key, it will show you many other available plugins for fcitx.

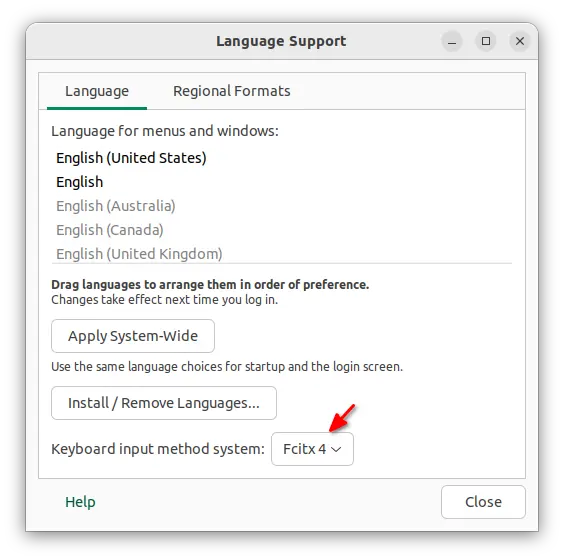
2. After installed fcitx, launch Language Support utility and select use Fcitx:
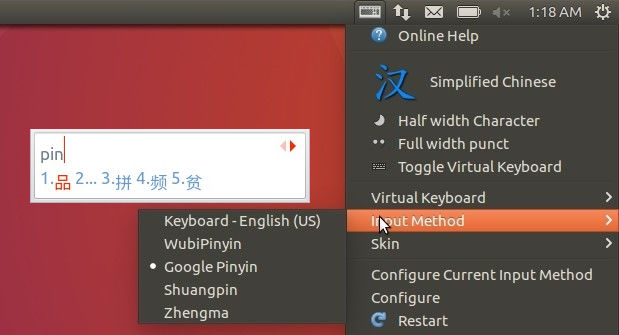
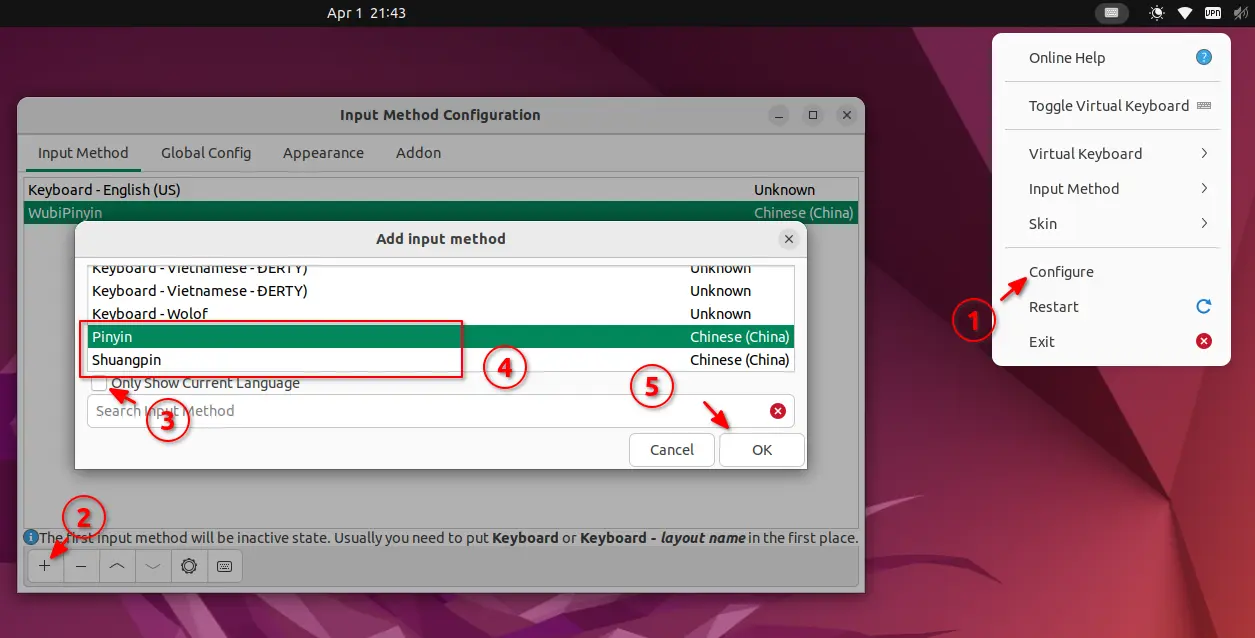
3. Finally restart your computer and you’ll see a keyboard icon in panel. Go to Configure (see menu in the top picture) and do:
- click the bottom left plus icon.
- uncheck “only show current language” if you running the desktop with non-Chinese language.
- scroll down and choose an IM you want
- finally click OK.
To switch between English keyboard and Fcitx, use Ctrl+Space and then Ctrl+Shift to switch between installed Fcitx IMs.
Install and Setup SouGou PinYin:
SouGou PinYin for Linux is developed by Ubuntu Kylin Team and Sougou company. Its Windows version is one by the most popular IMs in China.
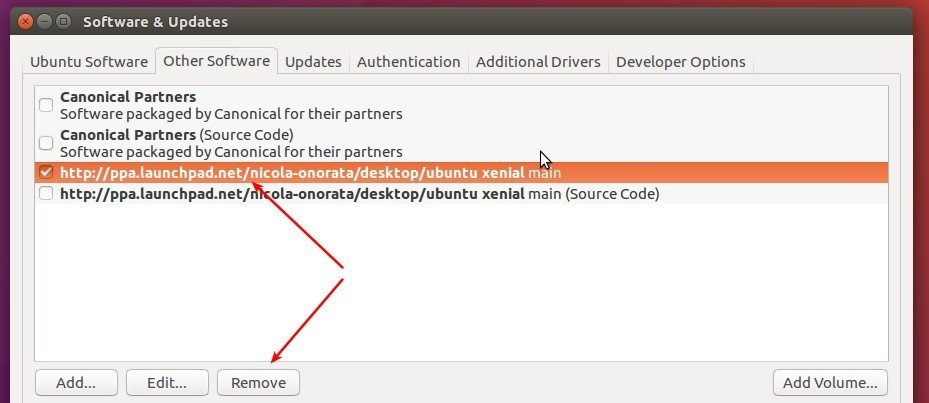
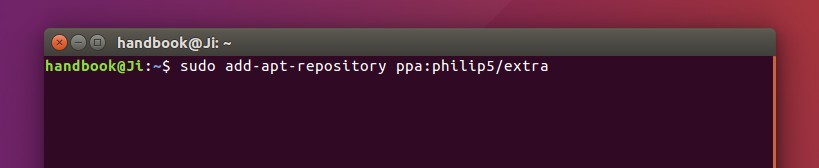
1. Sougou for Linux conflicts with some Fcitx libraries, so open terminal (Ctrl+Alt+T) and remove fcitx via command:
sudo apt remove fcitx* && sudo apt autoremove
2. Download the official Linux package from (run uname -m to tell your OS type):
Click install the .deb package via GDebi or Ubuntu Software. Or use command:
sudo apt install ~/Downloads/sogoupinyin*.deb
3. After installing the IM, restart your computer and Sogou’s ready for use at next login.
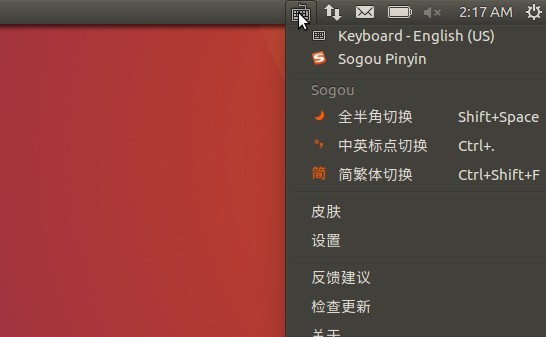
Like Fcitx, you can press Ctrl+Space to switch between English keyboard and Sogou PinYin.
UPDATE: Installing SoGou PinYin will add a Kylin repository into your system, you may keep it and install the key so that Recent version does no longer add any other source repositories.apt update won’t boring you with missing GPG issue