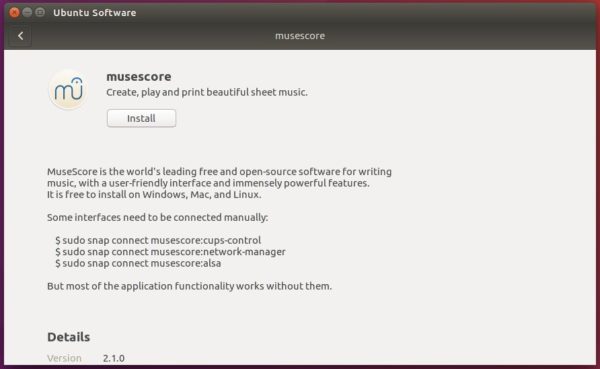
Free and open source music composition and notation software, MuseScore 2.2.0, was released earlier today.
MuseScore 2.2.0 comes with new features and tons of bug fixes:
- New MuseScore_General.sf3 soundfont
- Option to select the MIDI Output
- Built-in MP3 support for Windows (finding and installing third-party DLL no longer necessary)
- Add search field to template chooser in New Score Wizard
- Option to select whether to “Play repeats” for jump elements (D.S. al Coda, etc.)
- Selected notes are highlighted on the piano keyboard
- Select / More: ability to distinguish same pitch on a specific string in tablature
- All elements are now selectable by voice
- Copy and paste of multiple fretboards
- Fretboards can be added to chord symbols
- See release note for more details.
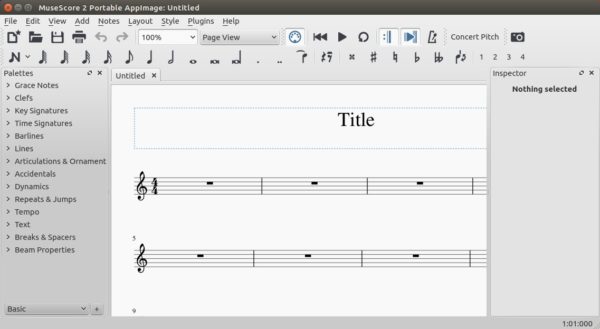

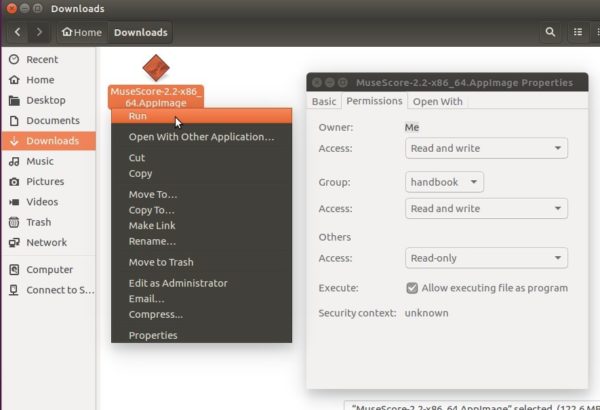
How to Install MuseScore 2.2.0 in Ubuntu:
The single executable Appimage files to run MuseScore in Linux are available for download:
Download the appimage, make it executable and run the file to launch the free scorewriter:

MuseScore is also available as Snap, version 2.2 will be available in a few days, which can be easily installed via Ubuntu Software Center (See HERE for details).